Easy One-Day DIY: Trimming a Builder-Grade Doorway to Protect Your Wallpaper
*This post contains affiliate links. Please read my full disclosure here. Thank you for supporting my blog.*
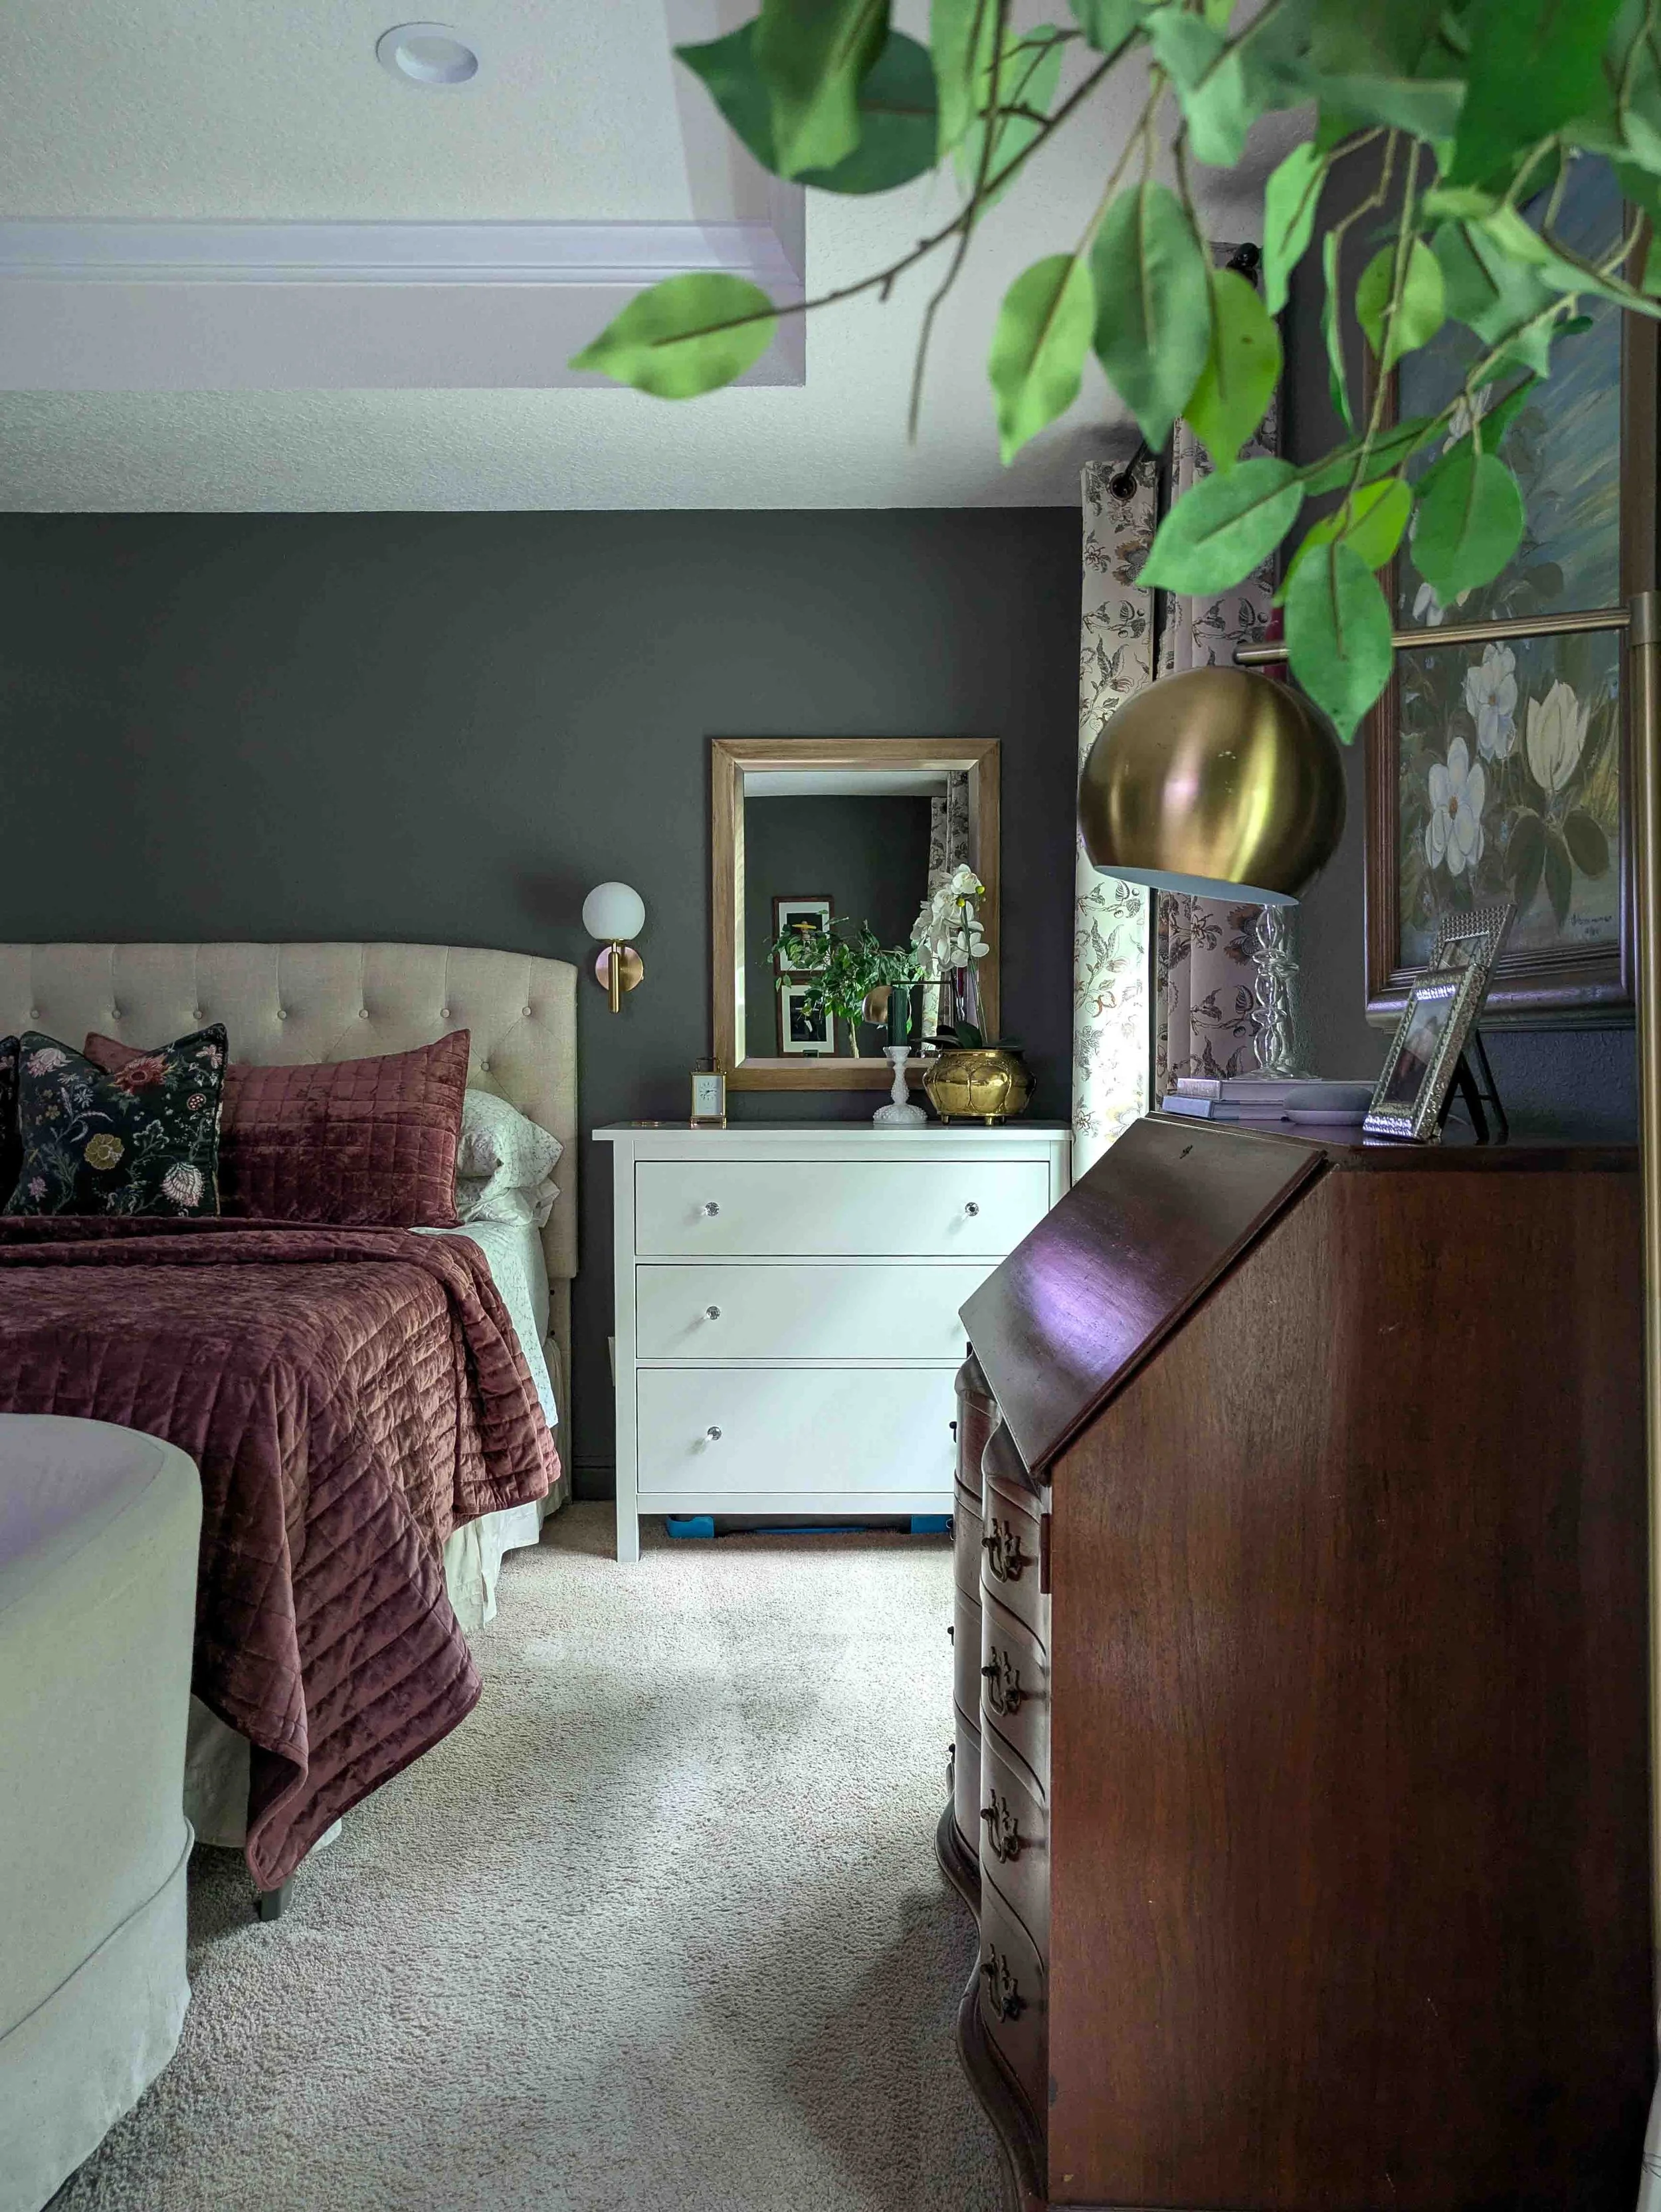
Ever since I revealed our foyer makeover, I have been absolutely in love with how the space sets the tone for our home. The new Love vs. Design wallpaper completely transformed the entry, beautifully complementing the fresh jute rug and the vintage art painted by my grandmother. It finally has that collected, moody traditional feel I am always striving for!
But, as with any home project, it didn't take long for a frustrating, everyday problem to pop up.
Every time my 10 and 7-year-old would walk, or let’s be honest, sprint, past the hallway opening, they would brush their shoulders right against the drywall edge. Slowly but surely, the edge of our beautiful new wallpaper was starting to peel up and take a beating.
If you live in a newer build, you probably know exactly what I'm talking about. This missing trim is a classic builder-grade special. To save on costs and time, builders often skip installing casing on pass-through doorways or hallway openings, leaving bare drywall corners instead. While it functions just fine, it leaves those corners completely vulnerable to daily wear and tear from passing kids, pets, and laundry baskets.
I knew I needed to protect the wallpaper, and trimming out the doorway to match the rest of the house was the perfect solution. Adding casing to a cased opening elevates the space, moving it away from builder-basic and bringing it closer to a custom, modern heritage aesthetic.
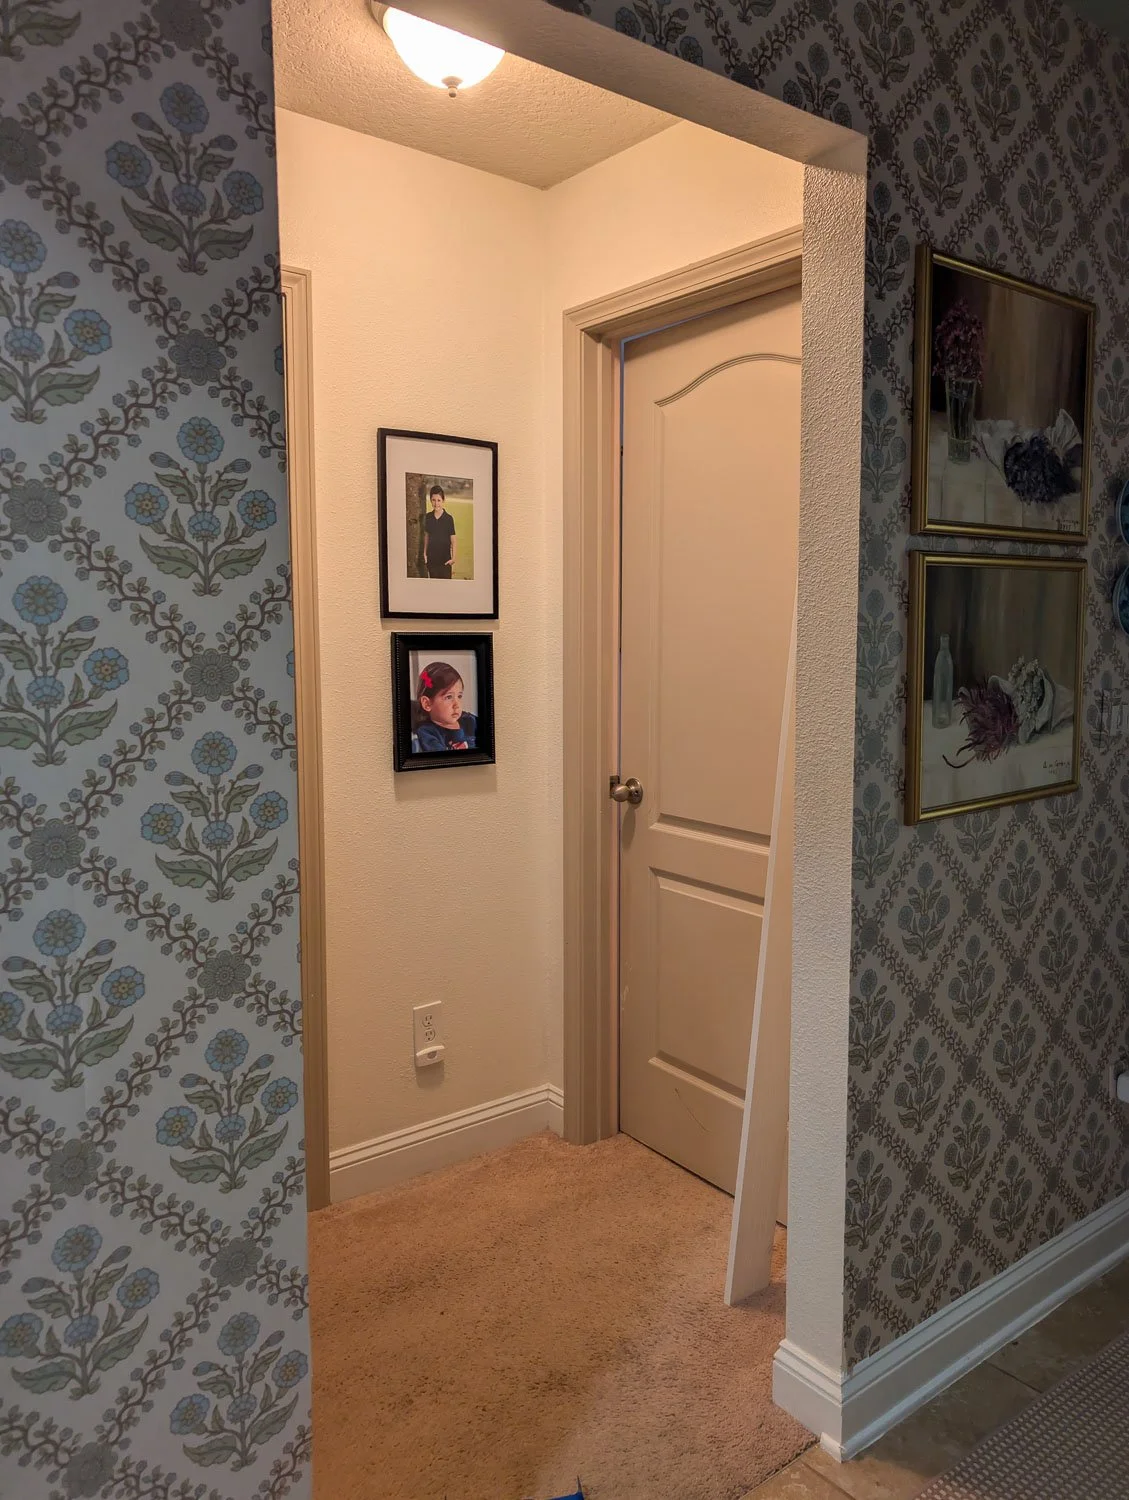
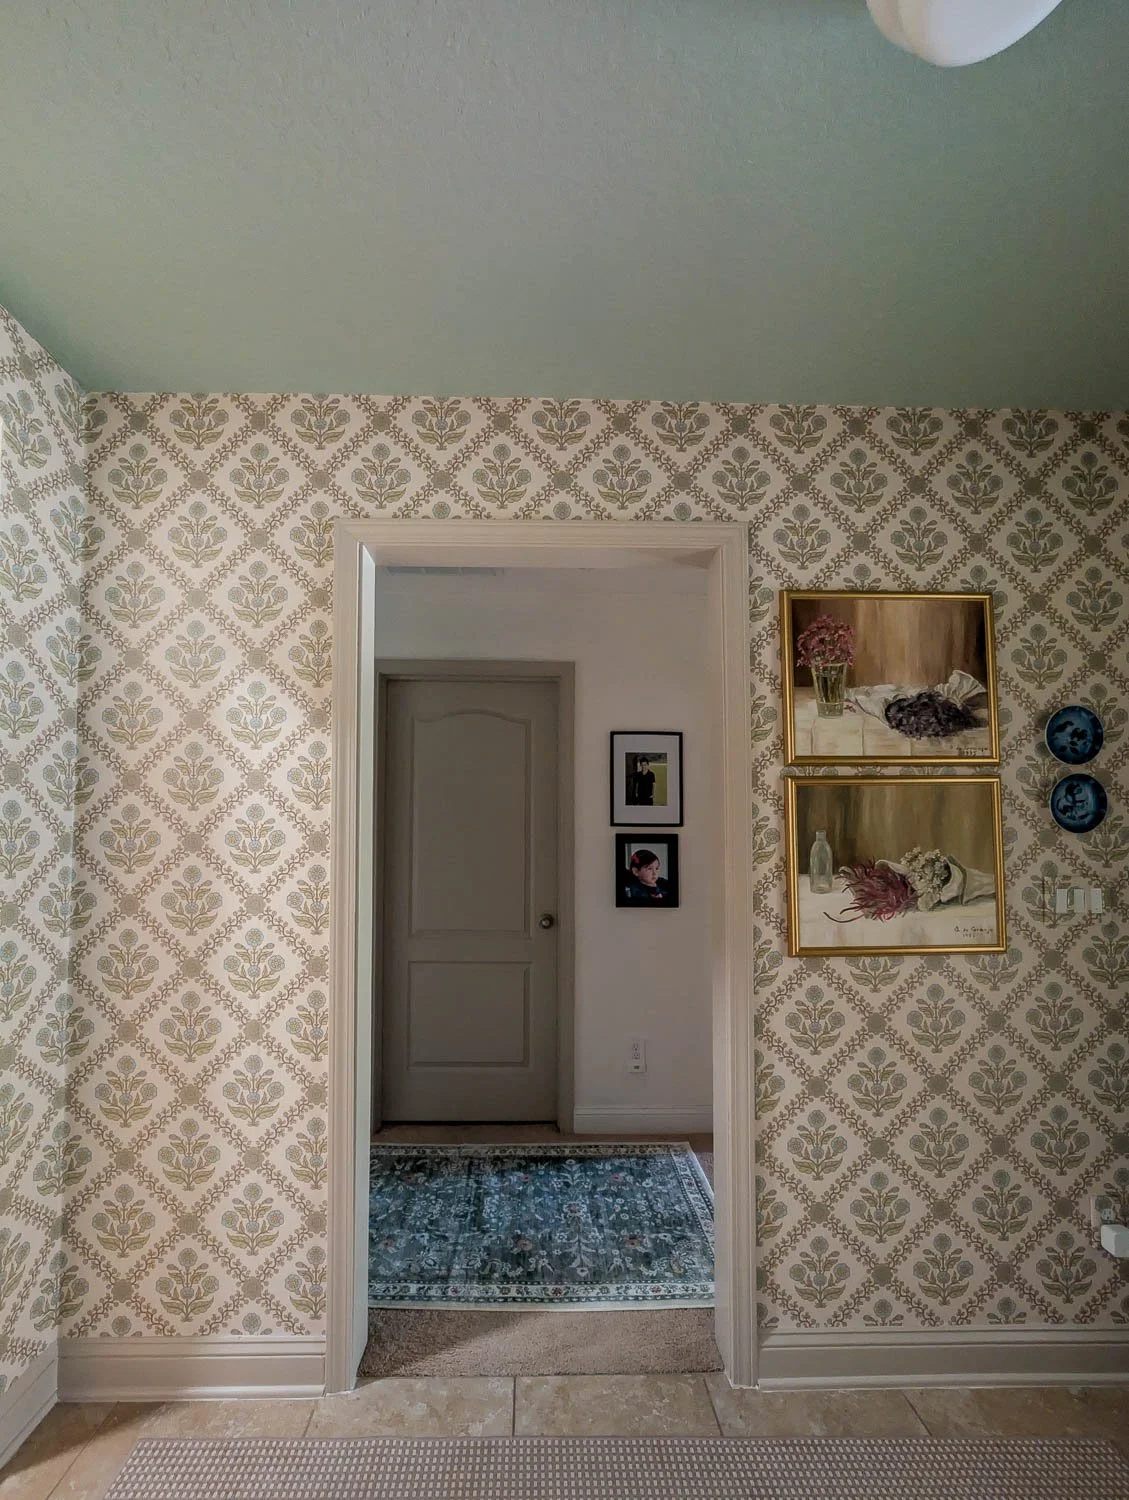
Before
I originally thought this project would take an entire weekend of complicated measuring and custom miter cuts, but it was surprisingly simple. I was able to complete the whole thing in just one day using pre-cut interior door casing kits!
Here is exactly what I used and a step-by-step guide on how you can upgrade your own builder-grade doorways.
Materials & Tools Needed for DIY Door Casing
To get the look and save myself a massive headache, I headed to Lowe's and picked up these specific pre-primed kits. Using kits instead of buying raw lumber by the foot ensures your angles are right and saves you a ton of time.
1 x RELIABILT 0.68-in x 36-in x 80-in Primed Pine Interior Door Casing Kit (This creates the flat inside piece, or the "jamb," of the doorway opening).
2 x RELIABILT 2.0625-in x 36-in x 80-in Primed Pine 356 Interior Door Casing Kit (This is the decorative trim for either side of the wall).
Hammer & Pry bar (I love my Kobalt pry bar for this!)
Oscillating Multi-Tool (to trim back baseboards if necessary)
Brad nailer & 1.5-inch to 2-inch brad nails
Level
Measuring tape
Wood filler, paintable caulk, and a caulk gun
Interior trim paint (matched to your home's existing trim color)
Step-by-Step: How to Install Interior Door Casing
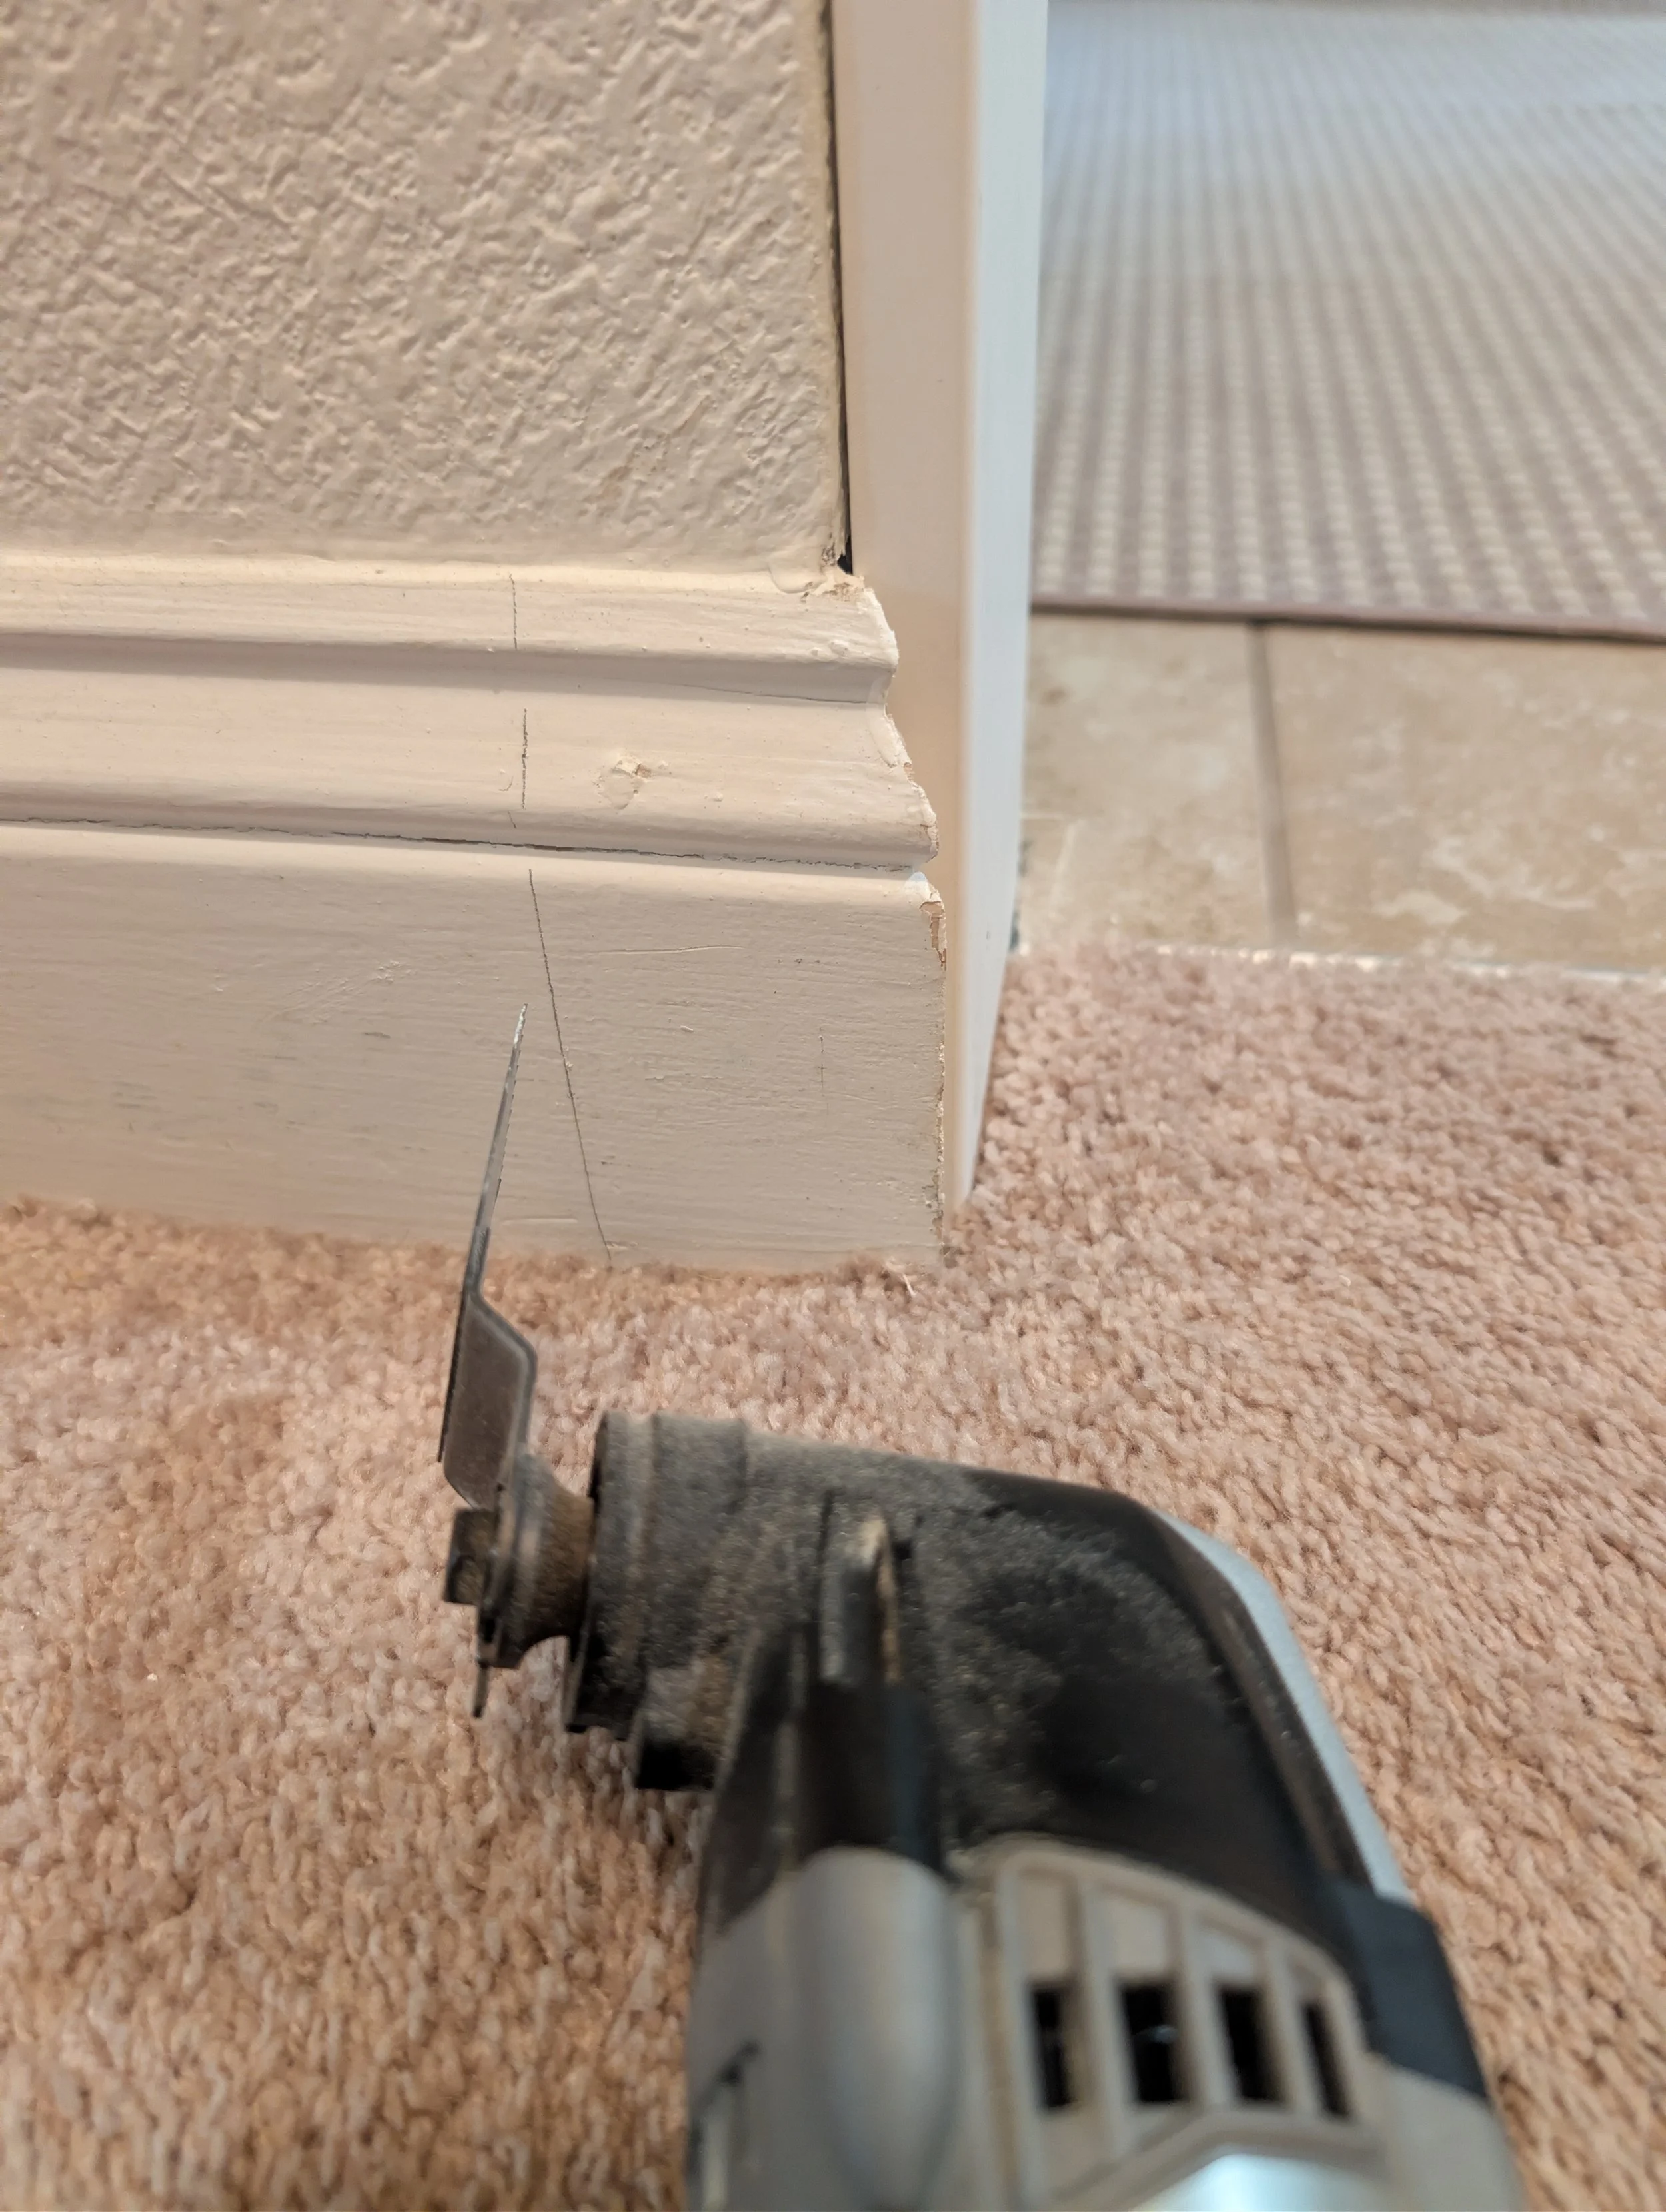
1. Prep the Area & Remove the Baseboards
Before you can run the new vertical casing flush to the floor, you need to clear a path through your existing baseboards. Start by measuring the exact width of your new trim and marking that measurement on the baseboard. Use an oscillating multi-tool to make a clean, straight cut right on your line. Once the cut is made, grab your pry bar (my trusty Kobalt one was perfect for this!) and carefully pop that small piece of baseboard off the wall.
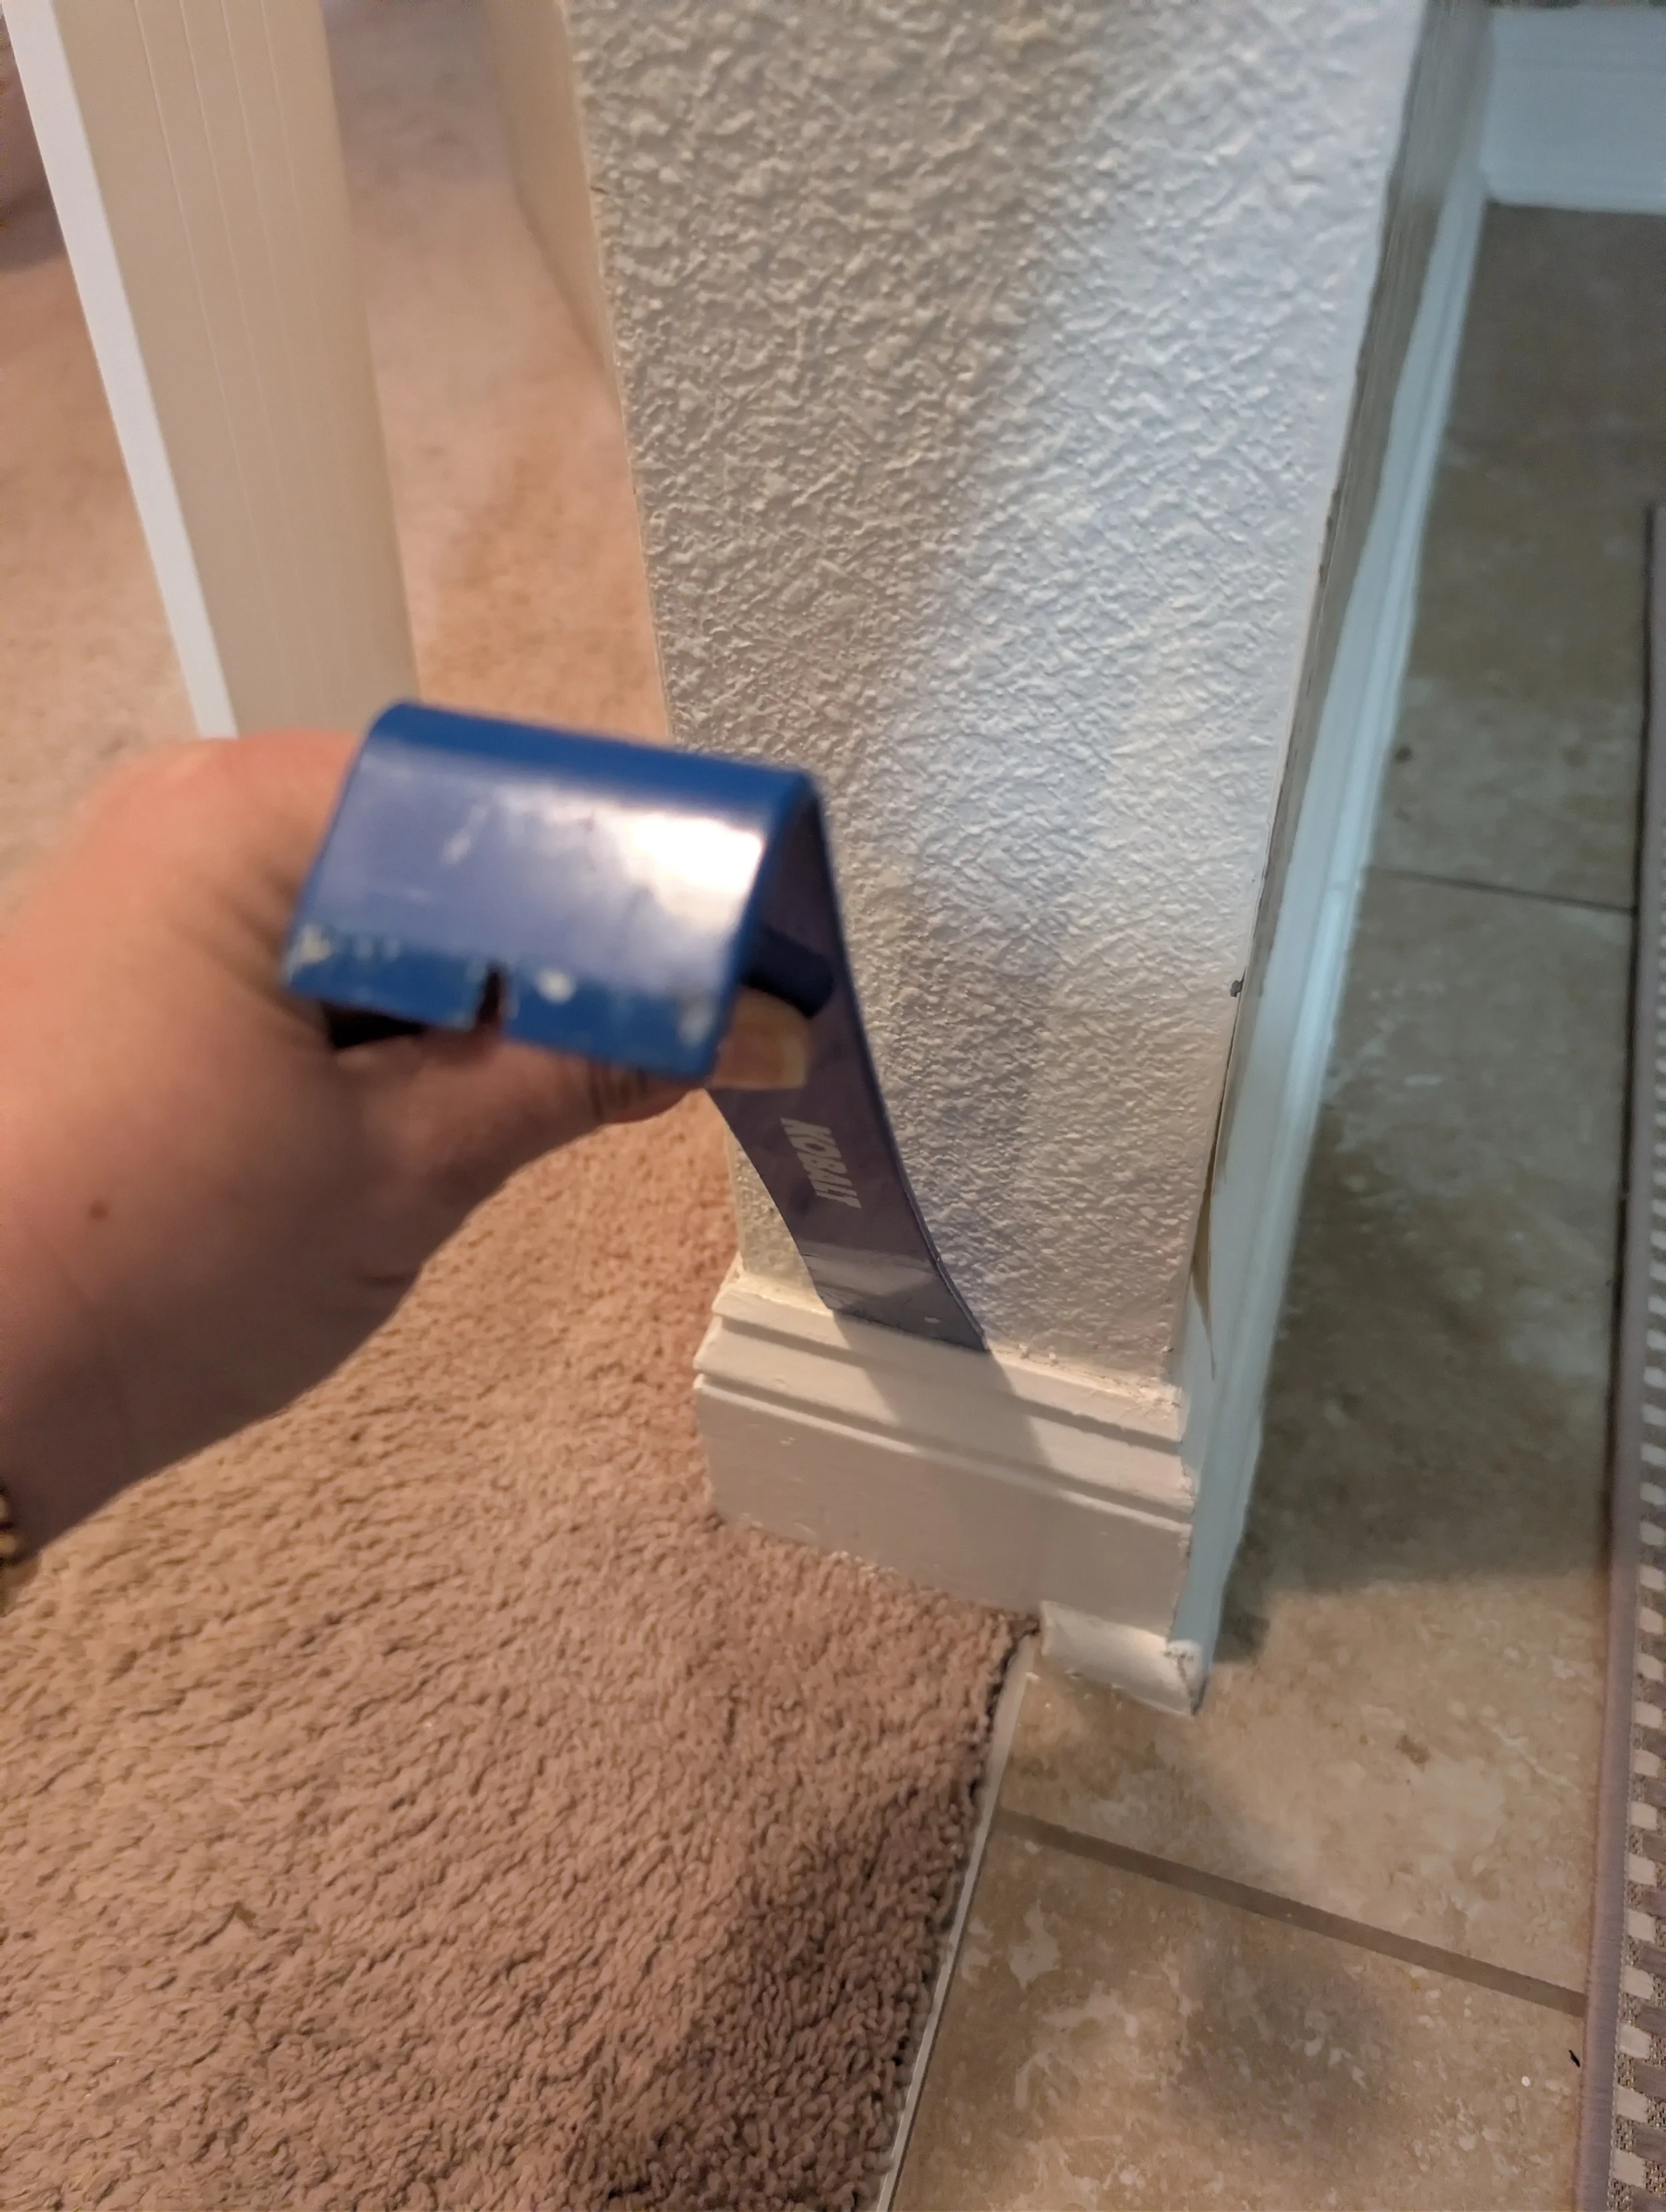
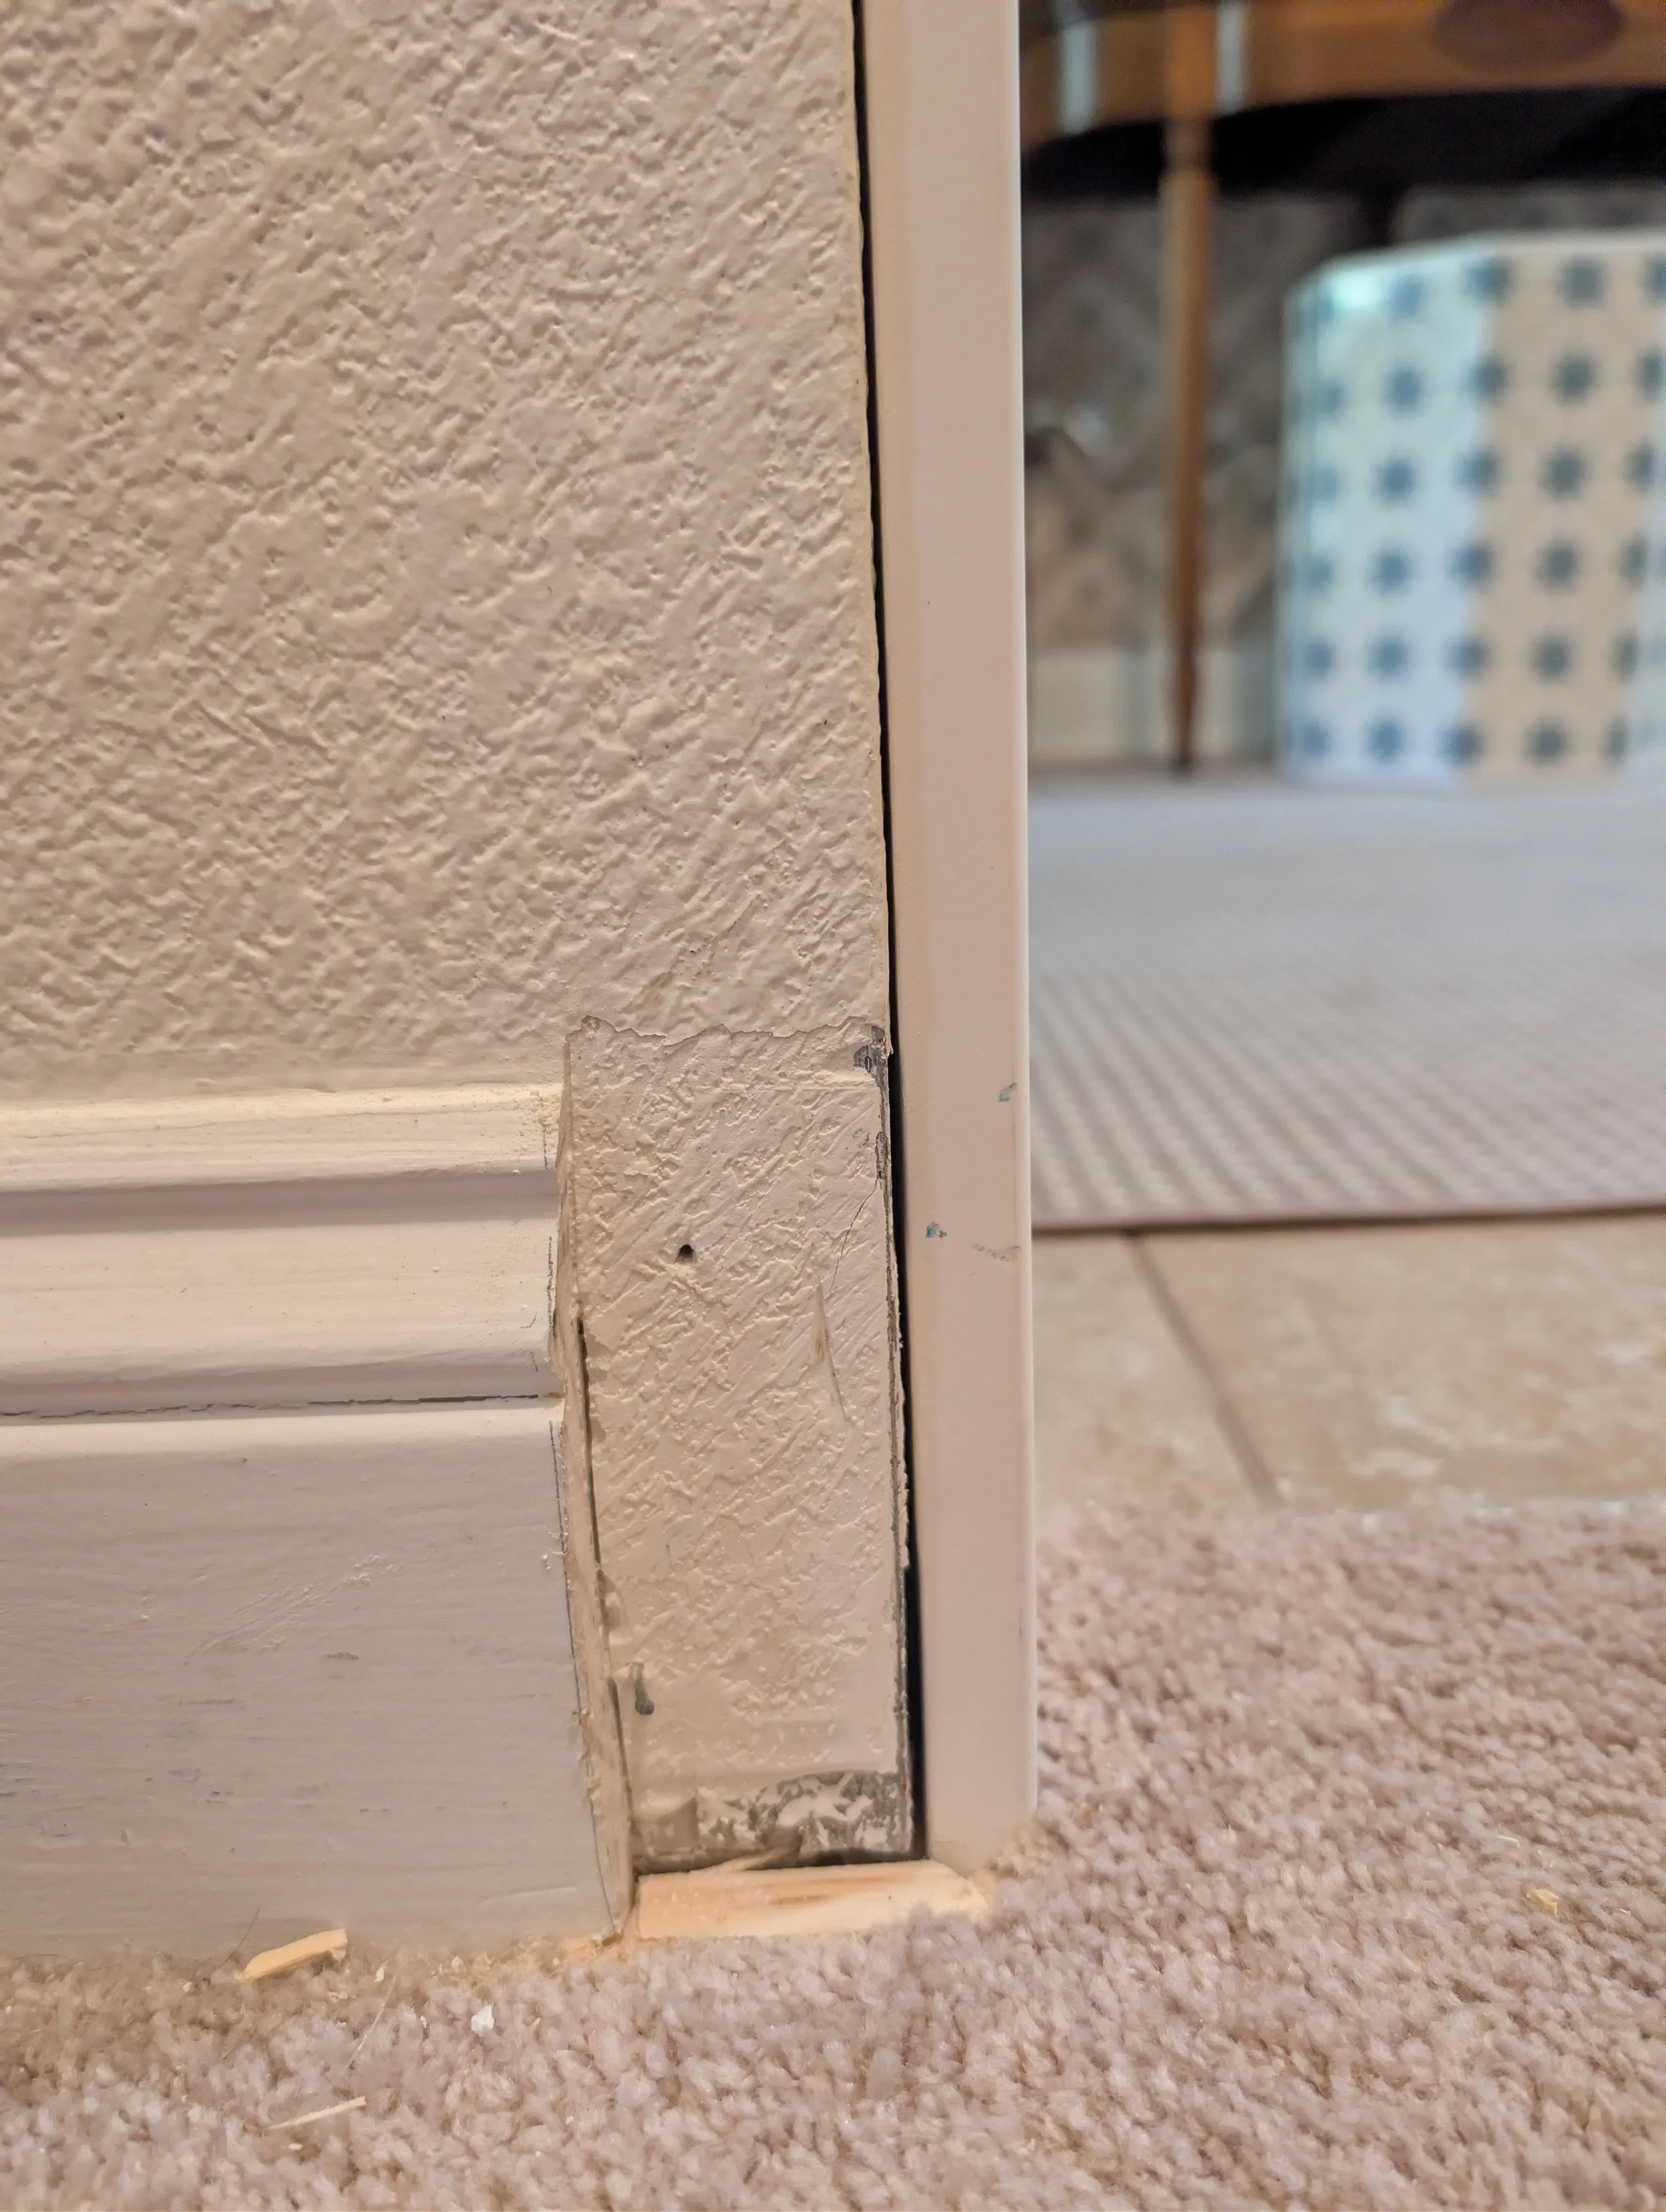
Pro-Tip: Always score the top of the baseboard where it meets the wall with a sharp utility knife first! If you skip this step, the dried caulk will pull the drywall paper (or your precious wallpaper!) right off the wall when you pry the baseboard back. Once scored, I took my hammer and pry bar to gently pull away the baseboards right where the carpet meets the tile.
2. Install the Flat Door Jamb
Next, you need to line the inside of the drywall opening. This is where the flat casing kit comes in. Measure the exact height of the inside of your doorway. While these kits are cut for standard 80-inch doors, depending on your flooring, you might need to trim a tiny bit off the bottom legs.
Once the height is right, use your brad nailer to attach the side legs directly into the drywall and the wood studs beneath. Make sure they sit perfectly flush with the drywall on both sides. Then, install the top header piece to complete the inside frame.
3. Add the Decorative Casing (The Fun Part!)
Once the inside is lined, it's time to frame the outside to give it that finished, traditional look. I used the 356 Primed Pine casing kits for both sides of the doorway.
These kits are amazing because the 45-degree miter cuts for the top corners are already figured out for standard doorways. You want to install these leaving a slight "reveal, "meaning you don't line the decorative trim up perfectly with the edge of the flat jamb. Instead, leave about a 1/8-inch to 1/4-inch border of the flat jamb showing. This adds depth and makes the trim look incredibly professional. Align the trim, check it with your level, and nail it into place. Repeat on the other side of the wall!
4. The Finishing Touches: Caulk, Patch, and Paint
This is the step that takes your project from DIY to Professional Custom Build.
The absolute best thing about these RELIABILT kits is that they come pre-primed! All I had to do was fill my brad nail holes with wood filler and sand them smooth once dry. Next, run a thin bead of paintable caulk along all the seams, where the trim meets the wall, where the trim meets the jamb, and especially in those mitered top corners.
Once the caulk and wood filler are prepped and dry, give it a quick coat of your favorite interior trim paint to match the rest of the house.
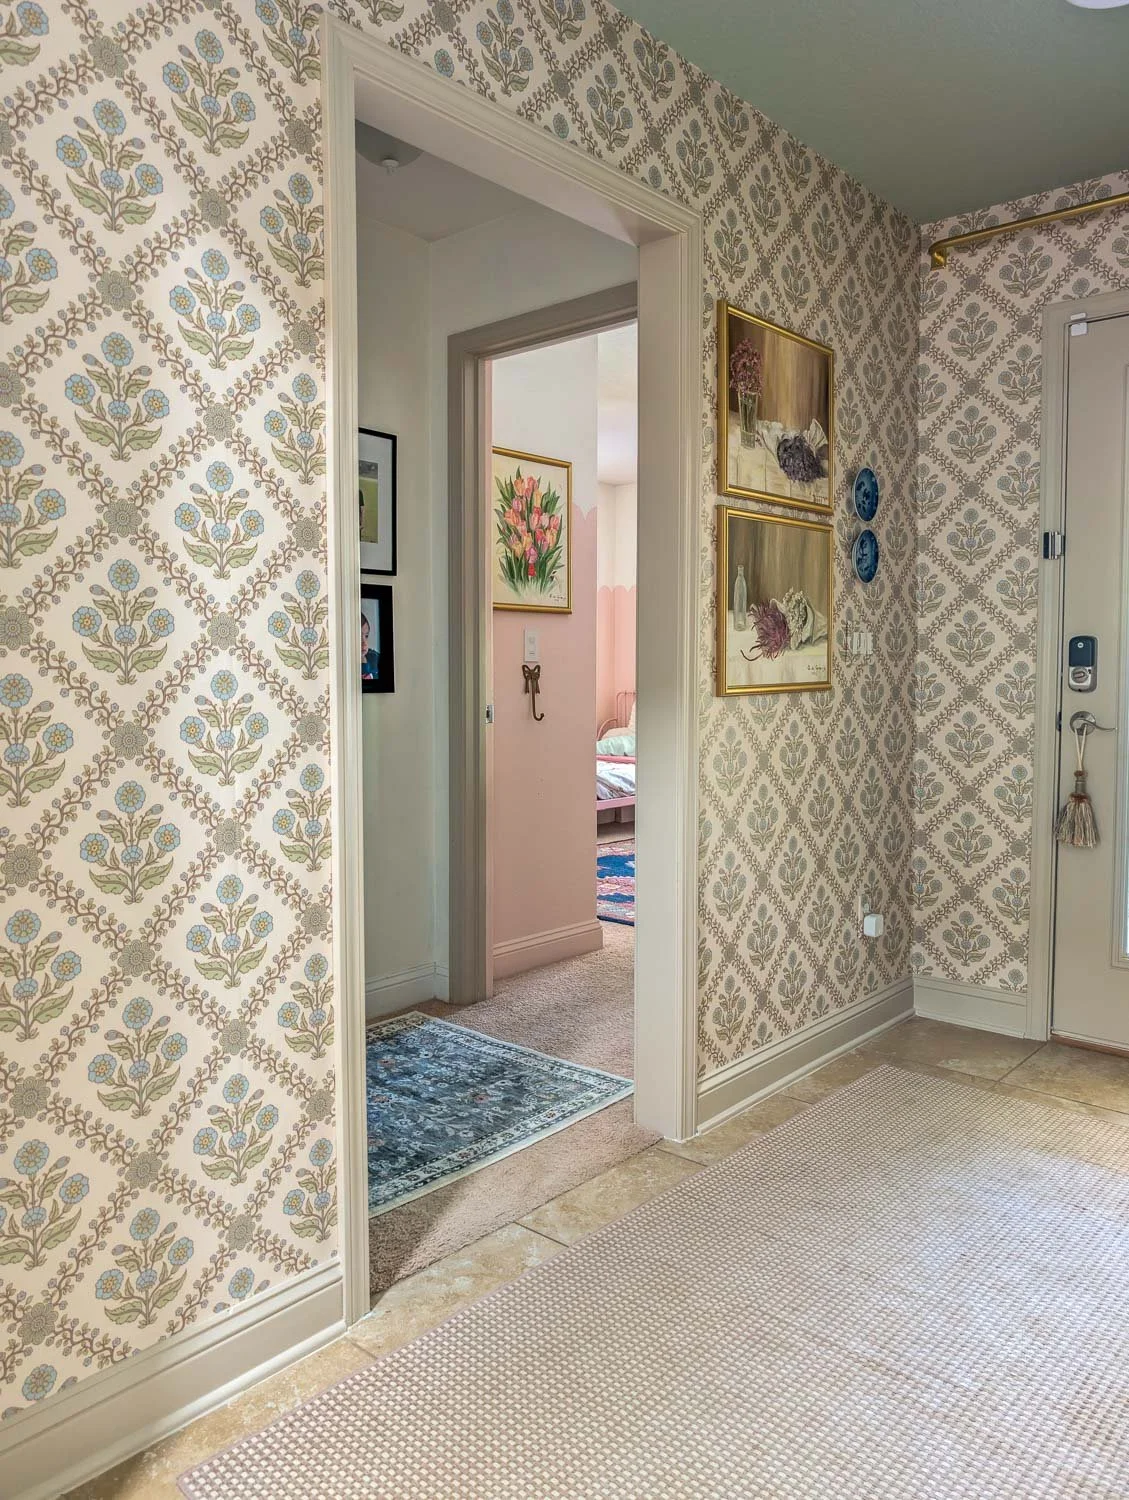
After
Frequently Asked Questions About DIY Door Casing
Do I need an expensive miter saw for this project? If you have standard-sized doorways (80 inches high) and use these specific Lowe's casing kits, you can get away with very minimal cuts. If you do need to trim the bottom legs to fit your floor height, a simple hand saw or a basic miter saw will do the trick perfectly.
How long does it take to add trim to a doorway? The actual installation of the wood took me less than two hours. The most time-consuming part is waiting for the wood filler and caulk to dry before you can paint! You can easily tackle this from start to finish in a single Saturday.
Does this really protect the walls? Absolutely. Drywall corners are fragile, and metal corner beads can easily dent. Solid pine trim creates a durable barrier that protects your drywall and wallpaper from impact, saving you from constant touch-ups.
The Finished Look
I am so thrilled with how this hallway update turned out. Not only is the foyer wallpaper completely protected from tiny hands and daily traffic, but the hallway looks incredibly finished and intentional. It's amazing how much of an impact adding standard trim can make to a builder-grade opening, completely elevating the entire view from the foyer.
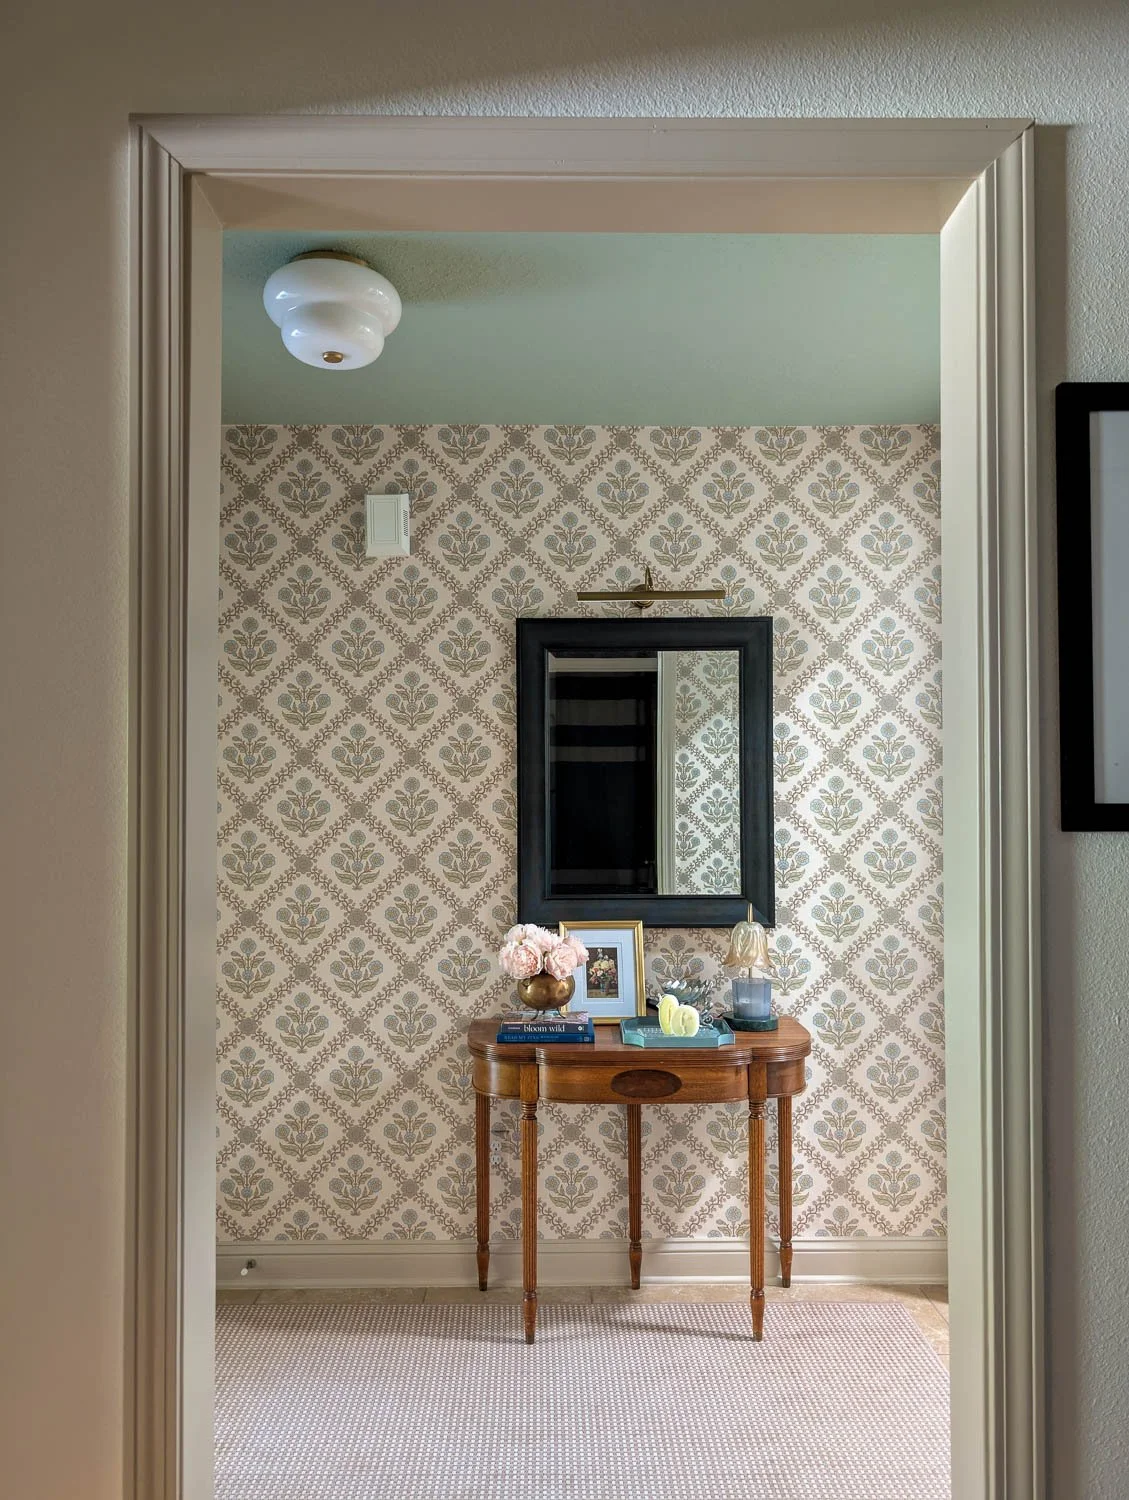
Floral Legacy Wallpaper | Area Rug | Flush Mount Light | Picture Light (similar) | Antique Table (Facebook Marketplace) | Candle Lamp Warmer | Faux Suede Tray
Have you ever retroactively added trim to the pass-throughs in your home? Let me know in the comments below!


I’m a mom of two and wife to a seriously supportive hubby, living our best life in our forever house by the preserve! I'm all about helping you create a stylish, Pinterest-worthy home on a budget. Let's obsess over interior design, home decor, DIY, and home improvement projects to help you create your best home. Follow along and say hello! I love hearing from you.
Currently Trending


Join me on Instagram!