The Lighting Layer Audit: How to Fix a 'Flat' Room
*This post contains affiliate links. Please read my full disclosure here. Thank you for supporting my blog.*
We’ve all been there. You’ve curated the perfect stack of books, your furniture layout is just right, but as soon as the sun goes down and you flip the switch, the room feels… off.
The culprit? The Big Light. Overhead lighting, especially the standard builder-grade variety (looking at you boob lights!), is a vibe-killer. It flattens textures, creates harsh shadows, and turns a curated home into something that feels more like a sterile office.
There is a specific reason this feels more urgent right now. After the holidays, when we’ve tucked away the twinkle of the Christmas tree and the glow of the mantle garlands, our homes can suddenly feel cold and hollow. Today, we’re fixing that. We’re moving away from utility and toward ambiance by learning how to layer light like a professional designer.
Quick Summary: The Lighting Layer Audit
Don't let "The Big Light" ruin your design; learn how to transition from sterile utility to a warm, intentional glow.
The Problem: Overhead builder-grade lighting flattens textures and creates harsh, uninviting shadows.
The Post-Holiday Slump: Many homes feel cold and hollow once the warm glow of holiday decor is tucked away.
The Goal: Move beyond functional utility toward a layered approach that creates ambiance and depth in any room.
The Three Pillars of Lighting
Think of lighting as a wardrobe. You wouldn't just wear an overcoat; you need layers to make the outfit work. To get that high-end look, you need to balance three specific types of light:
Layer 1: Ambient (General)
This is your base layer—the recessed lights or ceiling fixtures. Its only job is to make sure you don’t trip over the ottoman. It’s functional, but it shouldn't be your only source of light.
Layer 2: Task (Functional):
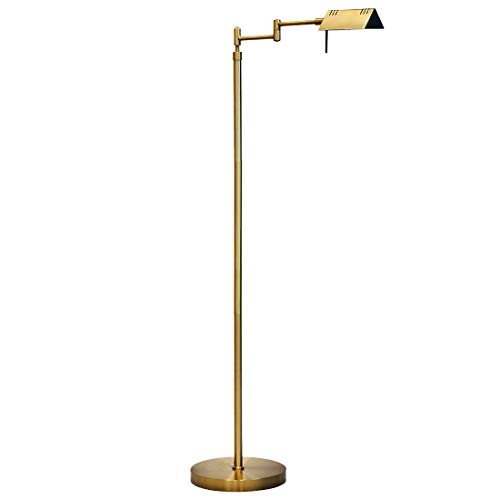
This is light for a specific job. Think of a brass pharmacy lamp for reading, a sturdy desk lamp, or those essential under-cabinet lights in the kitchen.
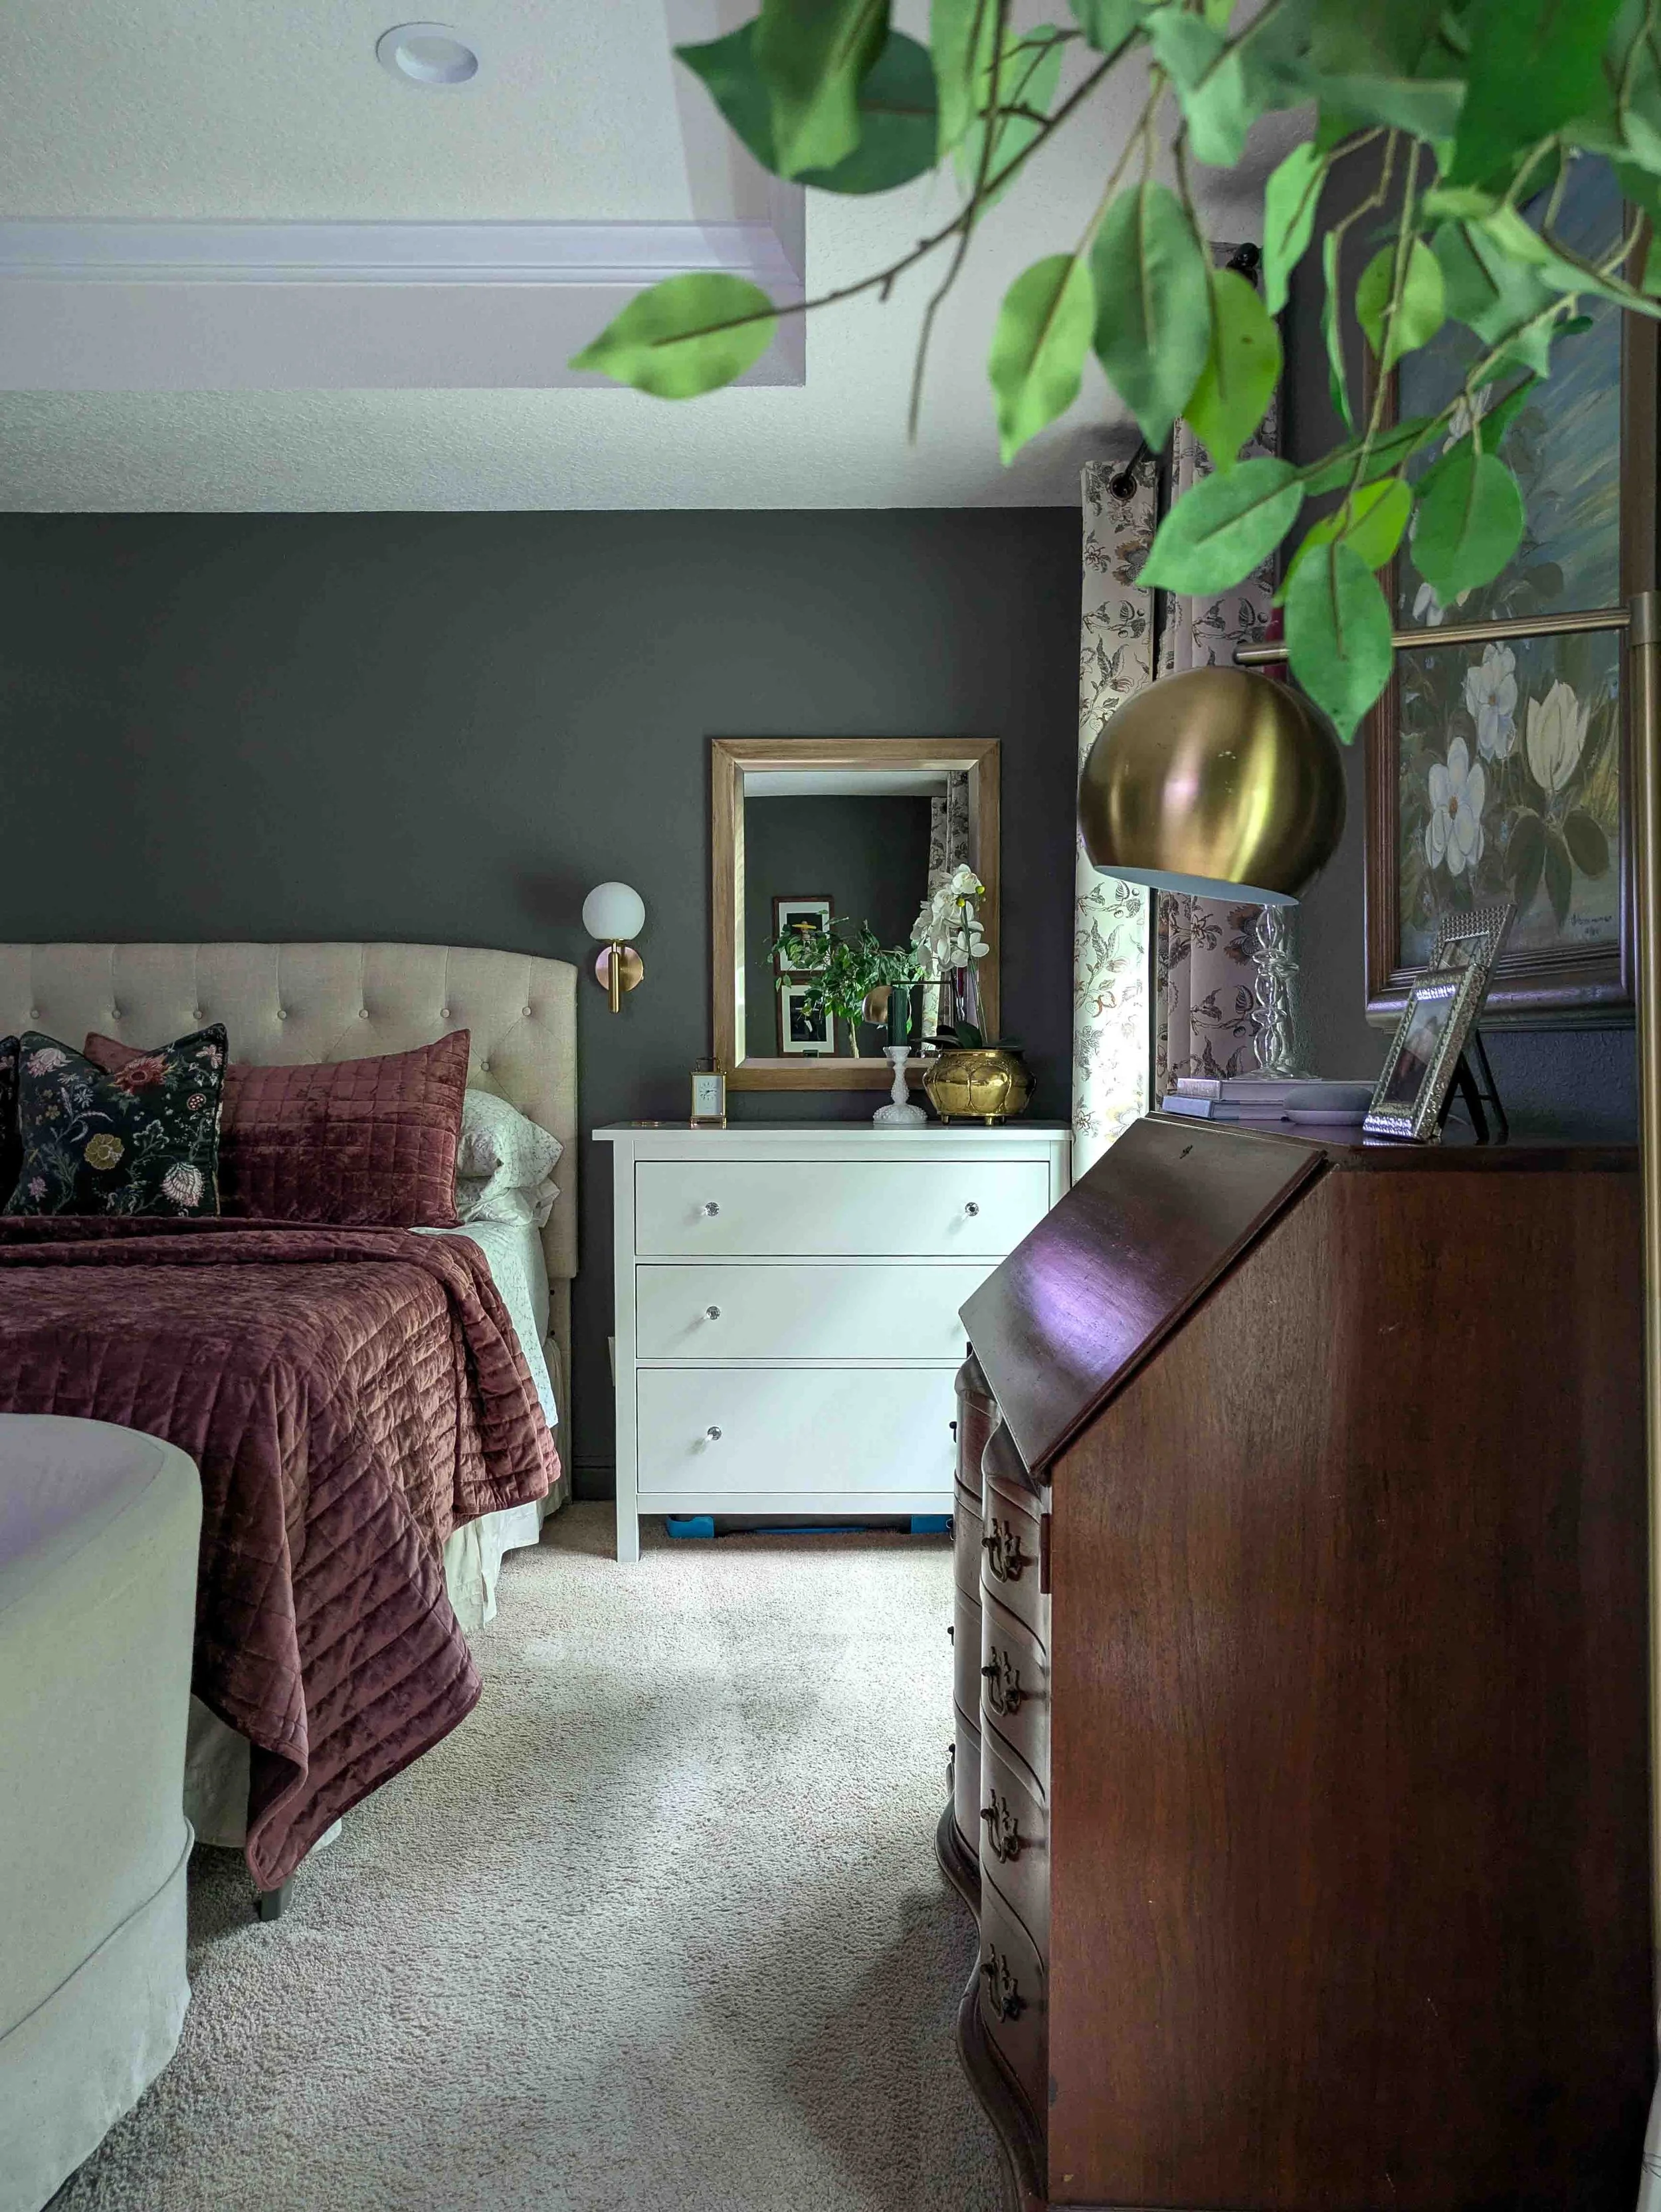
Layer 3: Accent (Setting the Mood):
These are the jewelry of the room—picture lights over a painting or print, a flickering candle on a stack of books, or a wall sconce that highlights a cozy corner.

The Lighting Audit: A Step-by-Step Guide
Grab a cup of coffee and walk through your favorite room. Ask yourself these three questions:
Where are the shadows?
Look for the dead zones, the dark corners, or the spaces behind the sofa. Every corner should have a soft touch of light.
What is the temperature?
This is the most common mistake. Check your bulbs. If they say "Daylight" or feel blue/cold, swap them immediately. For warmth, aim for bulbs in the 2700K to 3000K (Warm White) range.
The Eye Level Test:
Do you have light at three different heights? You want light at the Ceiling (Ambient), Eye Level (Sconces/Floor Lamps), and Table Level (Small Lamps/Candles).
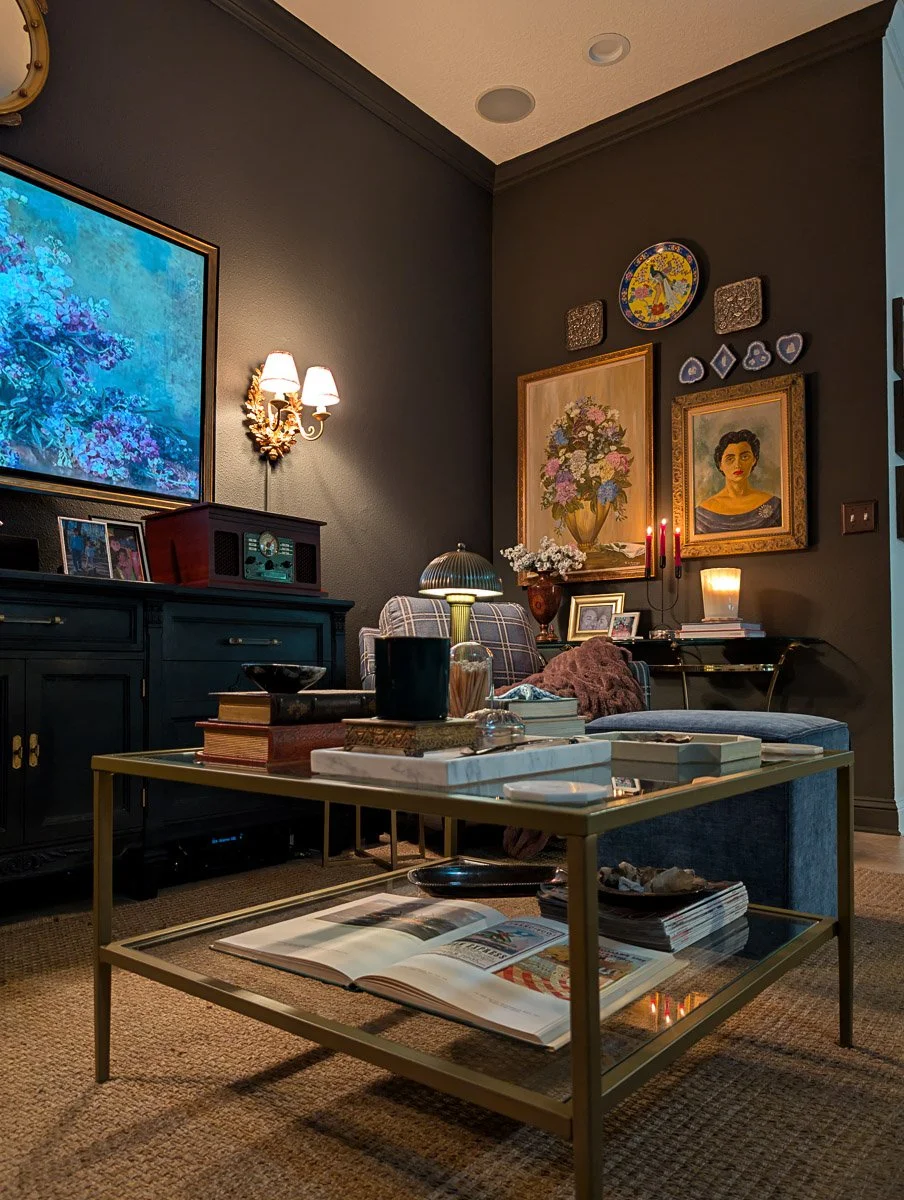
Overhead Lighting with 5000K Daylight Bulbs
Layered Lighting with approximately 2700K Warm White bulbs
Moody Traditional Solutions
You don’t need to call an electrician to transform your lighting. Here are my favorite builder-grade hacks for a custom look:
The Wireless Sconce Hack:
I love the look of a library sconce, but I don’t always want to cut into the drywall. Use battery-operated puck lights or rechargeable LED bulbs to add sconces anywhere you want. It adds instant architectural interest with zero wiring. Or you could also simply hide the wires by painting cord covers the same color as your wall.
2. The Power of the Picture Light:
A simple, slim picture light placed over a thrifted landscape print or mirror instantly elevates a hallway or a gallery wall. It says, "Something important is happening here."
3. Dimmers are Everything:
If you have a "Big Light" you absolutely must use, put it on a dimmer switch. Being able to dial back the intensity is the difference between a working kitchen and an intimate dinner party.
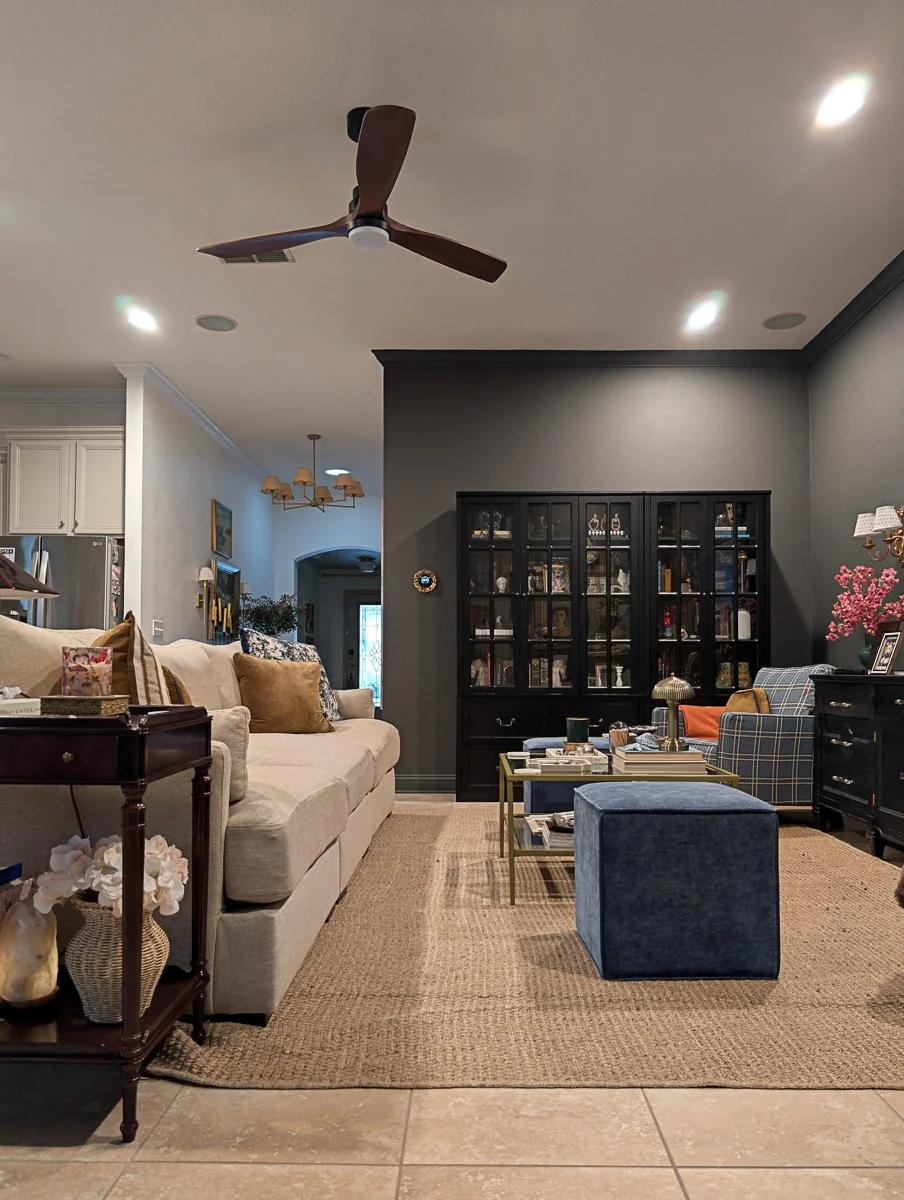
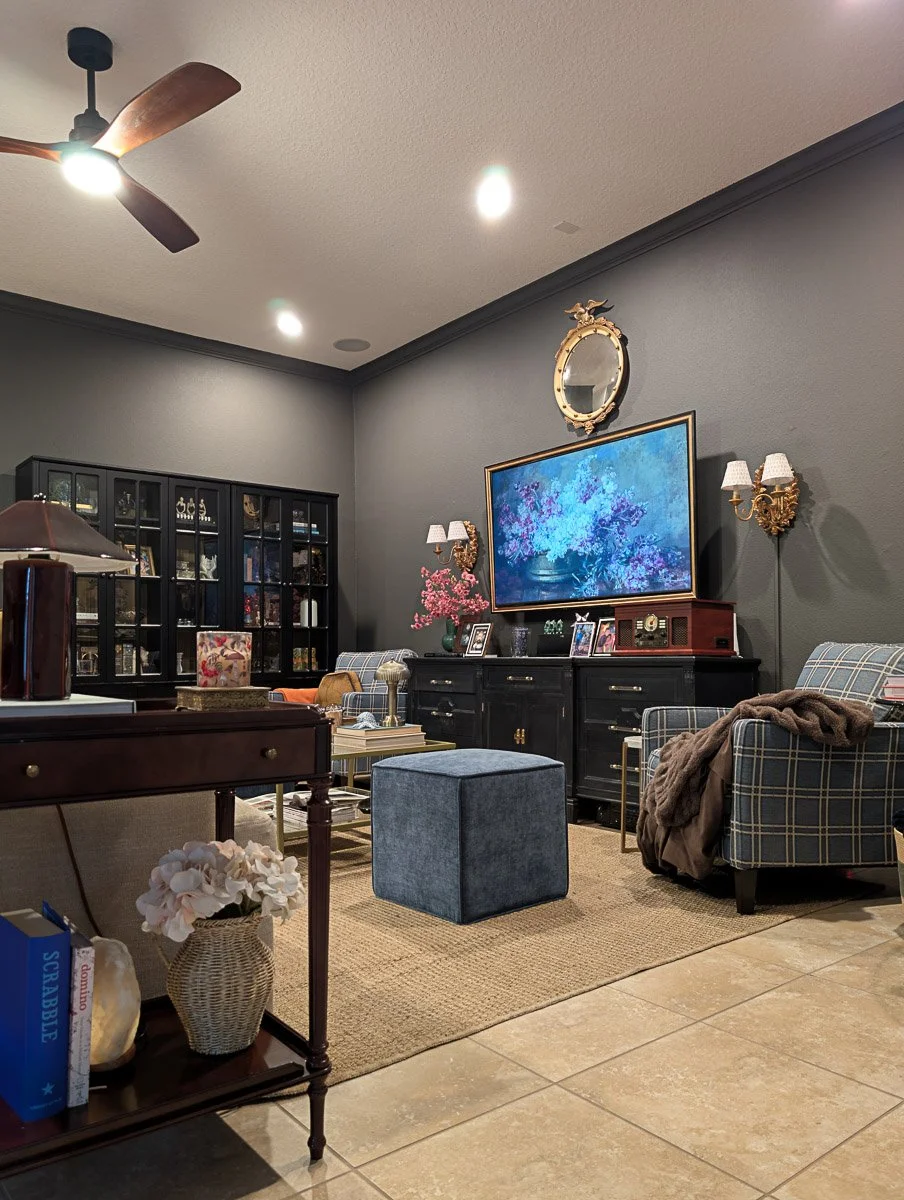
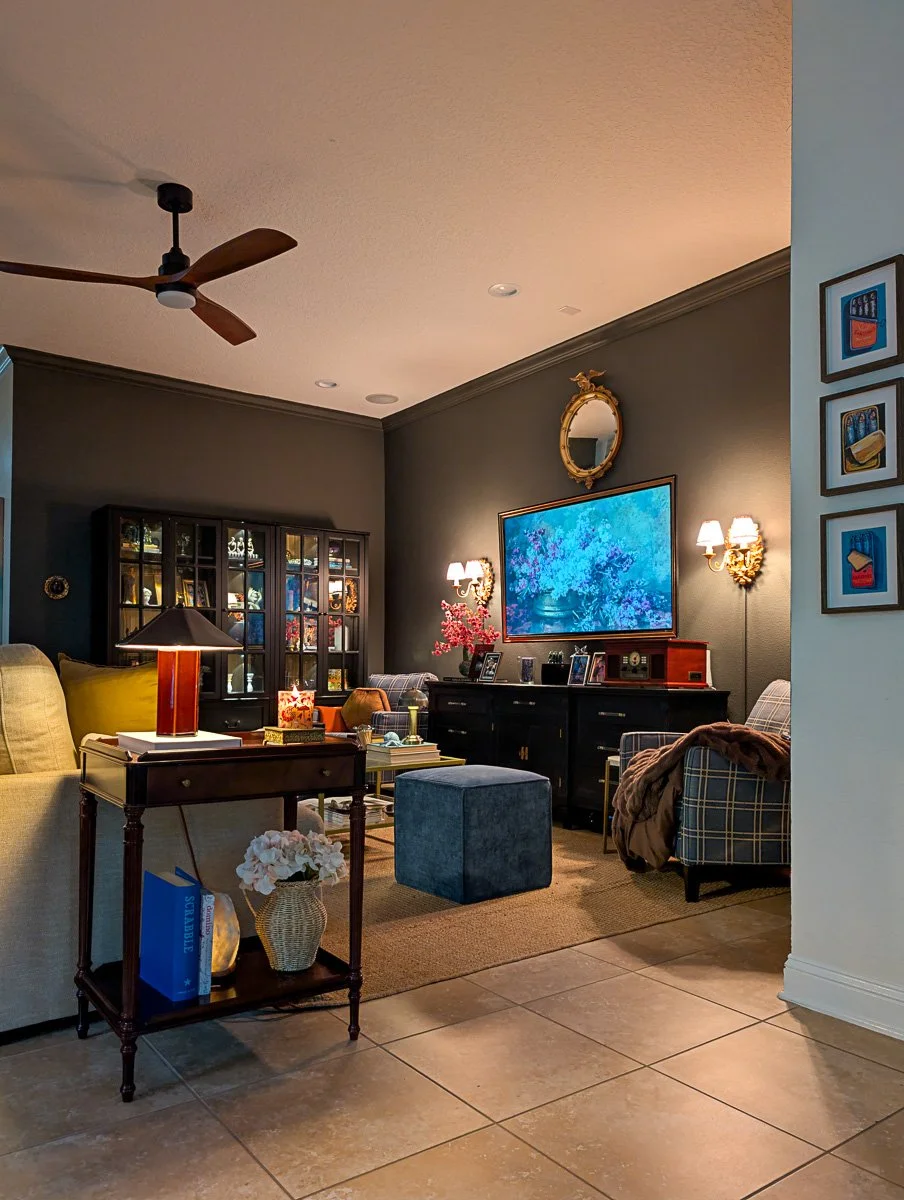
Ceiling lights on the highest setting with a dimmer.
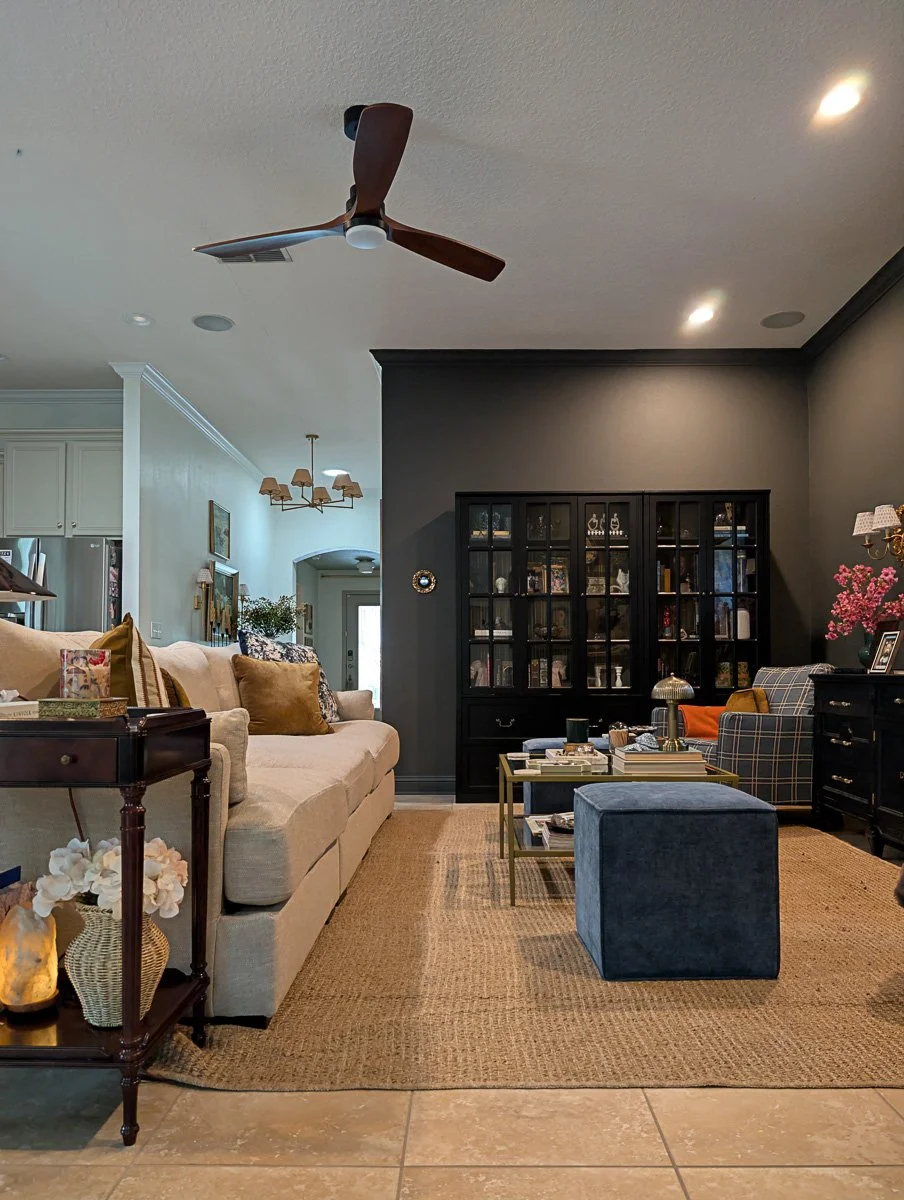
Ceiling lights on the lowest setting with a dimmer.
Shop the Glow
Ready to layer your light? Here are a few pieces that hit that moody, traditional mark:
The Statement Floor Lamp:
Look for a brass finish with a pleated or linen shade to add soft texture.


The Tiny Table Lamp:
I love placing a mini lamp on a kitchen counter or nestled inside a bookshelf. It’s an unexpected touch that feels incredibly high-end.


The Hardware:
When choosing lamps and sconces, try to match your finishes (think aged brass or oil-rubbed bronze) to the rest of your home’s hardware for a cohesive, built-in feel.
Lighting is a Gift to Your Home
Changing your lighting is the single cheapest way to make a builder-grade home look custom and expensive. It’s about creating an environment that feels as good as it looks.
I have to know—are you a fellow "Big Light" hater? Which room in your house is the hardest to get the glow just right? Let’s brainstorm in the comments!


I’m a mom of two and wife to a seriously supportive hubby, living our best life in our forever house by the preserve! I'm all about helping you create a stylish, Pinterest-worthy home on a budget. Let's obsess over interior design, home decor, DIY, and home improvement projects to help you create your best home. Follow along and say hello! I love hearing from you.
Currently Trending


Join me on Instagram!
Looking for something?