Christmas Decor DIYs
Need some quick Christmas DIY decor ideas before family and friends show up for the holidays? Look no further, I have two very simple DIYs with minimal materials required. These are sure to bring holiday joy to any room. I completed both of these projects on the same day and they only took a couple of hours. Mostly just waiting for the paint to dry!
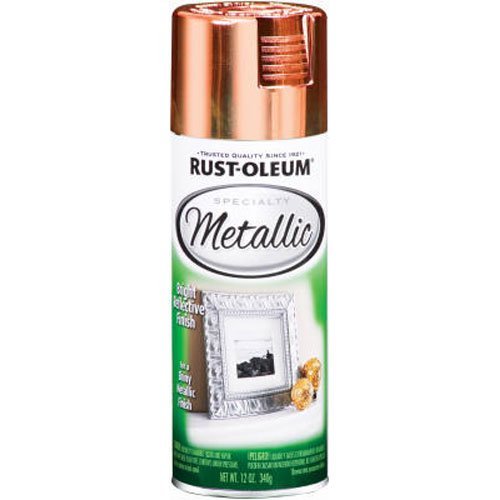
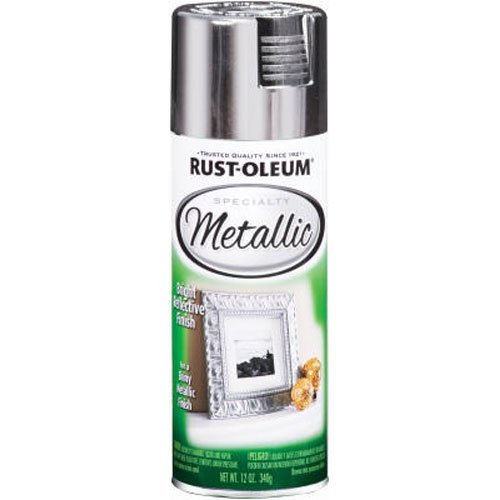
For both of these projects, I used Rust-oleum Metallic spray paint in silver and copper. You can get these at any hardware store, but I bought mine off Amazon.
While browsing Christmas decorations at Jo-Ann Fabrics, I ran into these two fellows! As soon as I saw them, I knew that I would have to get them and find a place for them in our home. I was lucky enough that Jo-Ann Fabrics was having a big ale that day and got these 60% off, so I ended up paying around $10 for both of these.
I then spray painted both of these with the silver spray paint. I have them two coats, waiting about 20 minutes after each coat.
I made a run to the Dollar Tree to get some bells that I could add around their necks, but I couldn't find any big enough. So, I had to improvise by using this ornament that I took apart and made my own collars.
Follow the pictures below to see how I made them!
1. Start by taking the ornament apart.
3. Pass your new ribbon through.
5. Place your ribbon on the glue and hold in place for 10-20 seconds.
2. Remove the ribbon.
4. Use a hot glue gun and place some on top of the bell.
6. Finish result! Now follow steps 4-5 and do the other side.
Finished product! All for about $3!
Take a look how I have used the finished product to decorate my home!
This next DIY was also super easy and cheap! I had these pine cones from last year and I always felt that they needed a little something to make them extra special. You can't go wrong with silver and copper spray paint right?!
I started by giving the pine coats a good layer of the silver spray paint. After about 20 minutes of letting them dry, I grabbed my copper spray paint can and gave the pine cones a light dust. I did this by making sure I didn't get too close to the pine cones letting the copper paint lightly fall on them. Another 20-30 minutes to dry and this DIY are done!
They look so pretty and I have been using them all over the house. Check out some of the pictures below!
Hope you guys enjoyed this post and that it helps get some of the creative juices flowing! Leave me a comment below and let me know what you think!


