
Olivia’s Bedroom Refresh
*This post contains affiliate links, please read my full disclosure here. Thank you for supporting my blog.*
Giving my daughter's bedroom a makeover was not something that I was planning. But when a little someone, ripped a big hole in her peel and stick wallpaper, I was left with no choice. I peeled off what was left of the wallpaper and immediately noticed that the room felt bland and a little boring. I knew that incorporating color was necessary, but I wanted more than just to paint an accent wall. As I stood in her room brainstorming ideas of what to do, I looked around and made note of the accents that I did like: scalloped nightstand, DIY dollhouse shelves, antique light fixtures that used to live in my grandparents dining room and my grandmother's paintings scattered throughout the room.

Before

Before
The paintings and lighting tend to pull the space into a more traditional, grandmillenial decor styles that I usually like to balance out with more modern touches. In this space, I wanted to create a more mature yet whimsical space that could grow with my little one. We decided to incorporate a playful scalloped edge detail on the walls. The result? A bright and airy space that's both stylish and perfect for her growing personality! Read on to see how we achieved this look with a few budget-friendly tricks and DIY touches.

Creating the scalloped wall detail was a surprisingly straightforward DIY. The real MVP of this project was our laser level, which enabled me to draw a perfectly straight line across the room in less than 15 minutes. . Once I had the line at the desired height, I simply used a cereal bowl to trace the scallops. The process was so effortless that I completed my template in under 30 minutes. Then came the enjoyable part—painting! I opted to use the same paint we had for the trim and door, 'Stolen Kiss' by Behr with a satin finish. Our walls have a textured surface, and I usually prefer a flat paint finish to prevent highlighting the texture. However, considering this lighter paint color was for my little girl's room, I chose a satin finish for its ease of cleaning.


For the window overlooking the street, I wanted to provide her with privacy while still allowing the light to filter in. We had some IKEA curtains previously used in the playroom that allowed light to filter through while maintaining privacy. I opted to transform them into café curtains, covering only the lower half of the window. It proved to be an ideal solution, enabling her to enjoy her bedroom without concerns of being observed by passersby on the street.
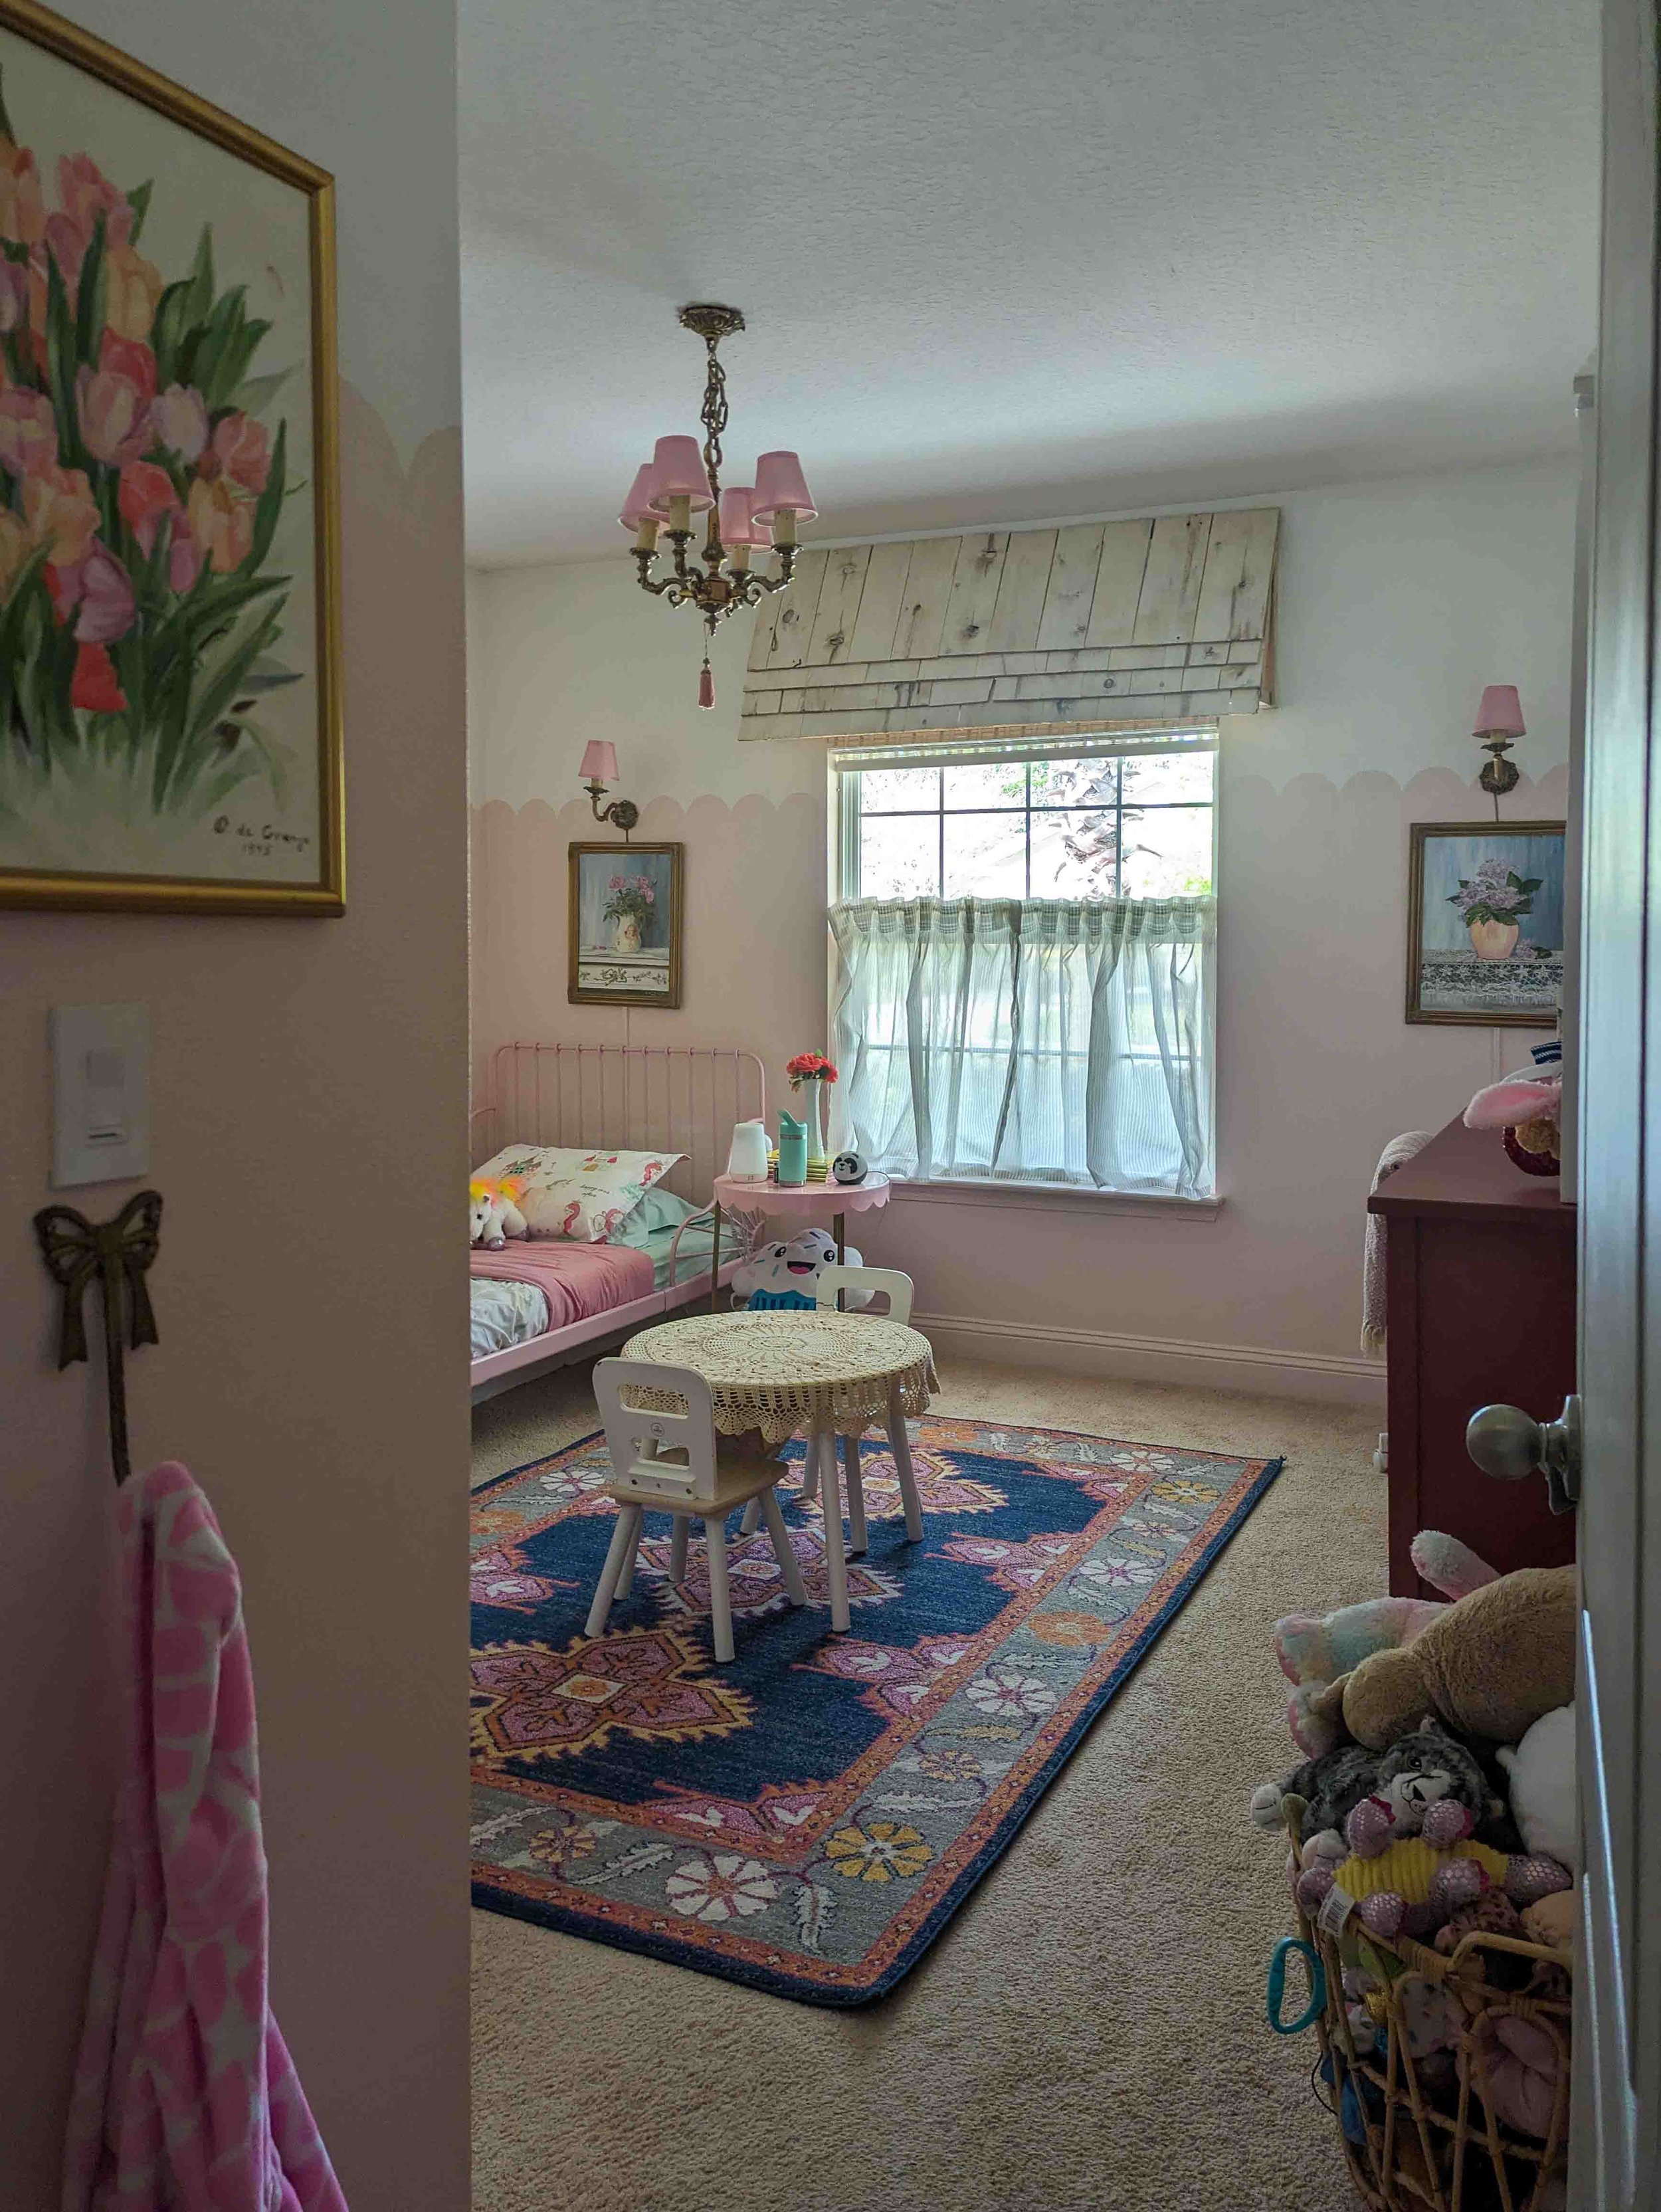
As you can see, I have chosen to welcome her toys instead of concealing them. This enables her to actually view them and, hopefully, encourages her to engage in play. We’ve removed the closet doors and stored them in our attic, which allows us to utilize the closet space for additional toy storage as we navigate through the Barbie phase and all its accompanying items.


Shop this look:


I’m a mom of two and wife to a seriously supportive hubby, living our best life in our forever house by the preserve! I'm all about helping you create a stylish, Pinterest-worthy home on a budget. Let's obsess over interior design, home decor, DIY, and home improvement projects to help you create your best home. Follow along and say hello! I love hearing from you.
Currently Trending


Join me on Instagram!
Looking for something?
