Realistic Builder Grade Pantry Makeover: Ditching the Wire Shelves for Good
*This post contains affiliate links. Please read my full disclosure here. Thank you for supporting my blog.*
If you’ve ever lived in a newer build, you already know the struggle of the typical builder-grade pantry. You open the door, hoping for a beautifully functional storage space, and what greets you? A vast, empty vertical void interrupted by exactly three flimsy wire shelves.
Not only do jars and boxes constantly tip over on the wire rungs, but there is never enough storage to actually maximize the space. For the longest time, our pantry was a major pain point. It was cramped, unorganized, and frankly, a bit of an eyesore every time I went to cook dinner. I finally decided it was time to tackle a complete builder-grade pantry makeover.
But let me be clear right out of the gate: this is not your typical blogger pantry. You won't find perfectly decanted dry goods, matching glass jars, and expensive aesthetic containers for every single cereal flake. In our home, we keep most items in their original packaging. With a nine-year-old and a six-year-old constantly grabbing snacks and packing lunches, I needed a space that was beautiful, but above all, functional and real.
Here is exactly how we ripped out the wire shelving and created a heavy-duty, customized pantry that actually works for our family, without a massive custom cabinetry budget.

The typical builder grade wire shelves before the makeover. So much wasted vertical space and everything tipping over!
Tools & Materials for a DIY Pantry Upgrade
Before we dive into the steps, here is everything we used to pull off this pantry transformation.
Wall Anchors & Screws: Essential for safety!
Prybar & Utility Knife: For removing the baseboards.
Drywall Spackle & Sanding Block: To patch the holes from the wire shelves.
Drywall Texture Spray: If you have textured walls, this is a necessary step to make your walls look like new.
Interior Paint: We used ‘Stardew’ by Sherwin-Williams in a flat finish because we have textured walls. If I didn’t have textured walls, I would have used an eggshell finish for wipability.
Wooden Snack Organizers: I purchased all of mine at HomeSense for a little over $100. I linked similar ones.
Small Shelves: To help with organizing.
Large Fabric Bins: Mine are super old, repurposed from one of the kids’ rooms.
Step 1: The Demo and Drywall Repair
The very first step of any good DIY pantry organization project is completely clearing out the space. Once the food was out, it was time to remove those three standard wire shelves.
Taking down wire shelving is relatively easy, but it will leave your walls looking like Swiss cheese. The builder-grade anchors leave significant holes behind. I took an afternoon to fill all the holes with drywall spackle, let it dry, and sanded everything completely smooth. If you have textured walls, grab a texture spray and take care of those flat spots. Do not skip this step! A repaired wall is the foundation of a high-end-looking pantry.
Step 2: Prepping the Baseboards and Painting
To maximize storage and make the new shelving units look like built-ins rather than temporary furniture, I decided to remove the baseboards.
DIY Tip: Always take a utility knife and score the top edge of the baseboard where it meets the wall before taking a prybar to it. This cuts the caulking and prevents you from peeling the drywall paper!
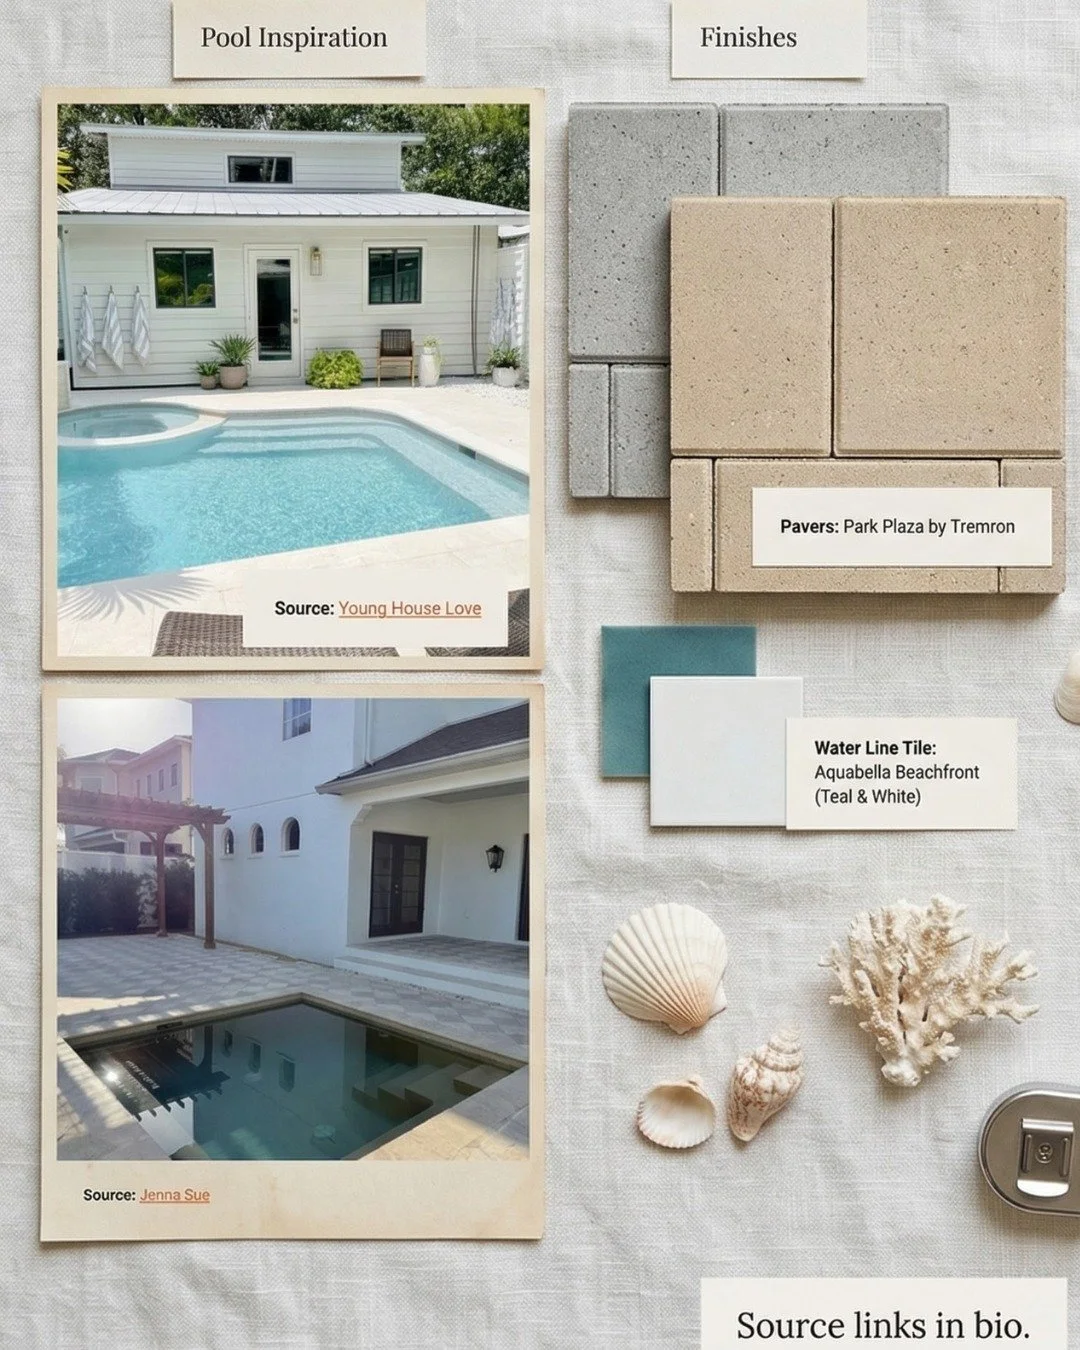
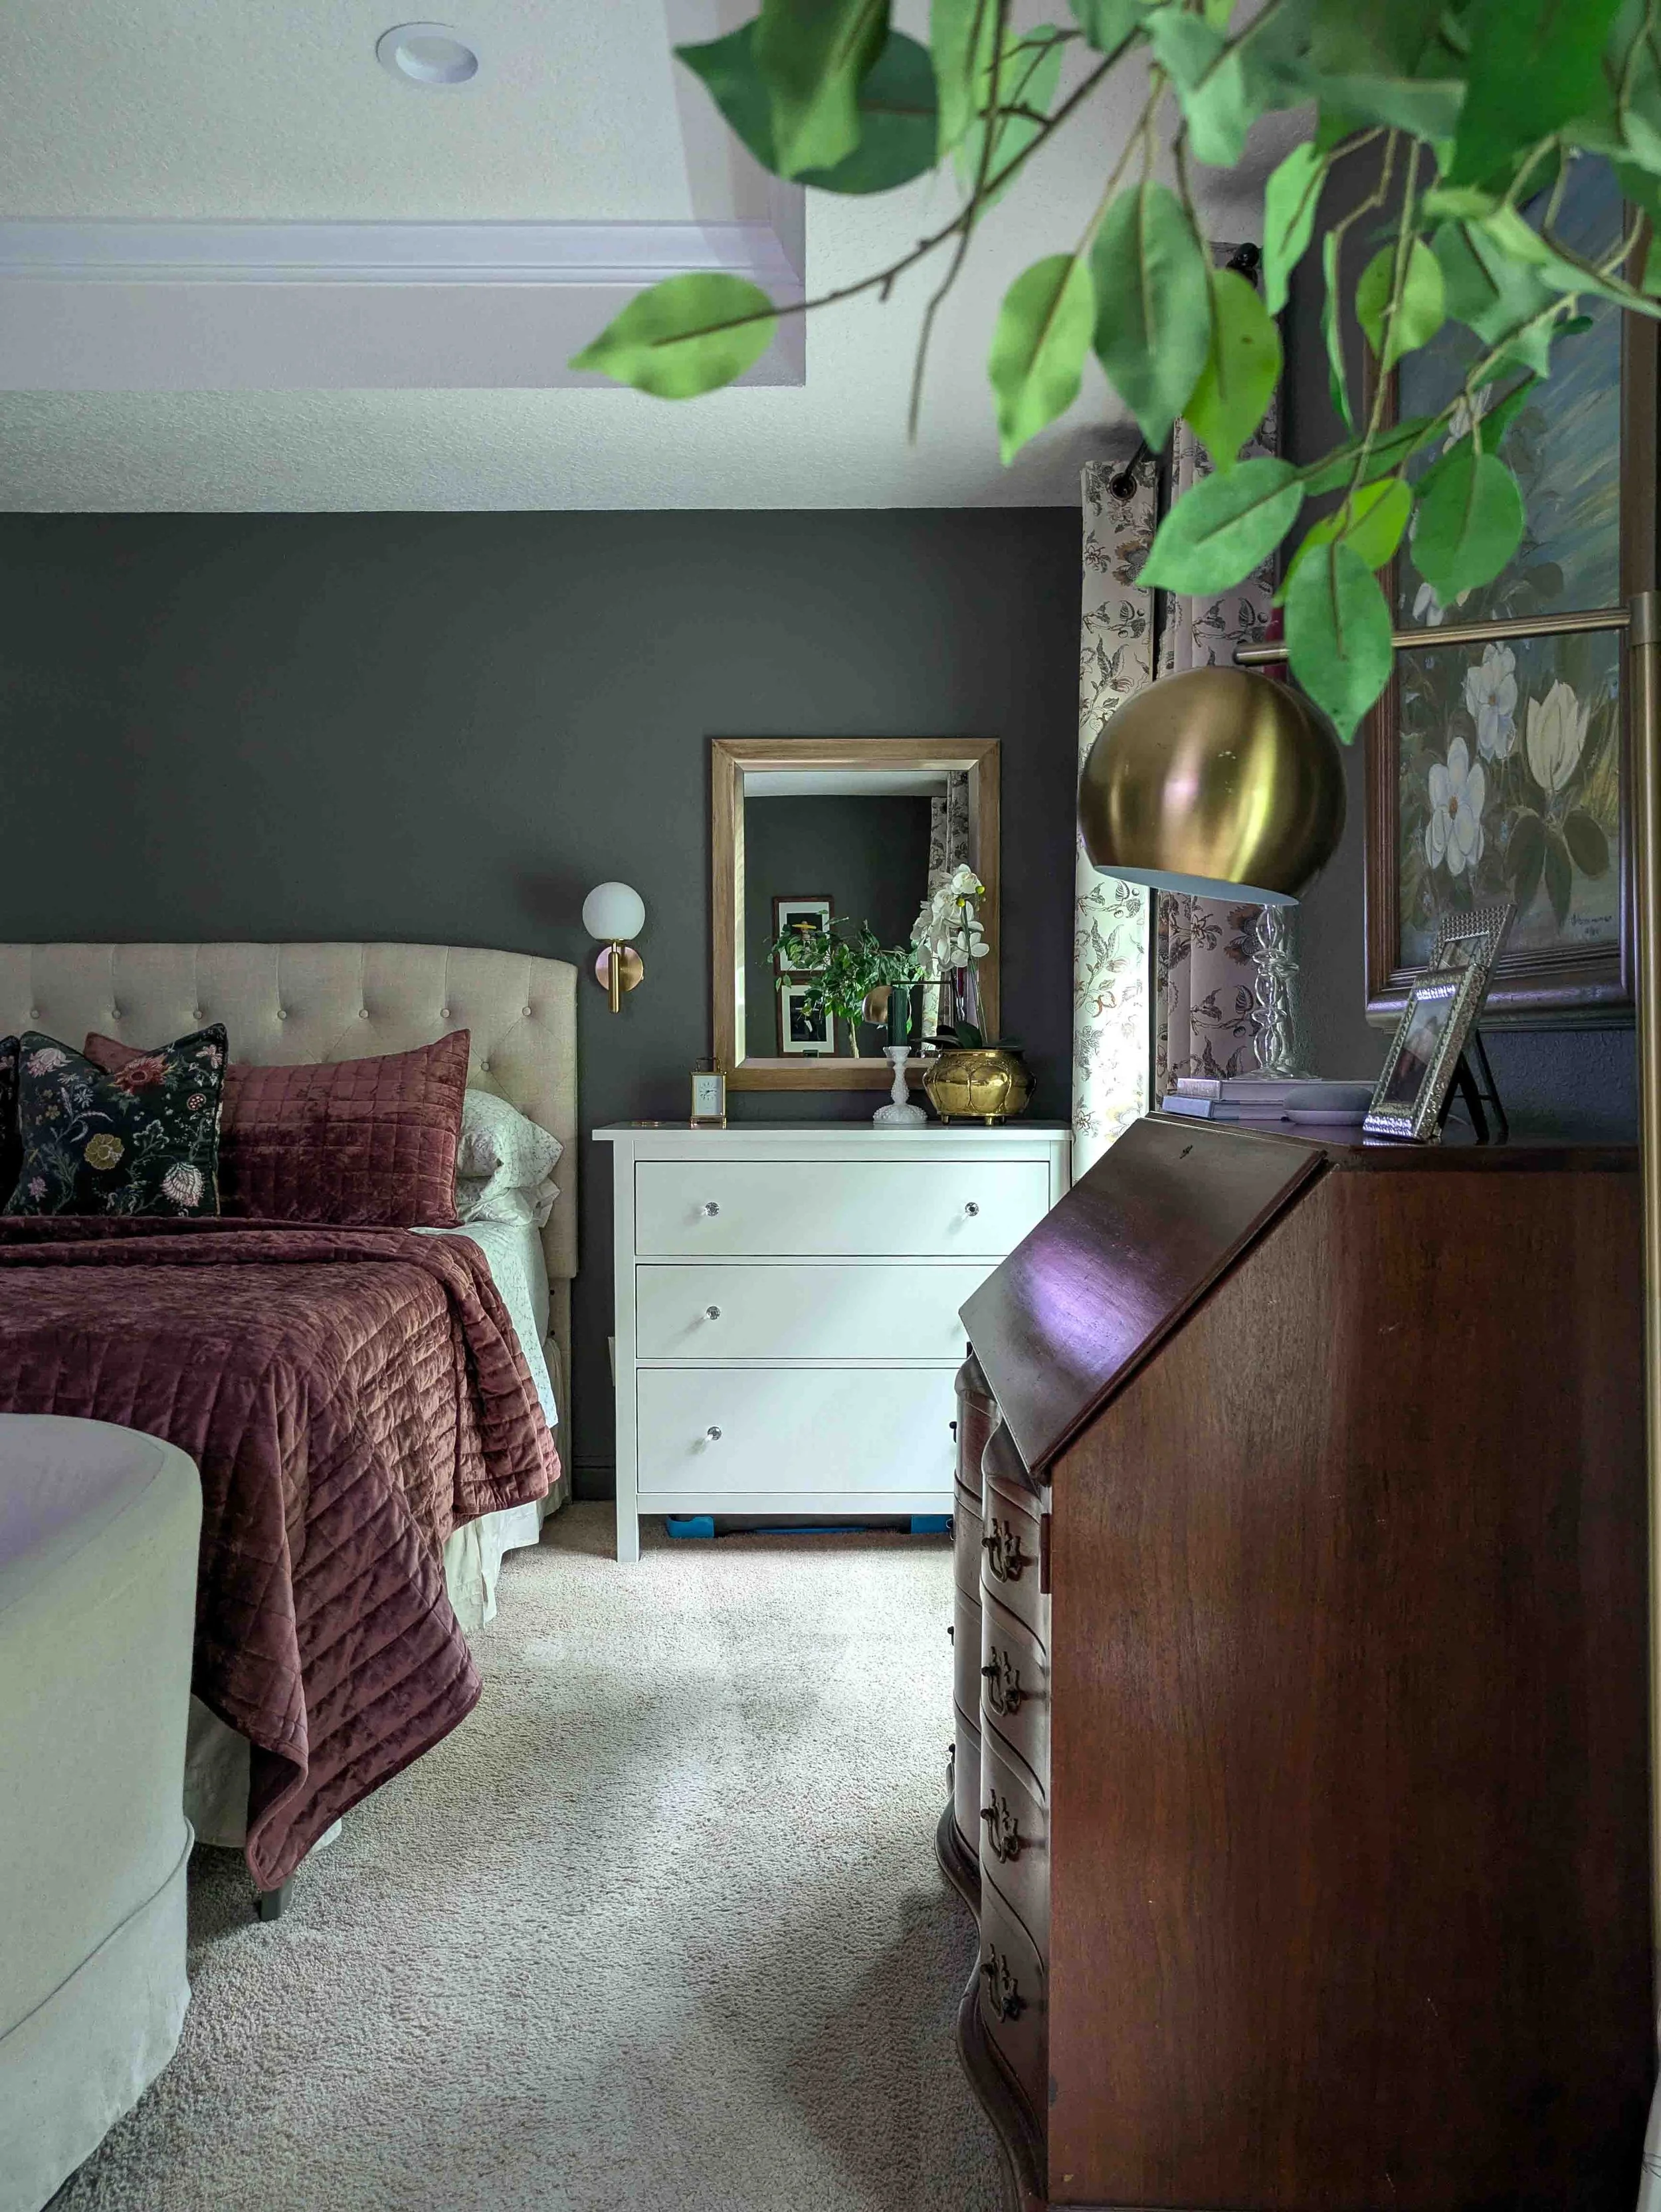
Once the baseboards were off, I painted the pantry a beautiful light blue, ‘Stardew’ by Sherwin-Williams. This isn't just a random pop of color; it’s actually the exact same blue that we used in our [Dual -Purpose Bedroom: Home Office Edition]! Because I lean towards a moody traditional and modern heritage aesthetic, I love carrying the same colors throughout the house. It gives the home a cohesive, thoughtful flow without making every single room look completely disjointed. The blue provides just enough contrast against the kitchen cabinetry, giving this little room its own distinct personality.
Step 3: Installing the Laminated Metal Shelving
Custom wooden cabinetry is gorgeous, but it can easily cost thousands of dollars. Believe me, I got quotes! To get that maximized storage on a budget, we invested in heavy-duty laminated metal shelving.
I was honestly super impressed with these shelves. They look and feel incredibly sturdy, but the white metal paired with the laminated wood shelf liners adds a stylish, elevated touch that feels very House by the Preserve.
Because I had removed the baseboards, we were able to push the metal frames completely flush against the wall. This saved precious floor space and made the whole setup look custom. Once they were in position, we securely anchored the top of the frames into the wall studs. Never skip anchoring heavy shelving, especially if you have kids in the house!
The absolute best part about this shelving system? It is fully customizable in height. Depending on what we need to store, from tall cereal boxes to short canned goods, I can adjust the shelves at any time to eliminate wasted vertical space.
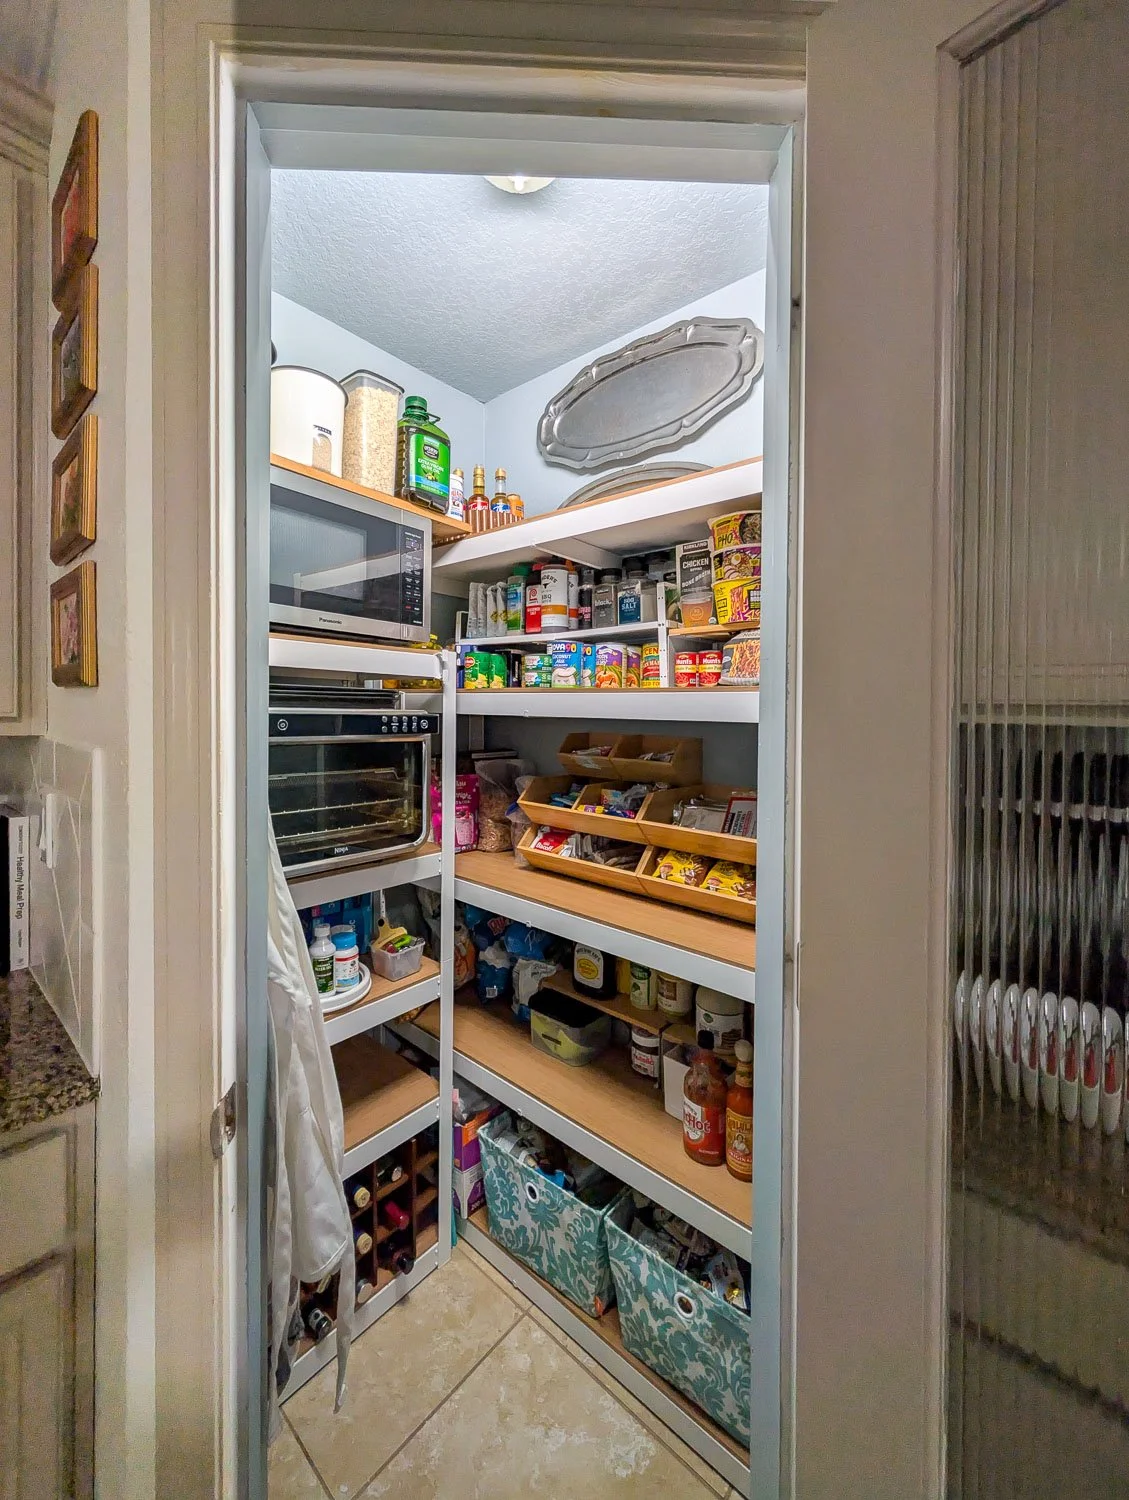
The new laminated metal shelving gives a clean, sturdy, and highly functional look.
Step 4: Creating an Appliance Station
One of my biggest goals with this pantry makeover was to free up our kitchen counters. On the left side of the pantry, I used a smaller, narrower version of the metal shelving to create a dedicated appliance zone.
By adjusting the shelf heights perfectly around the appliances, I created a permanent home for our microwave and mini oven. Tucking these everyday appliances away into the pantry has been an absolute game-changer for keeping my kitchen counter space clean and visually uncluttered. Just make sure to read your appliances manual to leave enough space between the walls and the appliance.
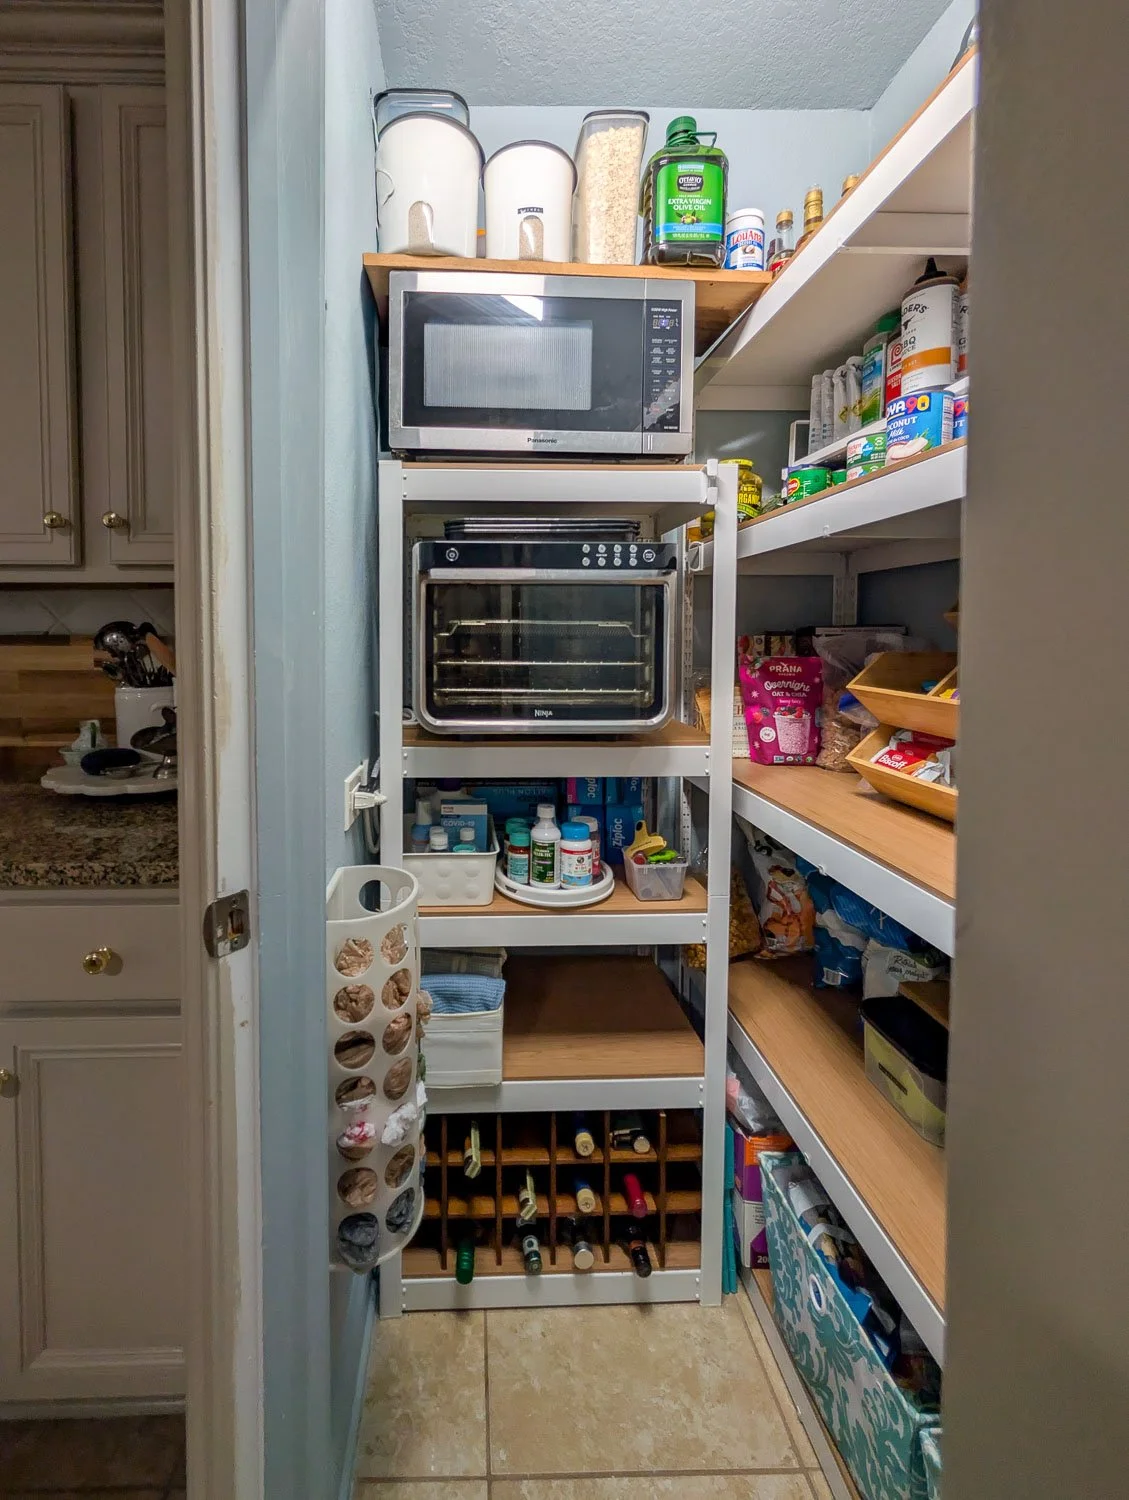
Creating a dedicated appliance shelf freed up so much counter space in our kitchen.
Step 5: A Realistic Organization Strategy
Putting the food back in is always the most daunting part of pantry organization. After tossing anything expired, I sorted everything into logical zones: canned goods, snacks, chips, overstock, and breakfast foods.
Tackling the Costco Overstock
We mostly grocery shop at Costco, which means we usually have plenty of overstock. I used to keep our extras hidden away in large, opaque baskets, but I quickly realized a fatal flaw: if I couldn't see it, I would buy doubles. We were wasting food and money simply because things were hidden.
Now, I keep our overstock out in the open. The shelves are deep enough to accommodate bulk items, and because it's completely visible, everyone in the home knows exactly what we have and when we actually need to replenish.
Snack Organizers and The "Eat Me First" Basket
Instead of keeping bulky manufacturer boxes on the shelves, I invested in some beautiful, low-profile wooden shelf organizers for snacks. They are open, angled, and allow us to easily see the inventory without sacrificing style.
For bagged items, I implemented a two-basket system on the bottom shelf using large, pretty fabric bins:
The Grab-and-Go Basket: This is filled with small, individual bags of chips and snacks for the kids to easily grab for school lunches.
The "Eat Me First" Basket: This is where we keep anything that has already been opened, like large bags of tortilla chips or trail mix. Everyone in the family knows the rule: before we open up a new bag from the shelves, we have to eat what is in this basket first! It keeps things from going stale and drastically cuts down on half-empty bags cluttering the shelves.

Open snack organizers and the "eat me first" bins keep the family organized without the fuss of decanting.
Step 6: Adding a Touch of Heritage Character
Who says a functional space can't have a little bit of decor? My mom handed down some large, gorgeous pewter platters to me. Because they are super long, they never fit nicely in our standard kitchen cabinets.
I decided to hang them on the blank wall space above the top shelf. It adds that perfect touch of heritage style and makes me smile every time I walk in to grab an ingredient.

Hanging my mom's pewter platters added the perfect touch of heritage style to the space.
A Functional, Real-Life Pantry
I know this isn't a Pinterest-perfect pantry where every grain of rice is decanted into a labeled jar, but it is an incredibly functional one! We can finally see everything we own; the flimsy wire shelves are a thing of the past, and I was able to free up so much of my kitchen cabinet space in the process.
If you're dealing with a frustrating builder-grade pantry, I highly recommend swapping the wire for customizable metal shelves and embracing a realistic, open-storage organization method.
What is the hardest part about keeping your pantry organized? Let me know in the comments below!


I’m a mom of two and wife to a seriously supportive hubby, living our best life in our forever house by the preserve! I'm all about helping you create a stylish, Pinterest-worthy home on a budget. Let's obsess over interior design, home decor, DIY, and home improvement projects to help you create your best home. Follow along and say hello! I love hearing from you.
Currently Trending


Join me on Instagram!