Our Custom Pool Build: Permits, Prep, and Breaking Ground
*This post contains affiliate links. Please read my full disclosure here. Thank you for supporting my blog.*
It’s been a little while since we’ve given a pool update, but that certainly doesn’t mean we haven't been working hard behind the scenes to move this build forward. If anything, the quiet periods usually mean the most logistical work is happening!
We are so incredibly happy to announce that we have officially begun the pool build. Transforming our backyard into a leveled outdoor living space where we can cool off from the Florida heat has been a dream of ours, and seeing dirt finally moving is surreal. There was a lot going on in the background to get us to this point, so let me get you caught up on everything it took to break ground.
Prepping the Property for a Custom Pool
Before a single shovel could hit the dirt for the pool itself, we had to prepare the property. If you have a smaller footprint to work with, preparation is everything when it comes to maximizing your space.
Clearing the Way: Tree Removal
First, we had to work with our HOA to get approval to remove trees on our property. This was necessary to make room for the heavy equipment needed to access the backyard. We ended up removing a massive palm tree in our front yard to secure that access point. Honestly, the palm tree was getting so tall that we were no longer able to maintain it ourselves, and relying on someone to climb it every couple of months to trim the dead fronds was becoming a hassle.
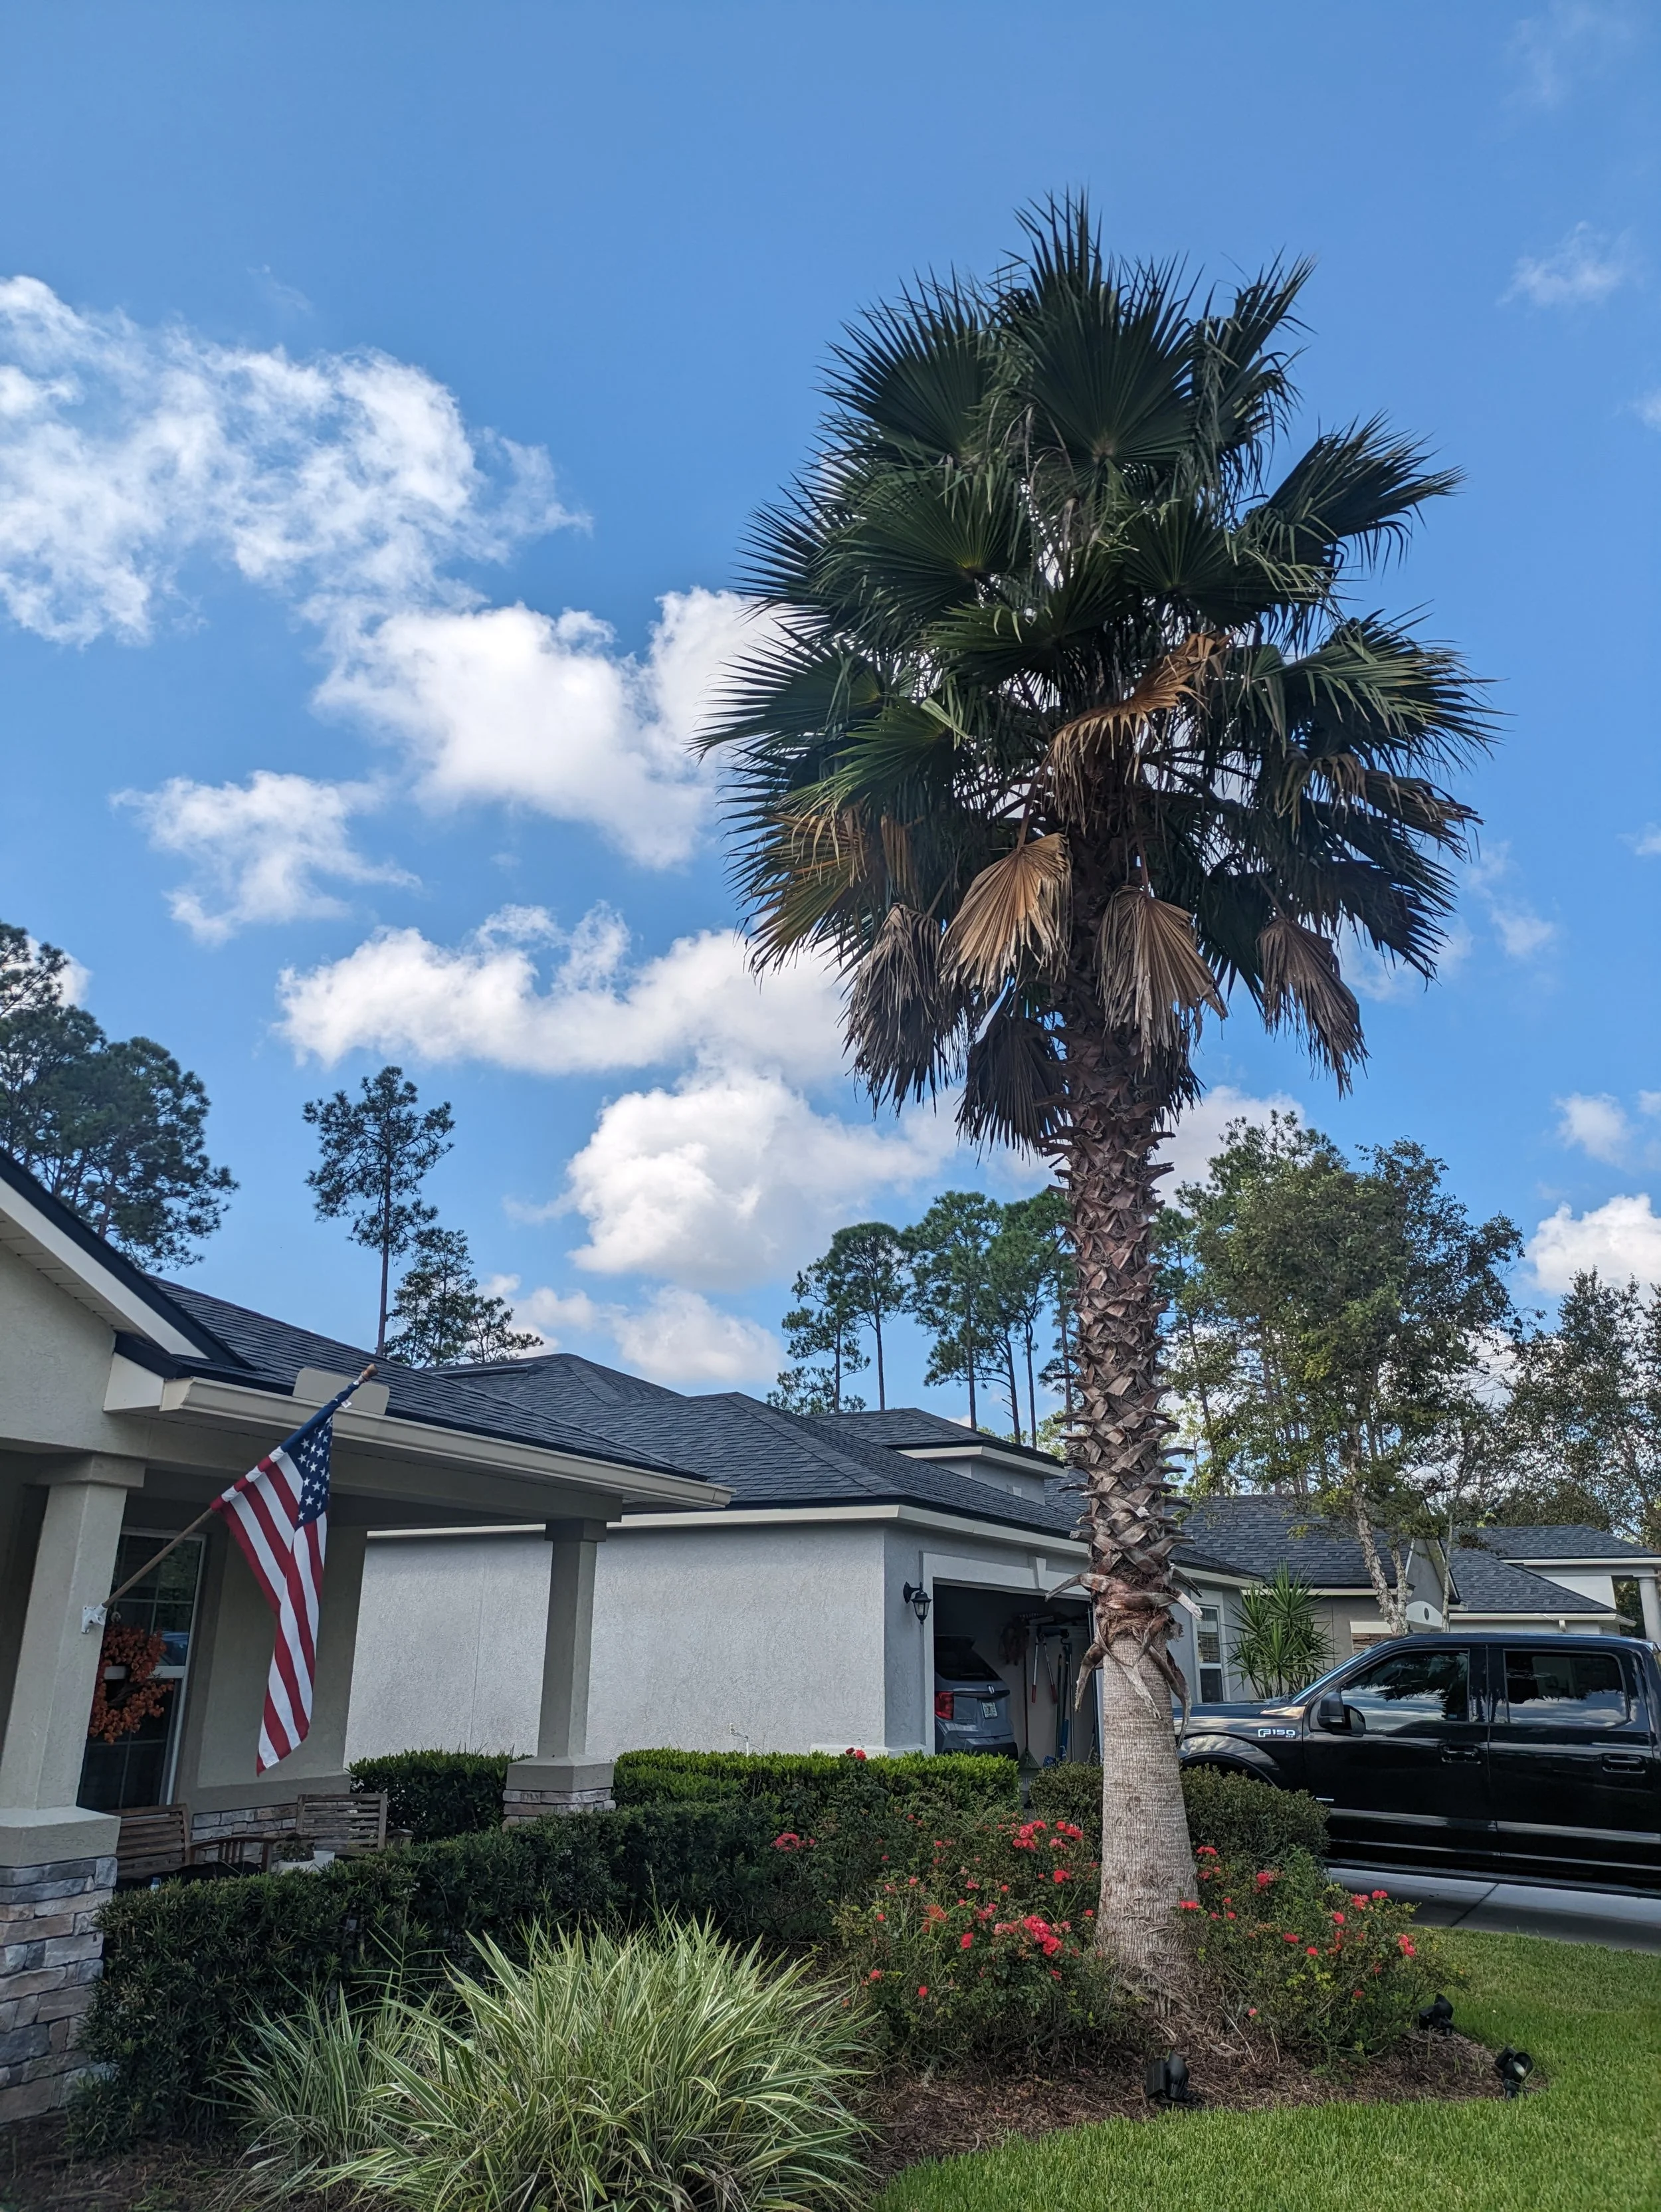
Palm tree removal.
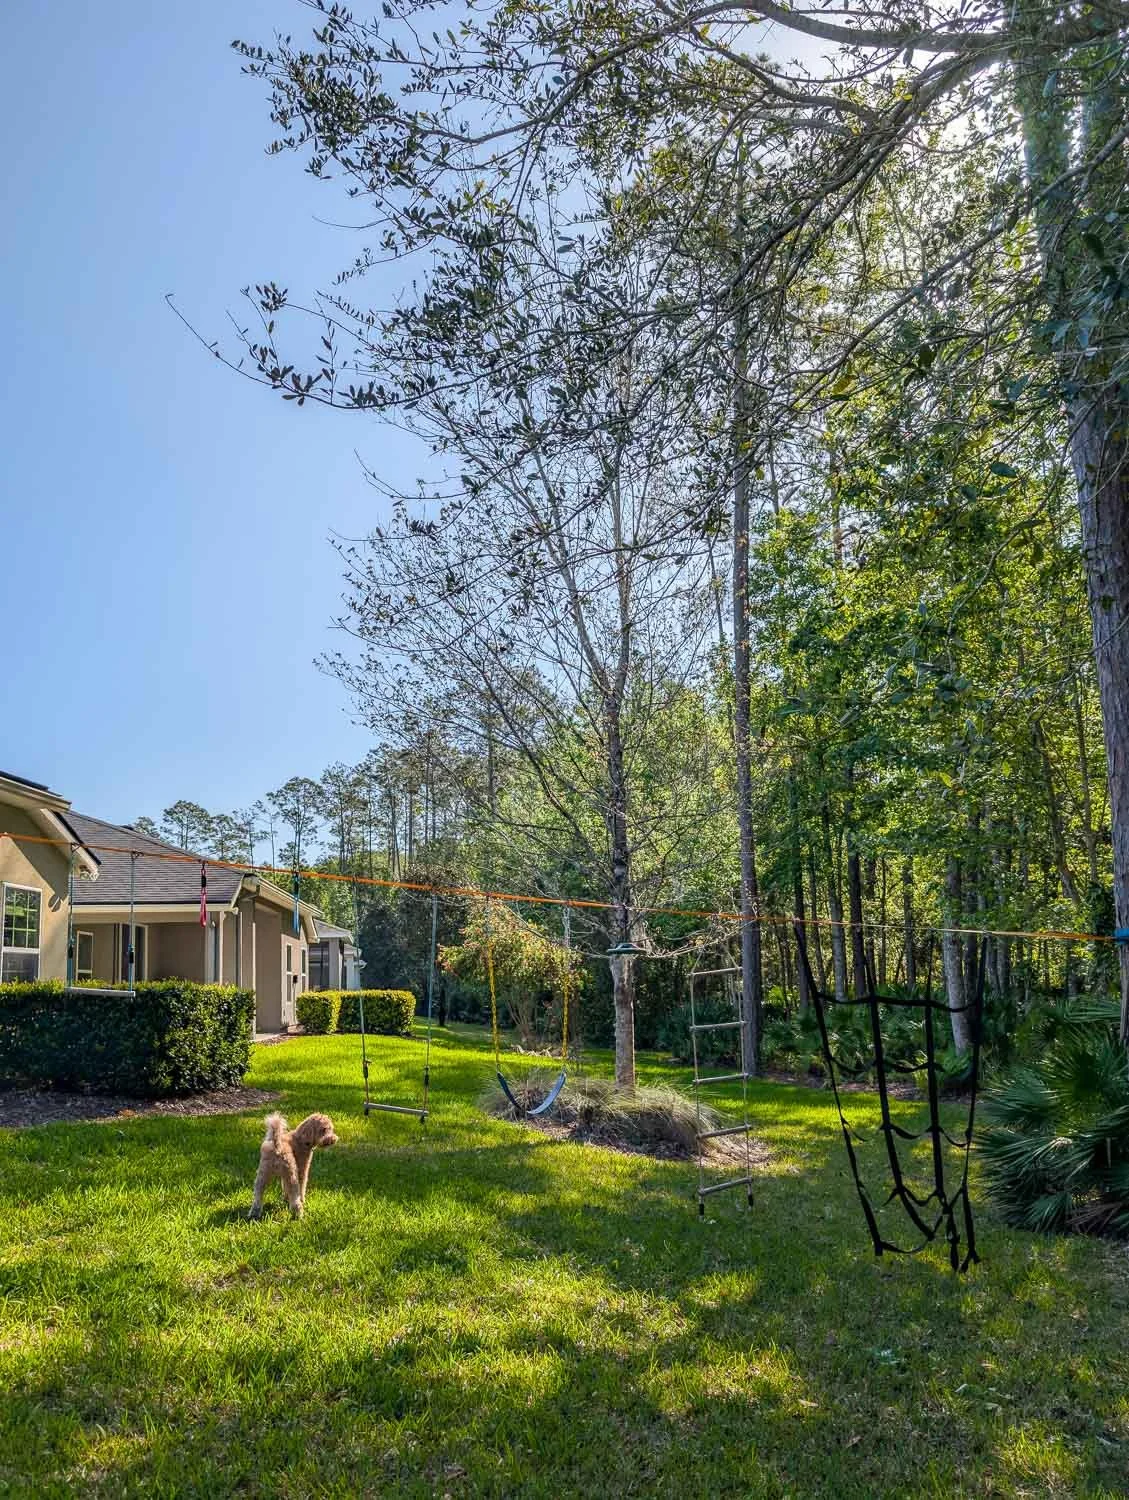
Tree removal to make space for pool and deck.
We also had to remove a few trees in the backyard that were encroaching on the footprint of the future deck and our planned screen enclosure. Because we don’t have an expansive backyard, maximizing our deck space meant making the hard decision to trim back and remove a few things. It was completely worth it to ensure we have enough room for the pool and a comfortable lounging area.
Relocating the A/C Unit
Second, we tackled moving our A/C unit from the back of the house over to the side. This simple change opened up a surprising amount of usable space! It’s going to allow us to have a generously sized deck that will comfortably fit a sitting area, a dining space, and a small grill for summer cookouts. This side of the house will also hold all the pool equipment, so once everything is finished, we plan on enclosing that area to keep the classic, coastal aesthetic of the exterior clean and uncluttered.
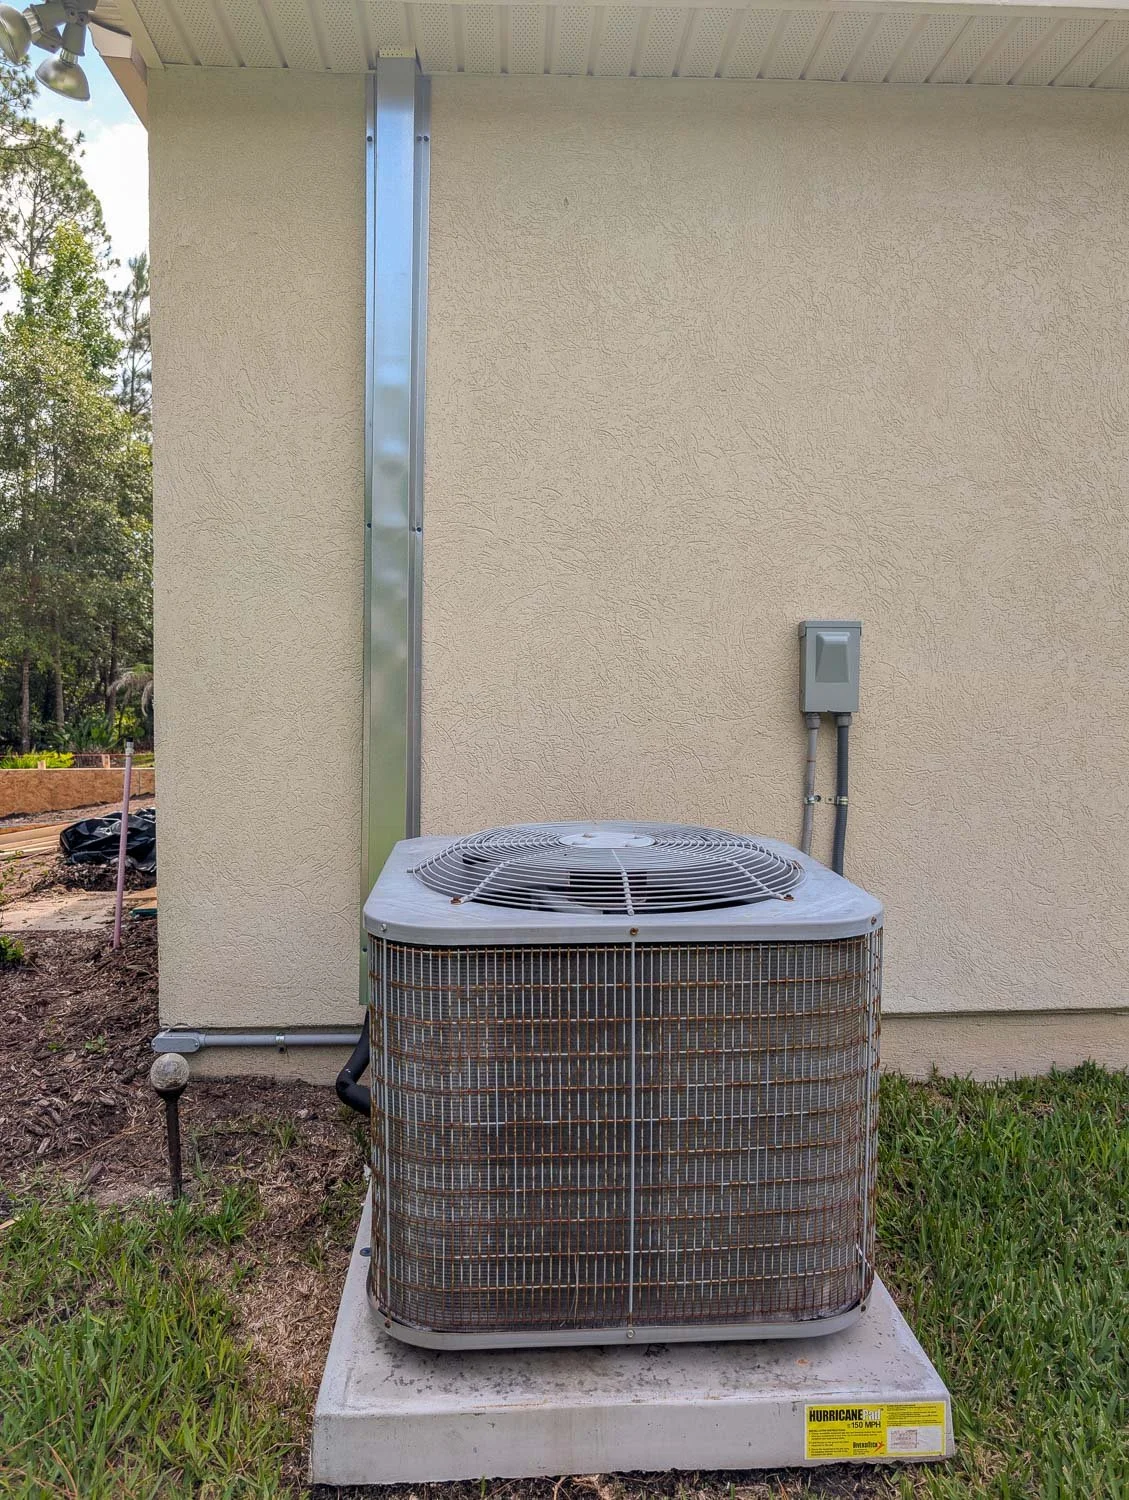
Air Conditioner moved to side of house to make room for pool deck.
Navigating HOA Approvals and County Permits
As soon as we signed our contract, our builder, Southern Elegance Pools, got straight to work. They collaborated with an engineer to ensure our specific pool design was structurally sound and up to code.
Once we received engineering approval, the plans had to be submitted to the county before any physical work could begin. The longest part of this entire process was simply waiting on the county to approve those plans. It took about six weeks in total. However, that waiting period was actually a blessing in disguise as it gave us plenty of time to check off the tree removal and A/C relocation projects to ensure the yard was perfectly prepped. Southern Elegance Pools has been working incredibly fast to get the build underway, and we can finally say that construction is active!
Phase One: Pre-Grading and Pool Forming
With the permits in hand, the physical transformation started. We worked with a landscaper to cap off our backyard sprinkler system so the crew could work without the worry of water spraying everywhere or pipes bursting under heavy machinery. (We will definitely have to rebuild our sprinkler system once the pool and deck are complete, but that’s a project for another day!)
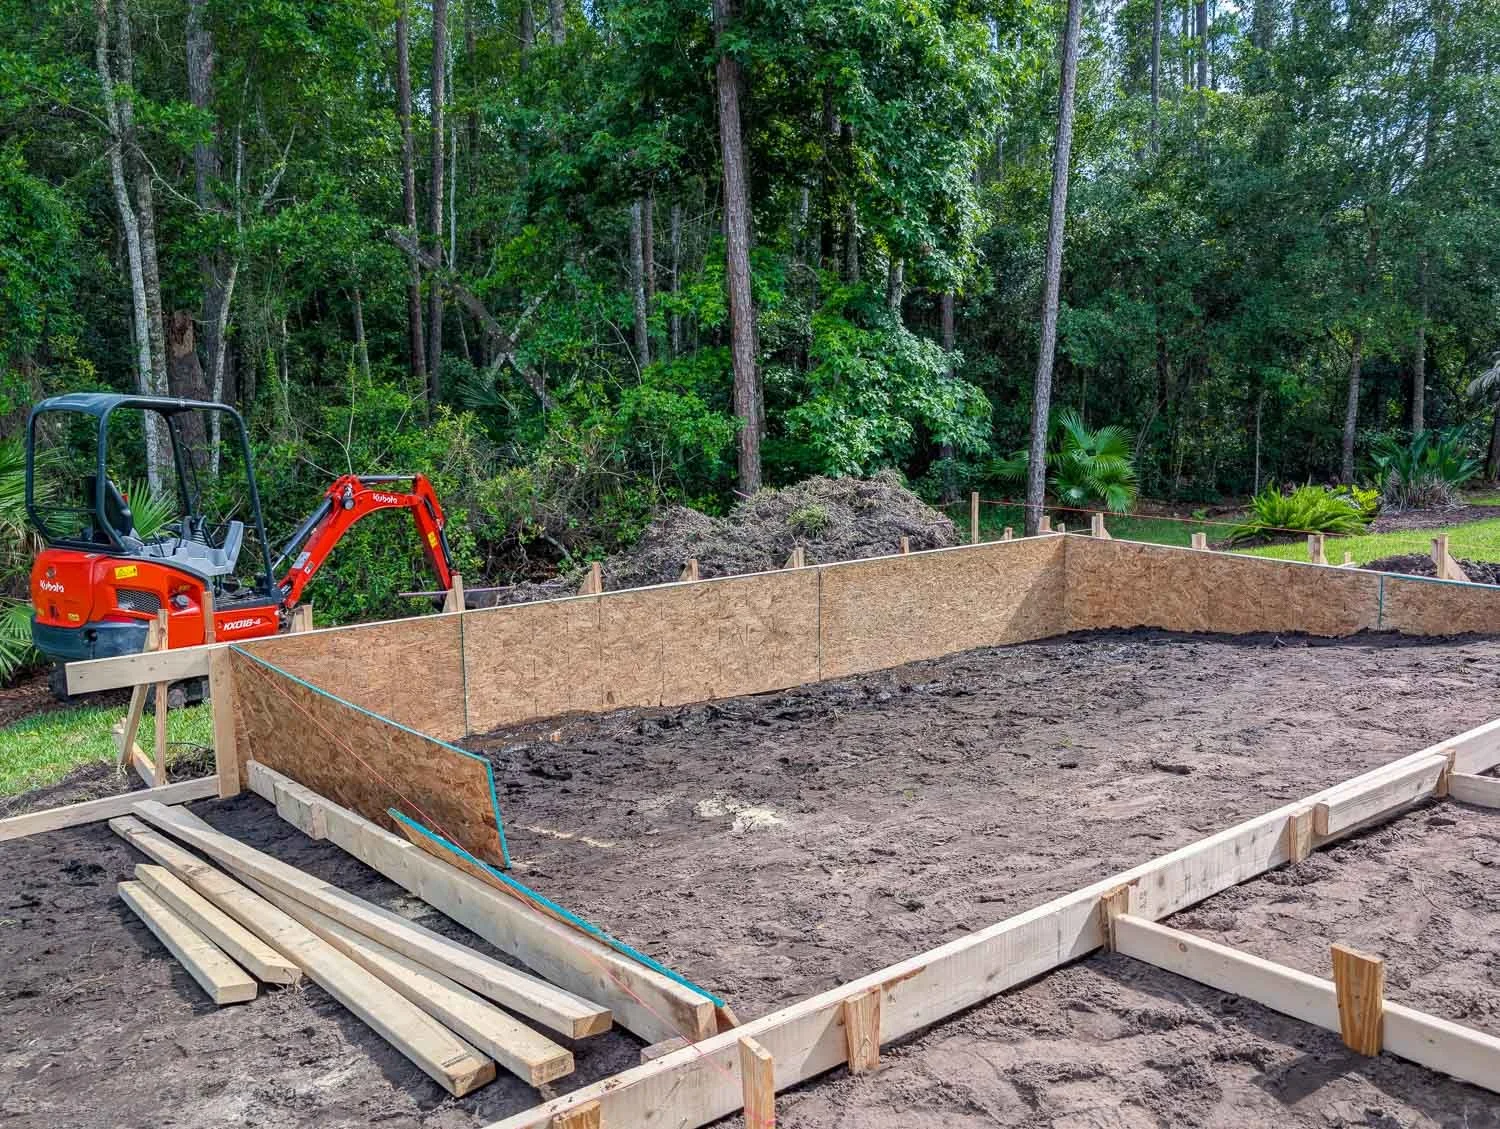
Pre-grading and Pool Form
Last week, the crew came out to pre-grade the yard. During this step, they inspect the property one more time and scrape away the grass layer so they can begin building the pool form.
This is where a specialized crew comes in and uses wood and stakes to create the exact physical outline of the pool. I found it super interesting that they built the wooden form first and then dug the hole! I always imagined that digging the hole was the very first step, but forming it out makes perfect sense. Now, the excavators know exactly where they need to dig and the precise shape they are aiming for.
What’s Next: Excavation and Steel Rebar
With the forming complete, this week is going to be an exciting one as excavation officially begins! I am so excited to finally be able to "see" our pool taking shape in the dirt.
The crew will dig, form, and hand-trim the earth to match our custom design. After the hole is perfected, another crew will come in to form a rigid, contoured grid of reinforcing steel rebar. This steel grid essentially acts as the backbone of the swimming pool, giving the concrete its structural integrity.
Hopefully, the weather permits all of this to stay on schedule so we can move straight into the concrete shell phase after passing our county rebar inspection. Fingers crossed for sunny skies!
Stay tuned for more exciting pool updates to come as we bring this coastal backyard oasis to life!


I’m a mom of two and wife to a seriously supportive hubby, living our best life in our forever house by the preserve! I'm all about helping you create a stylish, Pinterest-worthy home on a budget. Let's obsess over interior design, home decor, DIY, and home improvement projects to help you create your best home. Follow along and say hello! I love hearing from you.
Currently Trending


Join me on Instagram!