
How to Fix a Hole in a Porcelain Sink
*This post contains affiliate links. Please read my full disclosure here. Thank you for supporting my blog.*
There is a very specific, sudden panic that sets in when something heavy slips from your hands and collides with your bathroom sink. It’s a sharp, echoing crack followed by the immediate realization that you’ve left behind an unsightly, jagged crater in a space that is supposed to be your sanctuary.
That is exactly how I found myself a few months ago, staring down at a deep, dark pit in the porcelain. In a home where we strive for intentional finishes, layered textures, and a sense of timeless calm, a prominent chip sticks out like a sore thumb. It mocks you during your morning routine.
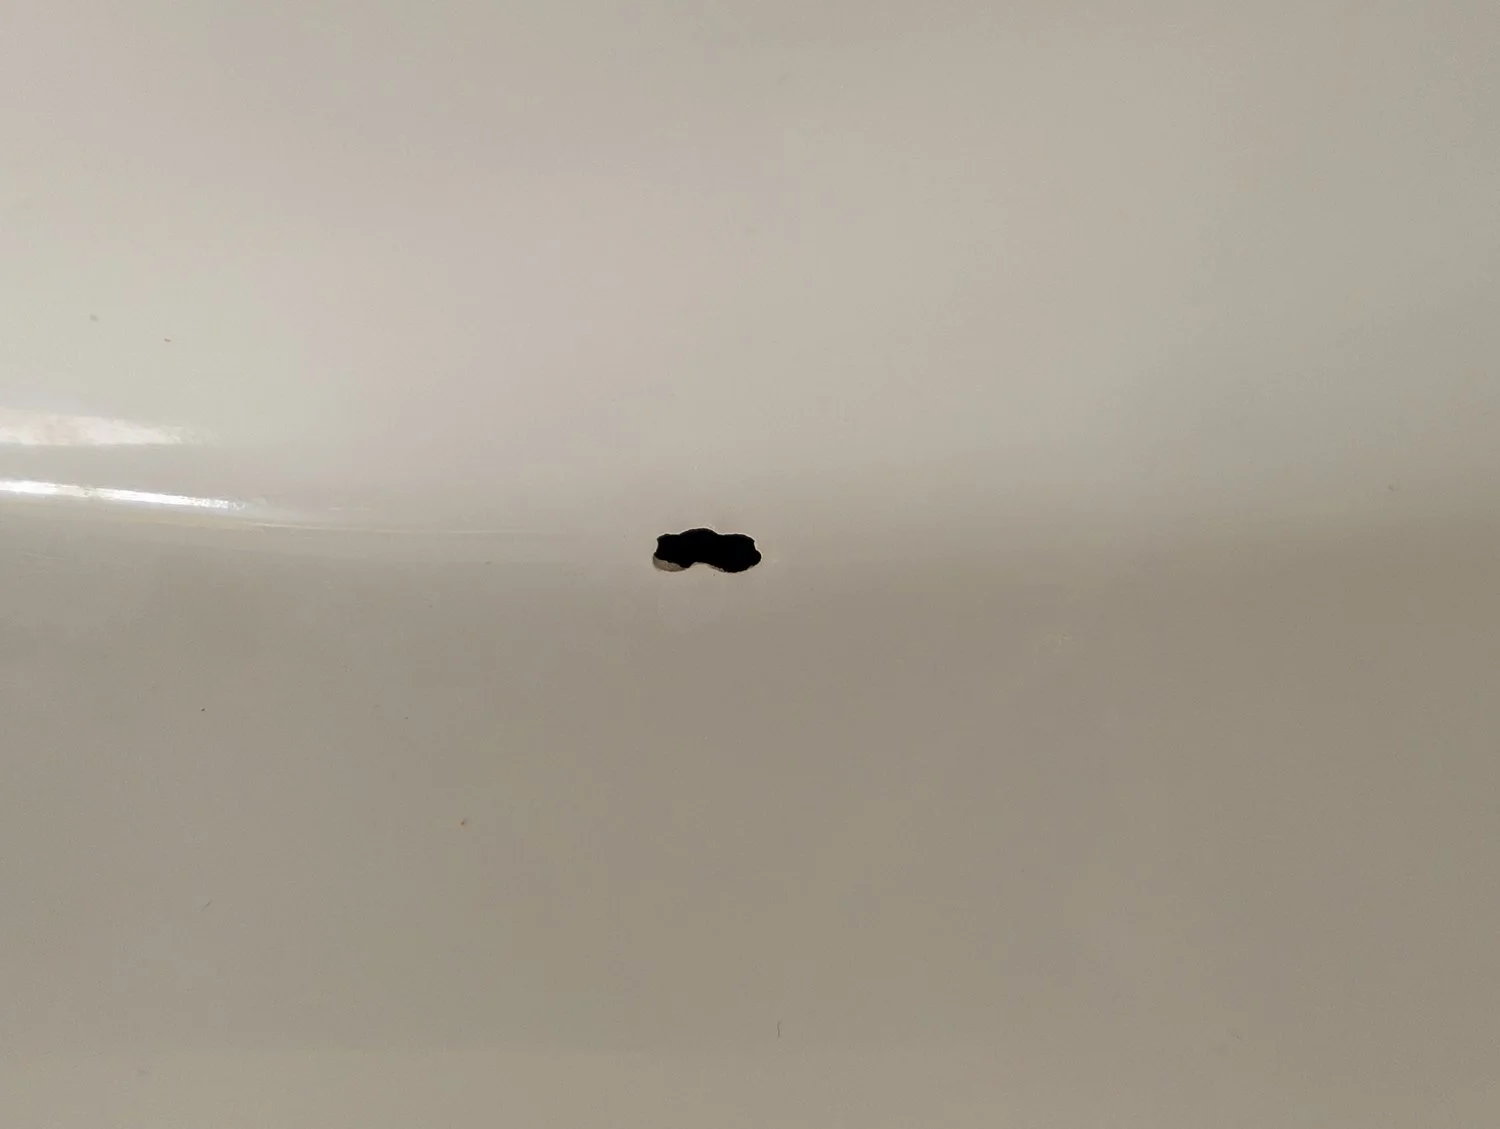
BEFORE
For months, I’ll admit, I simply lived with it. I was dreading the fix because my mind instantly skipped to the worst-case scenario: a messy, expensive plumbing ordeal, a shattered vanity top, and a full sink replacement. We often think that to get a high-end look, we have to endure a high-end headache.
But before you call a contractor or pull out the crowbar, let’s talk about a beautifully simple, budget-friendly weekend project that will make that damage completely vanish for less than $20. Trust me, you want to see this!
The Magic Tool: Multi-Surface Epoxy Repair Kits
For this project, we are using a universal White Tub, Porcelain, and Fiberglass Repair Kit. These affordable kits are absolute lifesavers for homeowners and DIYers alike because they are specifically formulated to bond with dense, non-porous bathroom materials. Whether your sink is classic porcelain, vintage ceramic, modern acrylic, or fiberglass, the heavy-duty compound hardens into a rock-solid, high-gloss finish that blends beautifully with standard white bathroom fixtures.
What You'll Need:
All-in-One Tub & Porcelain Repair Kit (Includes Part A & B epoxy, spatula, and sandpaper)
Rubbing alcohol or a heavy-duty surface cleaner (to remove soap scum and surface grime)
Microfiber cloth or paper towels
Painter's tape (optional, to isolate the surrounding porcelain)
A utility razor blade (optional, for scraping away excess flush resin)
The Step-by-Step Guide: Patching the Hole Seamlessly
Step 1: Clean and Prep the Surface Thoroughly
The secret to a flawless, permanent DIY patch is entirely in the prep work. If there is any leftover soap scum, moisture, or mineral buildup inside or around the hole, the epoxy compound won't adhere properly. Thoroughly scrub the area around the damage, wipe it down completely with rubbing alcohol, and let it dry 100% before moving forward.
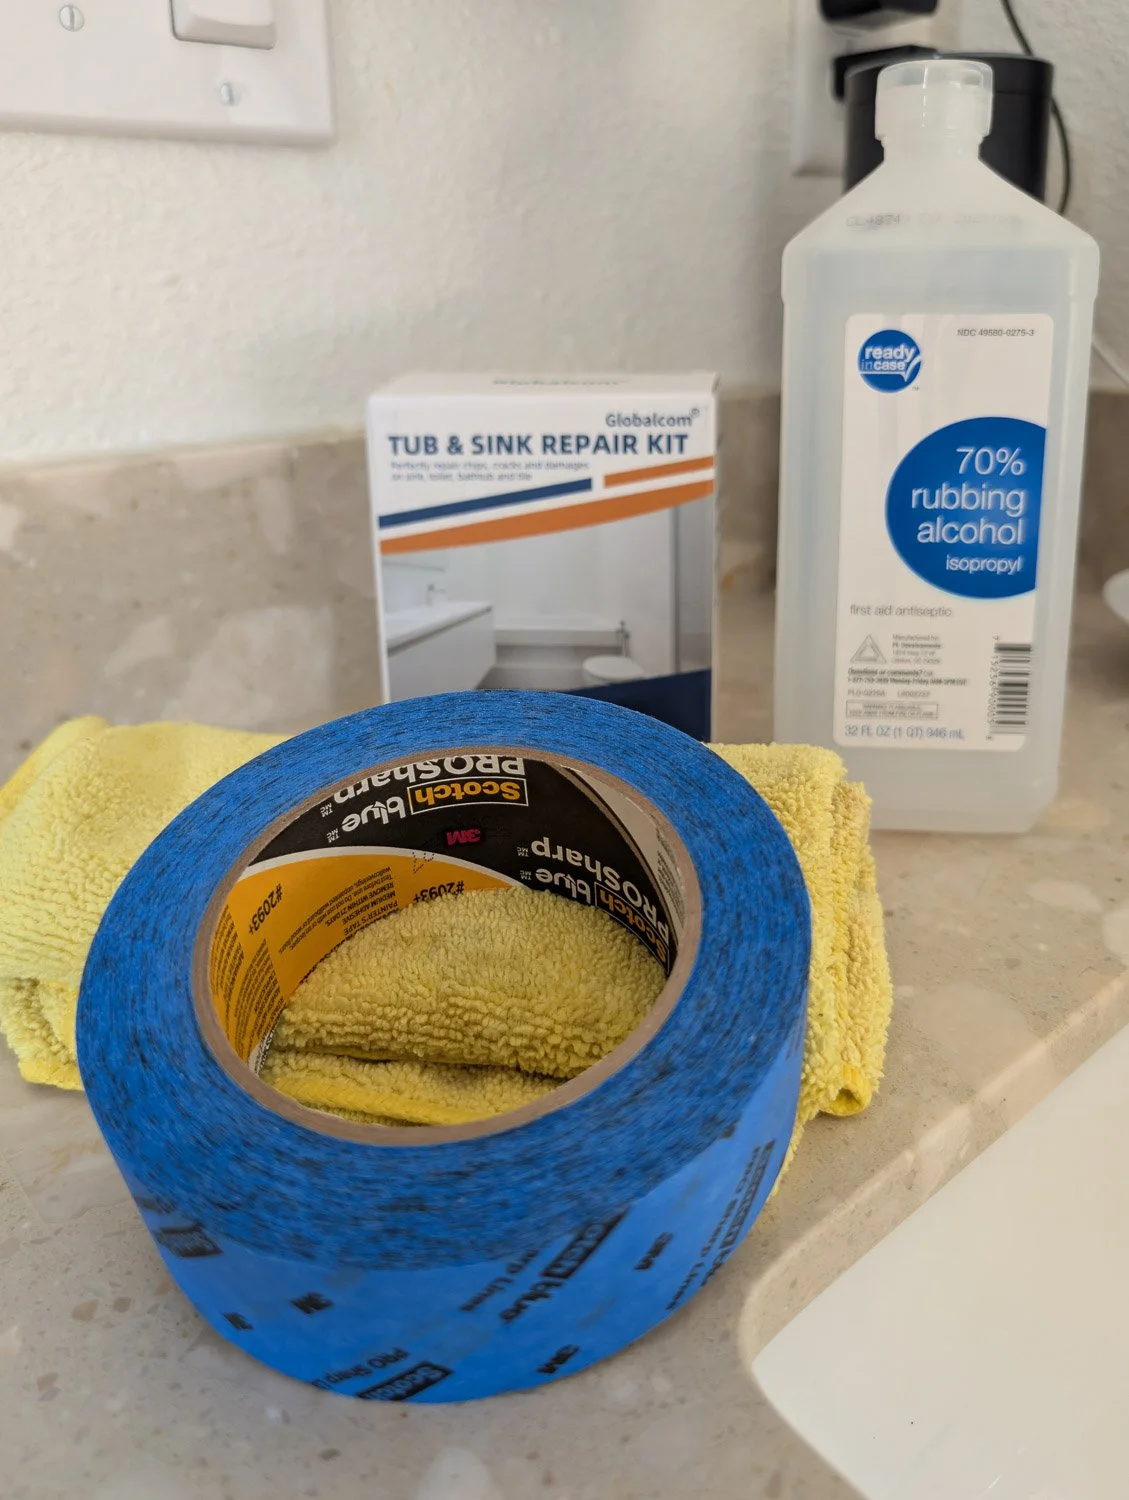
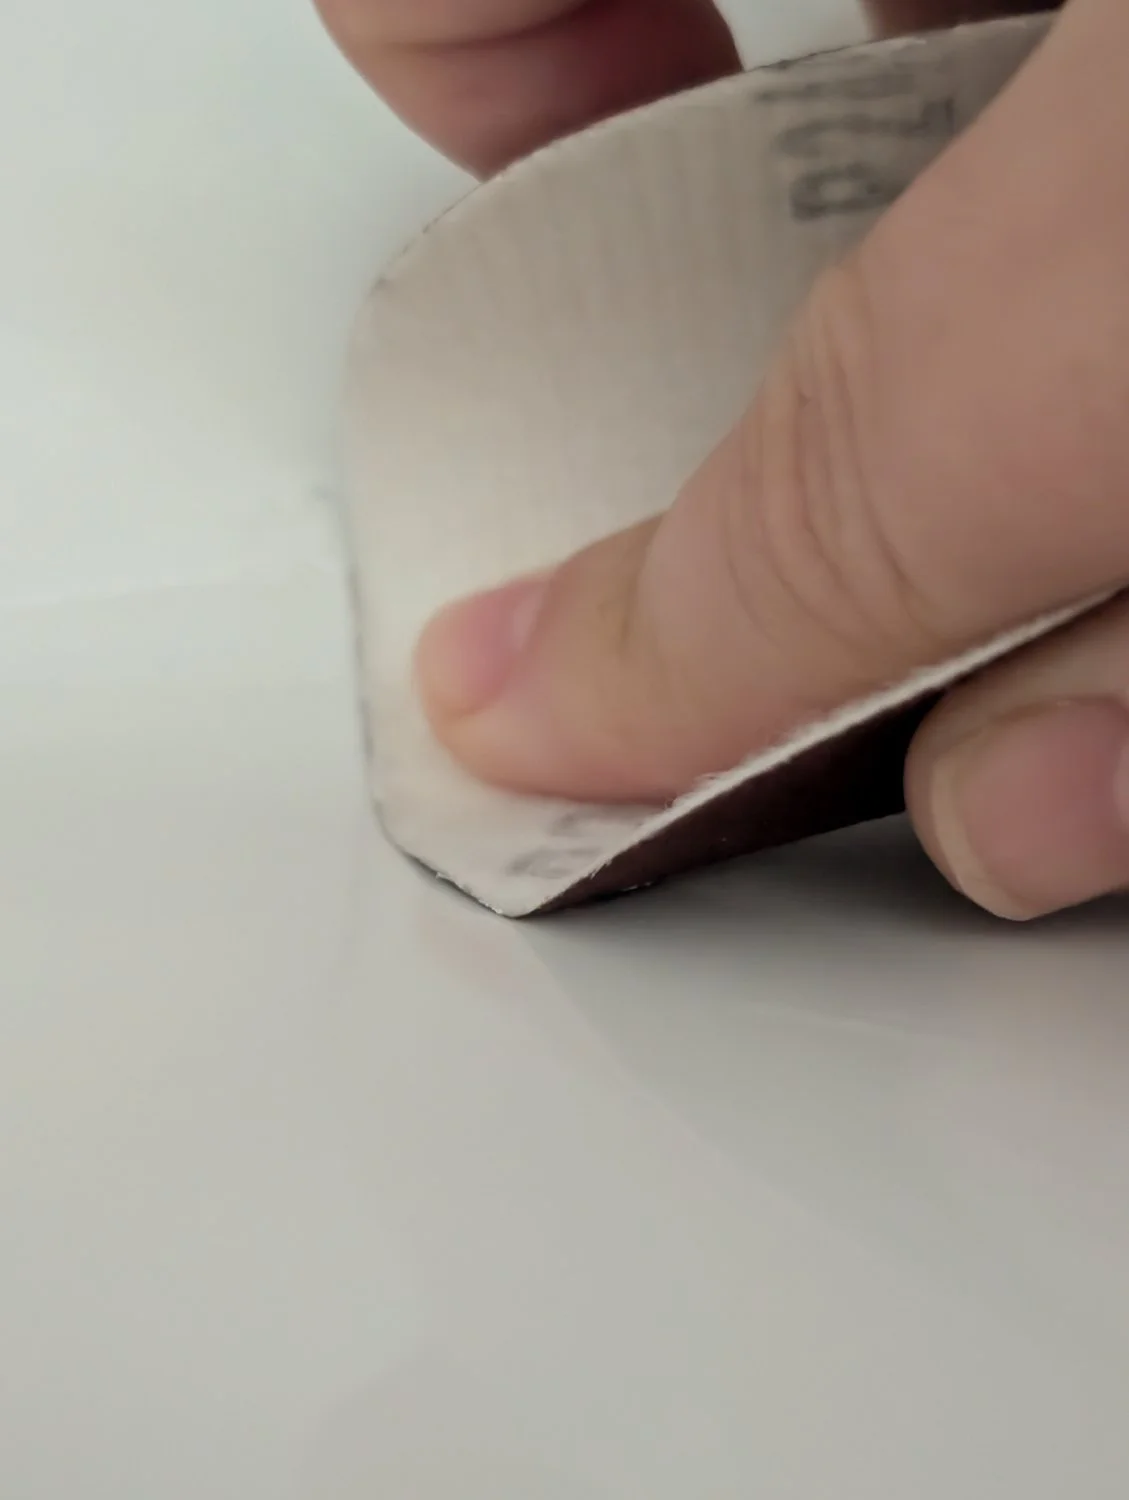
Pro-Tip:If the edges around the hole are loose, flaky, or sharp, take a small piece of fine-grit sandpaper from your kit and gently smooth them down before wiping the dust away.
Step 2: Mix the Two-Part Epoxy Compound
Your repair kit will come with two separate components: Part A (the base resin) and Part B (the hardener). Using the mixing container or cardboard tray provided, mix equal amounts of Part A and Part B (a 1:1 ratio). Stir vigorously with the small wooden spatula for at least 2 to 3 minutes until the consistency is smooth, uniform, and completely blended.
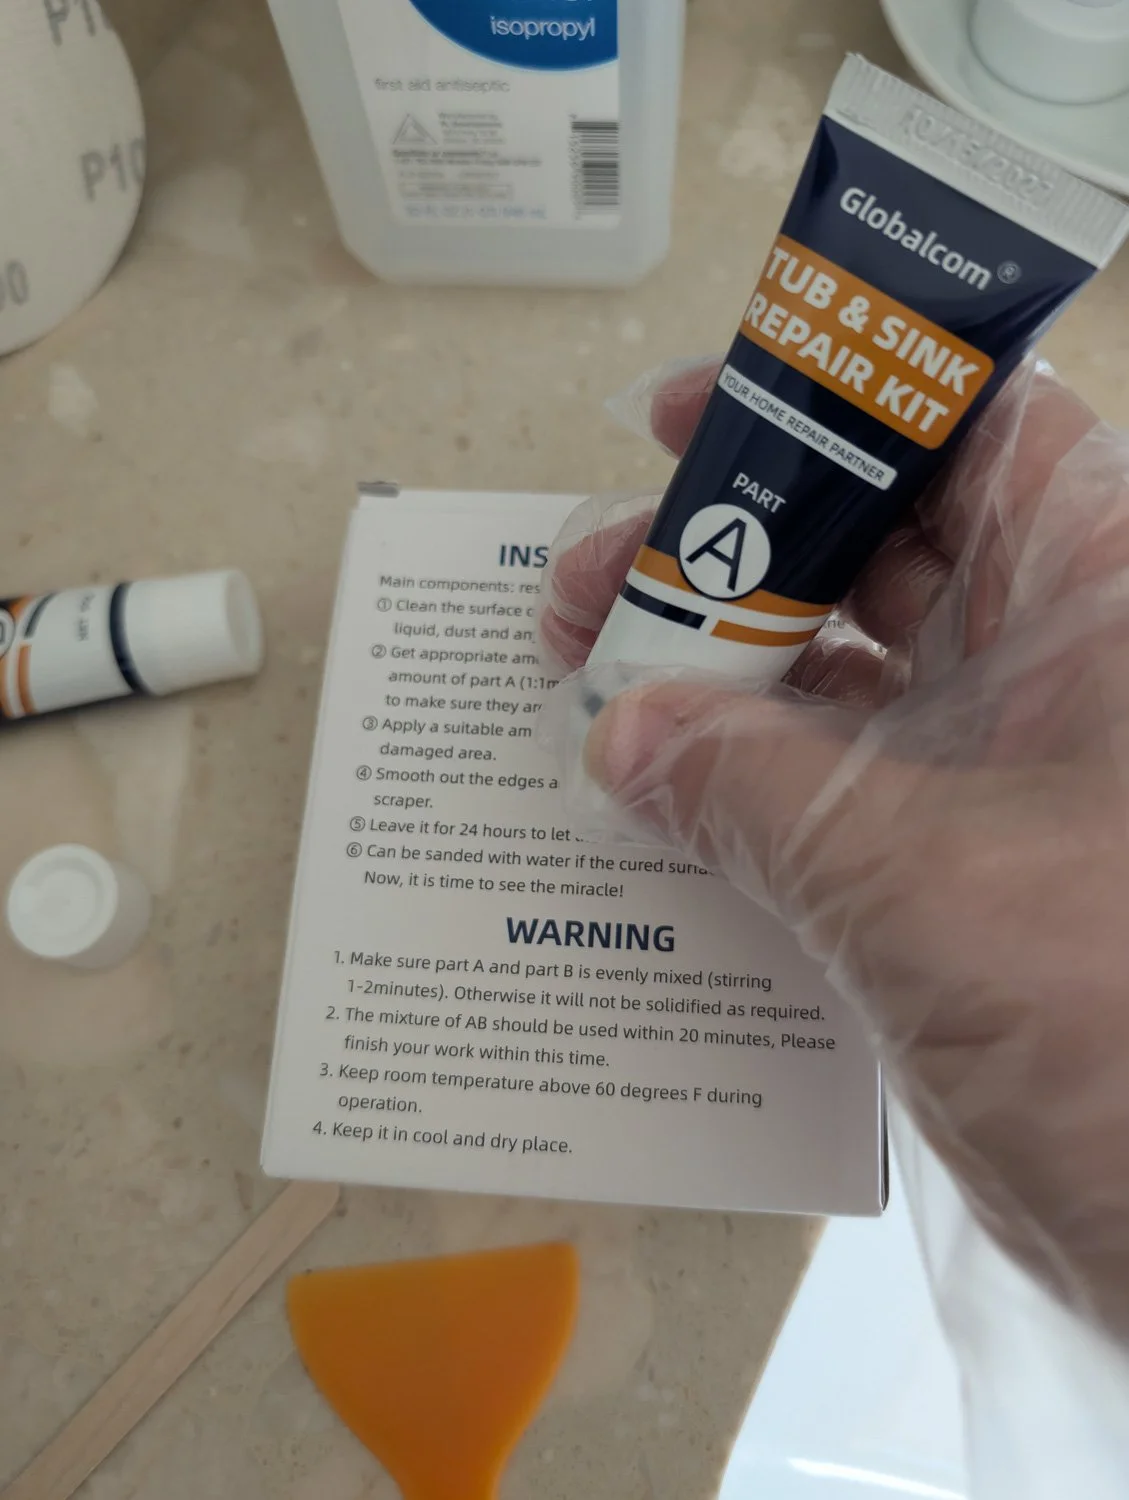
Step 3: Apply and Fill the Basin Hole
Scoop a small amount of the mixed compound using your spatula or scraper tool and press it firmly into the hole. Be sure to pack it down to eliminate any hollow air pockets underneath. Smooth the surface down as flatly as possible with your tool, leaving the patch just a fraction of a millimeter higher than the surrounding porcelain. It is always easier to sand down an overfilled spot than it is to patch an underfilled depression later!
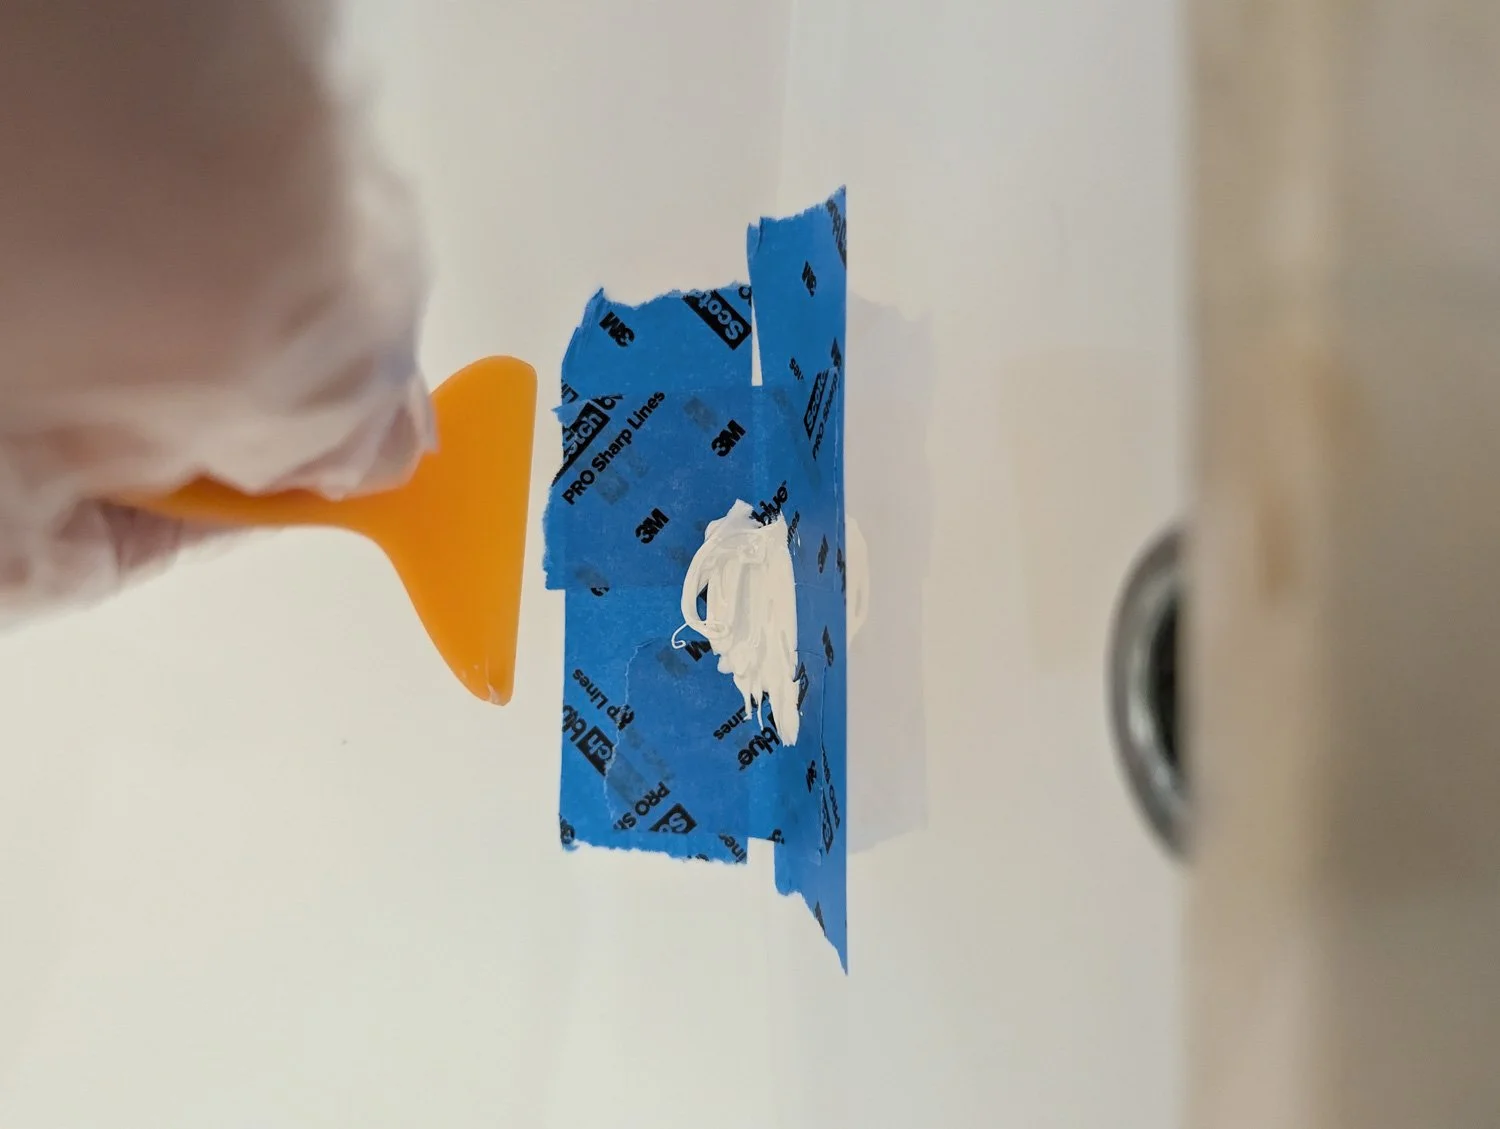
Step 4: Let it Cure (The Waiting Game)
Once you are satisfied with the shape of the patch, it is time to leave it alone. Let the mixture cure undisturbed for the full amount of time recommended on the box, typically 12 to 24 hours, depending on your room's temperature and humidity levels. Make sure to warn family members or guests not to turn on the faucet or splash water near the basin during this crucial window.

And now we wait….for 24-48 hours.
Step 5: Sand and Buff to a High-Gloss Finish
After the compound has fully hardened into a solid, ceramic-like state, take the fine-grit sandpaper provided in your kit. Wet the sandpaper slightly to create a smoother glide, and gently sand the patched spot in a circular motion until the edges match perfectly with the surrounding sink bowl surface. Wipe away any sanding dust with a damp microfiber cloth, and you'll be left with a sleek, glossy, waterproof repair.
Designing with Intention: Why a Quick Fix Beats Replacement
When you are cultivating an intentional home aesthetic, whether it's an airy retreat or a character-rich, historic space, every single detail matters. But being a good steward of your home doesn't always mean ripping out builder-grade materials or classic features at the first sign of wear.
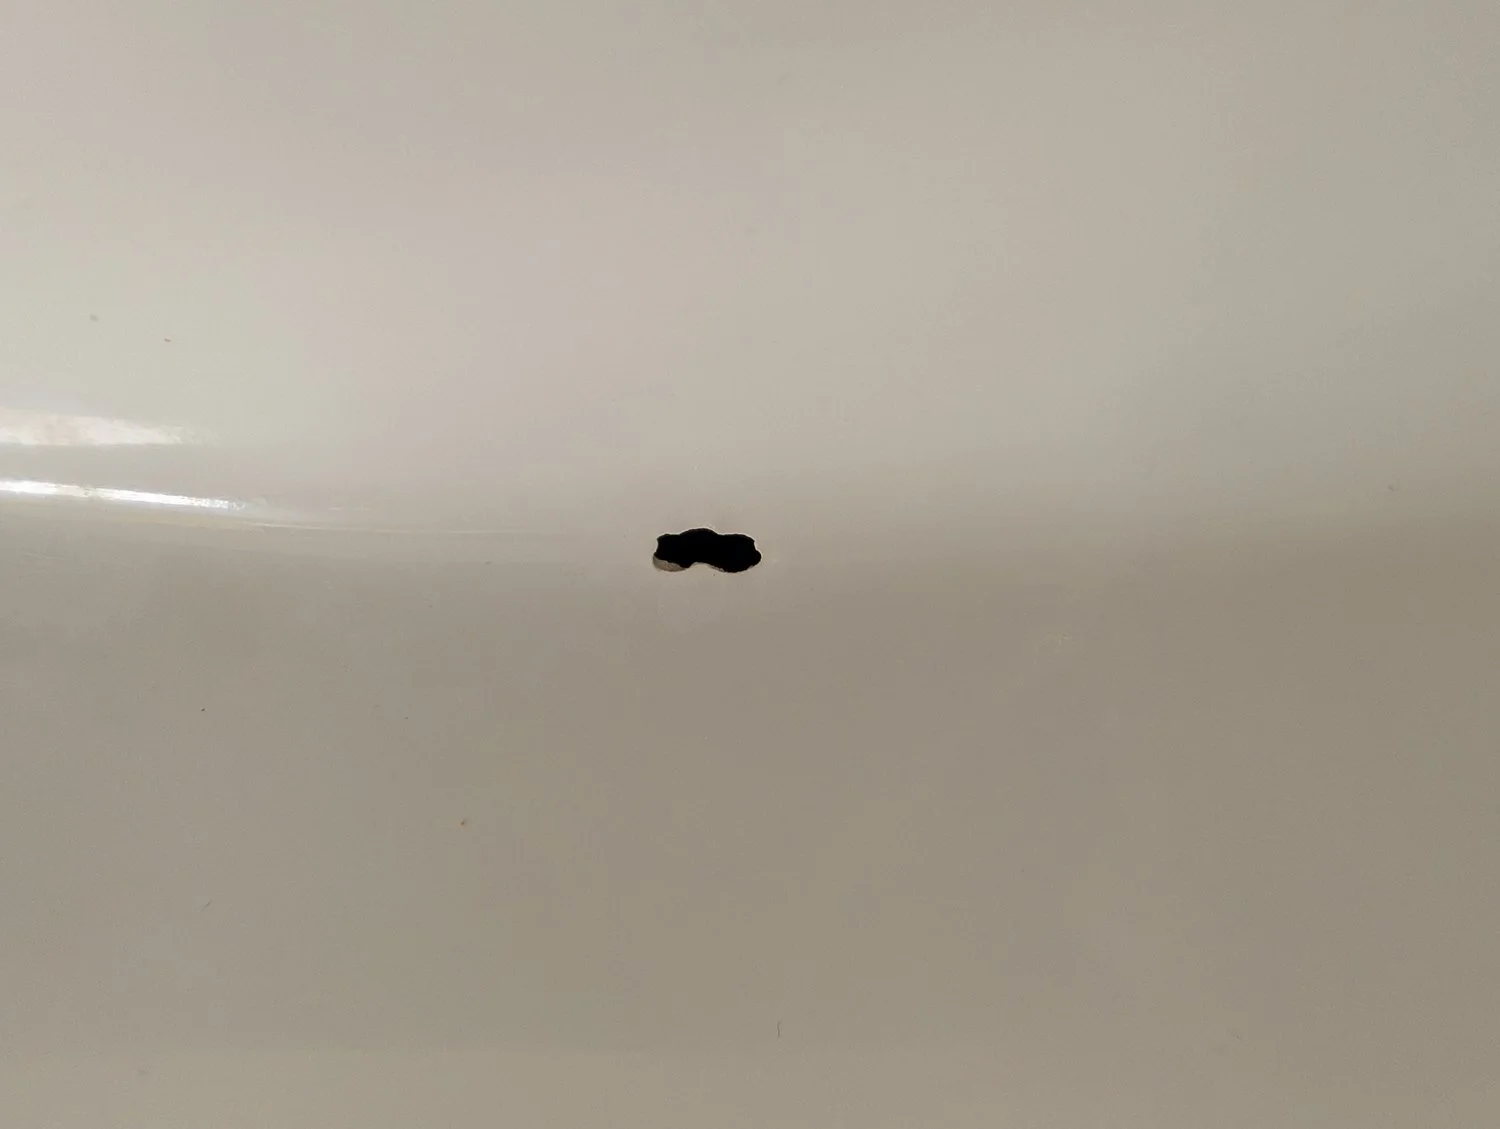
BEFORE
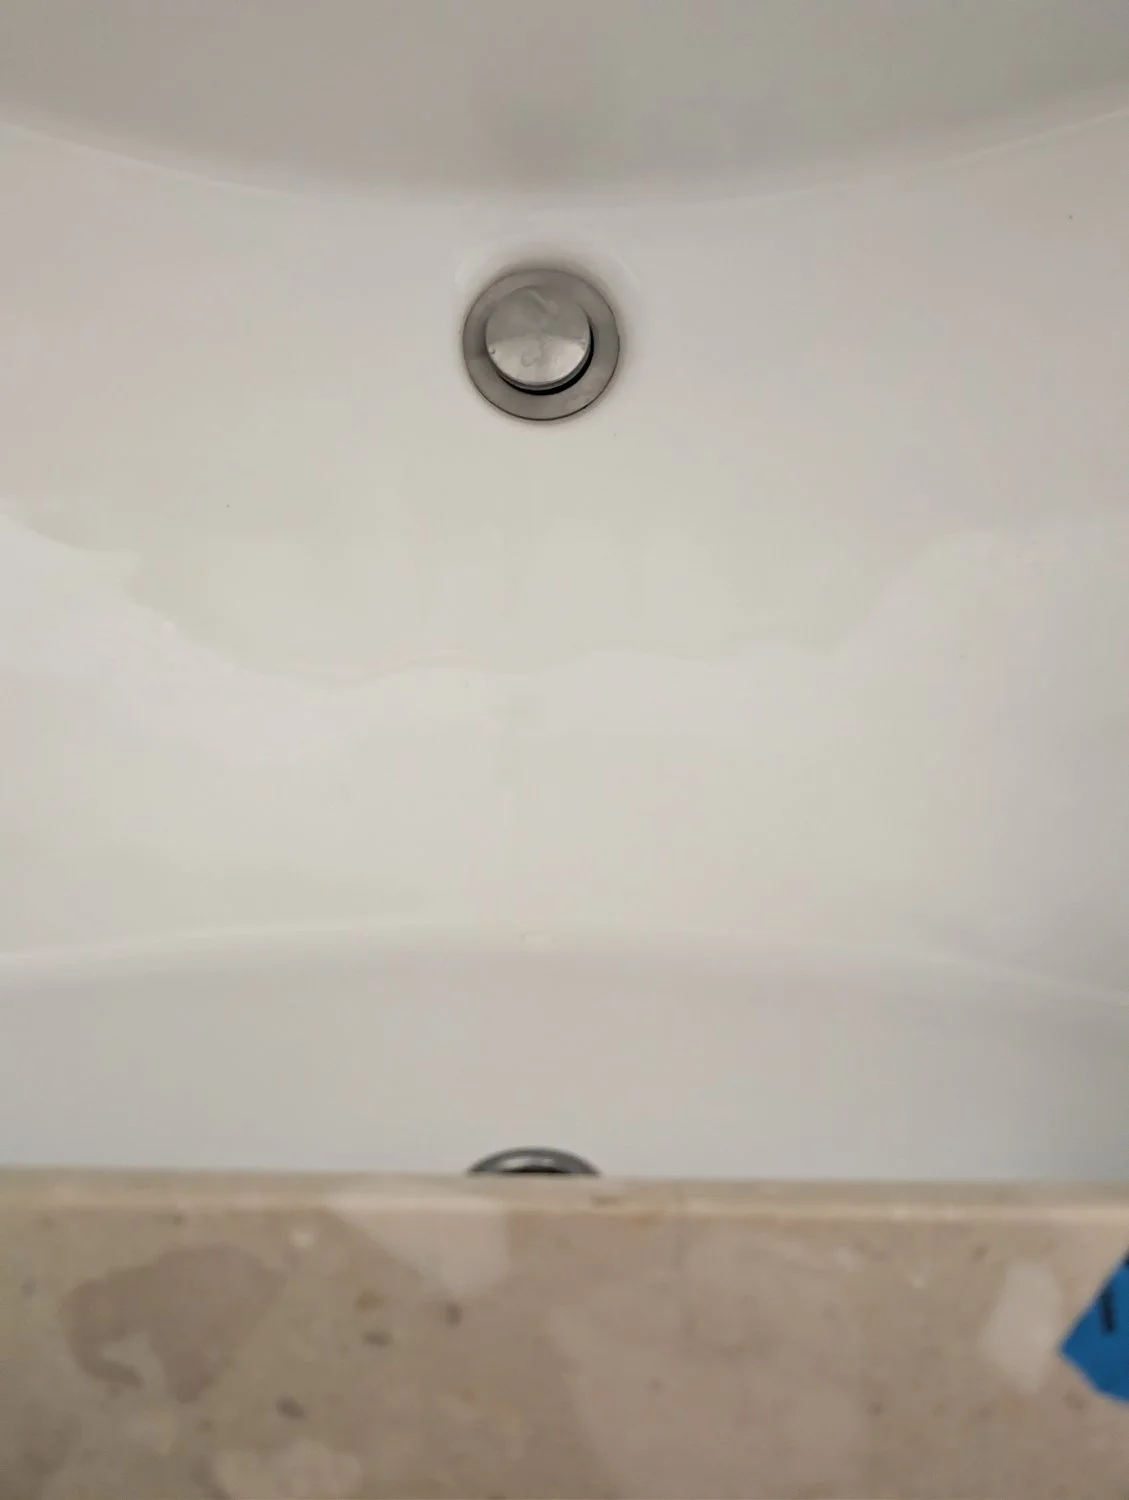
AFTER
Learning how to repair minor chips and structural damage yourself saves money for the big, impactful transformations (like custom tile layouts, luxury stone, or statement lighting) while keeping perfectly functional fixtures out of landfills.


I’m a mom of two and wife to a seriously supportive hubby, living our best life in our forever house by the preserve! I'm all about helping you create a stylish, Pinterest-worthy home on a budget. Let's obsess over interior design, home decor, DIY, and home improvement projects to help you create your best home. Follow along and say hello! I love hearing from you.
Currently Trending


Join me on Instagram!



The raw, unedited truth about surviving a backyard pool construction project. From heavy machinery destroying your lawn to managing mud, pets, and construction fatigue. Here is what to expect during the messy middle.