
Our Backyard Pool Build Update: Plumbing, Equipment, Screen Footers & Pavers!
*This post contains affiliate links. Please read my full disclosure here. Thank you for supporting my blog.*
Welcome back to the backyard! If you’ve been following along with our outdoor build, you know that the early stages of putting in a pool are equal parts thrilling and messy. In my last update, we covered the heavy machinery phase: dig day, tying rebar, passing our first major county inspections, and finally watching the gunite crew shoot the concrete shell.
If you're new around here or missed how we got started with this major project, you can catch up on why we partnered with our builder in this post. Working with the team at Southern Elegance Pools and our pool designer, John Lillo, has made navigating our tricky backyard footprint so much easier.
If you want to get caught up on all the pool build blog posts:
Tackling Our Latest Project Yet: The Backyard Transformation
Meet Our Builder: Why We Chose Southern Elegance Pools (+ The 3D Designs!)
Backyard Pool Build Update: Rebar, Inspections, and Pouring the Concrete Shell
Seeing that raw concrete shape in the ground was a huge milestone, but the phase that followed is where the magic (and a whole lot of hidden engineering) really happens. Today, I’m taking you through the next chapter of our build: getting the mechanical heart of the pool up and running, prepping for our future screen enclosure, and the absolute highlight of this phase, watching our gorgeous decking come to life.
Grab your favorite cup of coffee or tea, and let’s dive into the progress!
1. Behind the Scenes: Pool Plumbing & Electrical Rough-In
Once the concrete shell cured, our backyard quickly turned back into a trench zone. Before you can cover anything up with patio stone or grass, every pipe, jet, line, and wire needs to be precisely placed in the ground.
This stage involved:
Main Lines & Returns: Plumbing pipes were run underground from the pool shell all the way back to our designated equipment pad.
Electrical Conduit: Digging separate trenches for the high-voltage electrical lines that will power the pump, salt system, and lighting, along with low-voltage lines for automation controls.
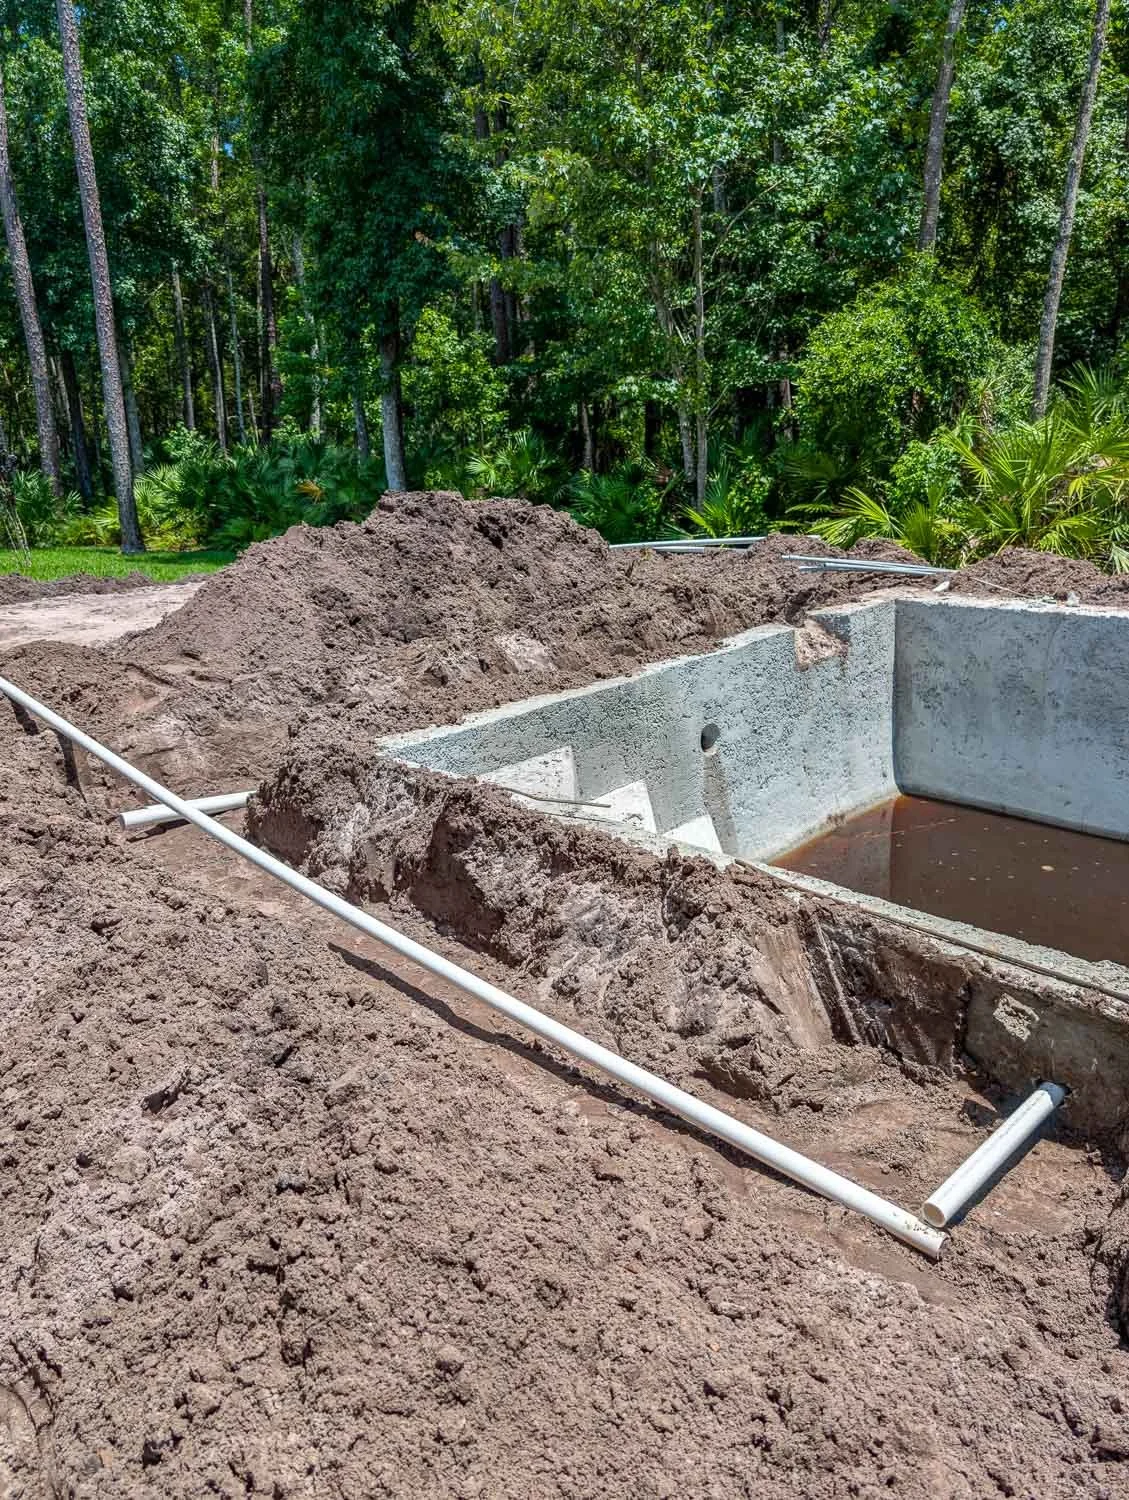
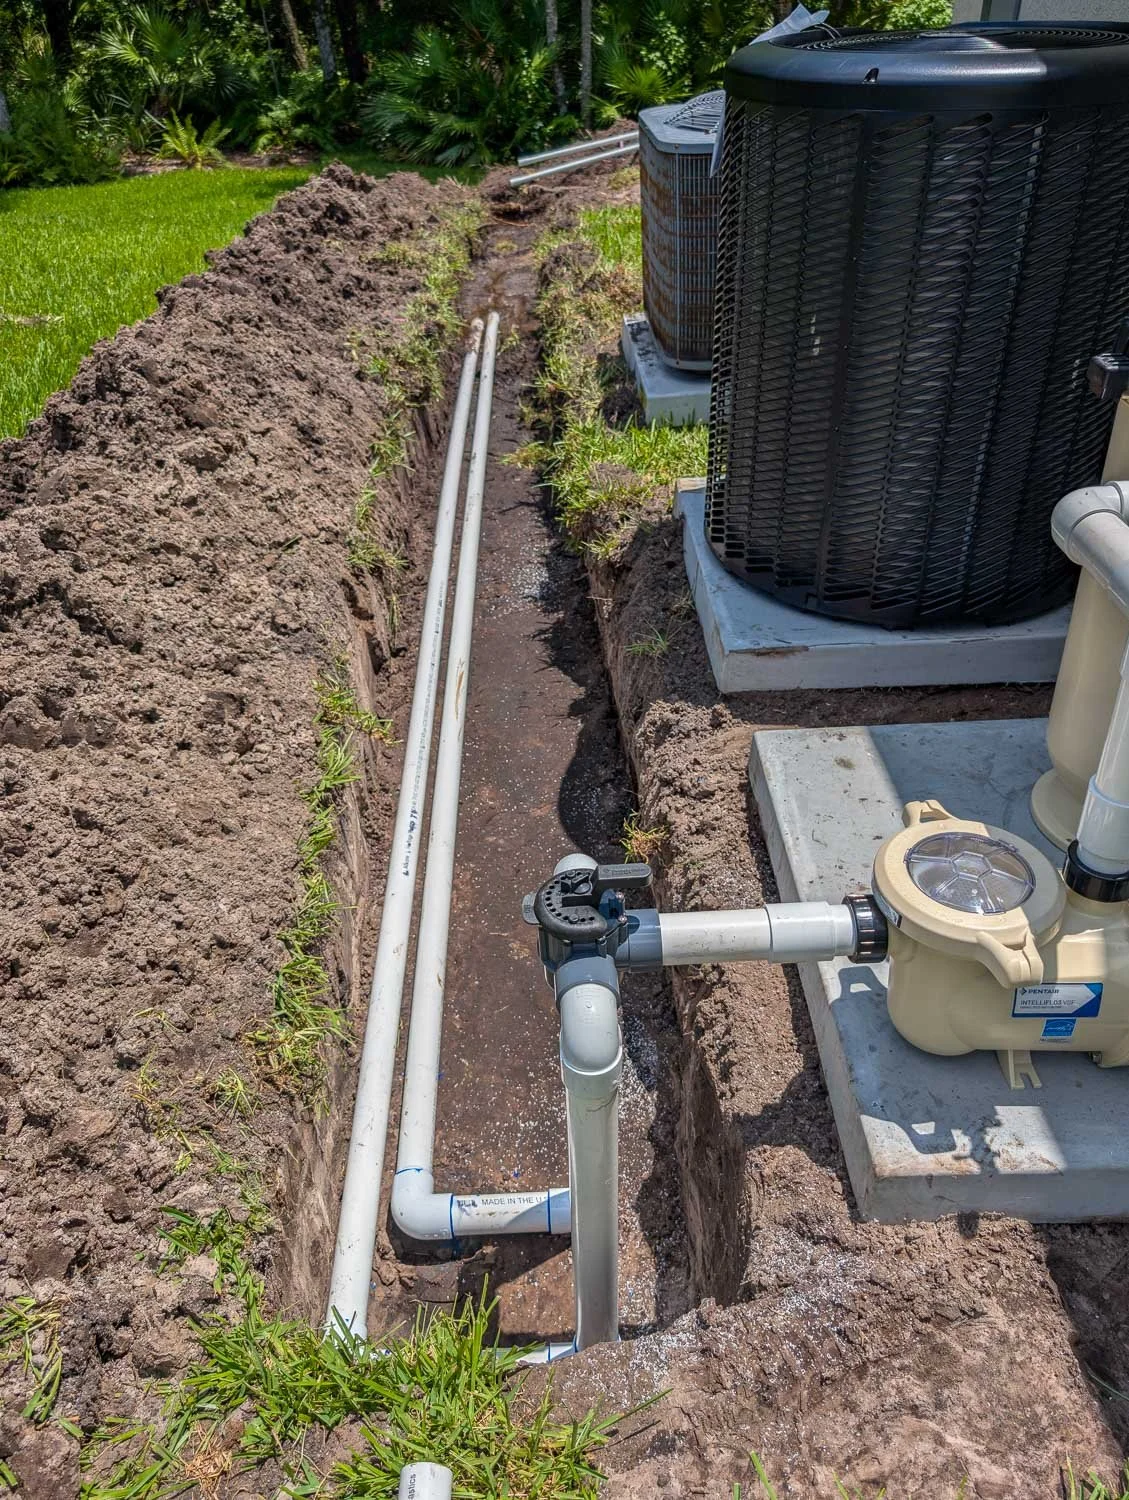
While trenches everywhere aren't exactly pretty, seeing the physical infrastructure go into the ground makes the whole space start feeling like a real, functioning pool rather than just a massive hole full of water.
2. Setting Up the Heart of the Pool: Equipment Installation
While the plumbing crew was finishing underground, the equipment pad was set and the heavy-duty mechanics were wired up. Having efficient, reliable equipment is critical for keeping water crystal clear with minimal maintenance down the road.
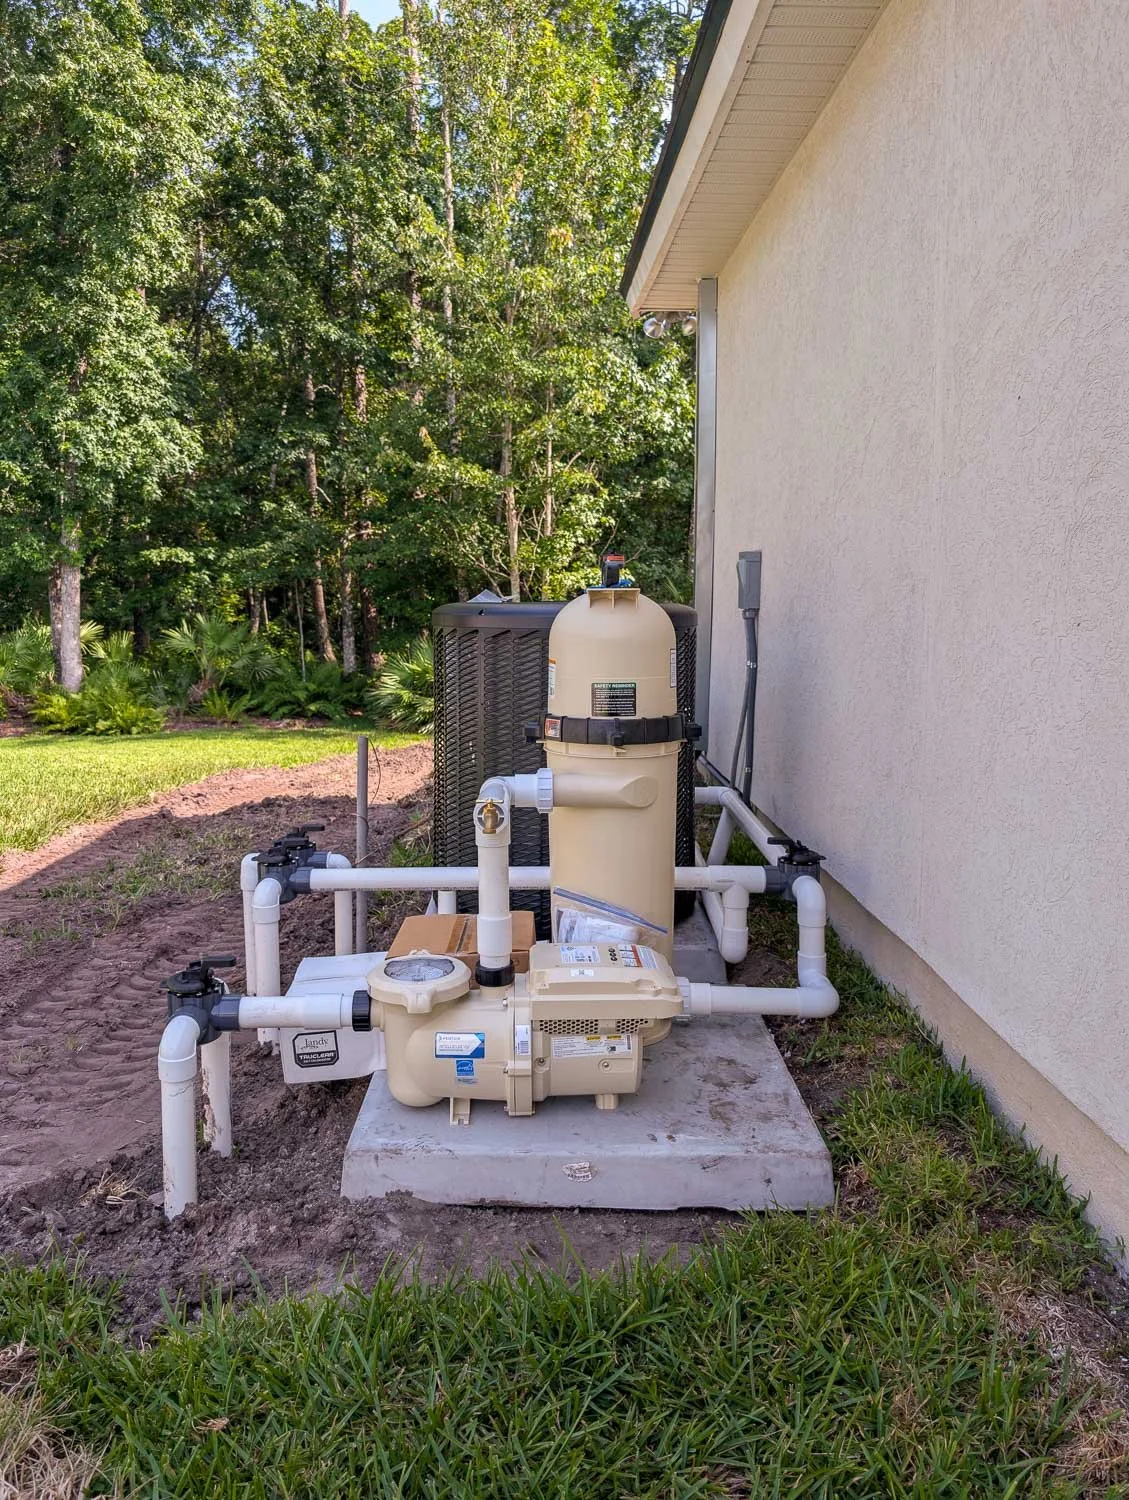
Pump: Pentair Variable Speed W App Controls
Filter: Pentair Clean and Clear 150
Chlorinator: Jandy TruClear 11K
Heater/Chiller: Aquacal SQ160R Heat & Cool Heat Pump
Our equipment pad now houses our variable-speed pump, filtration system, automation panel, and salt chlorine generator. Having everything mounted, plumbed together, and wired up makes the project feel so close to completion, even if we aren't filling it with water quite yet!
2. The First Touch of Color: Waterline Tile Installation
Before the coping stone could go down on the pool edge, the tile crew stepped in for one of my absolute favorite visual milestones: waterline tile installation.
Waterline tile isn't just a design accent; it serves a huge functional purpose by protecting the pool shell right at the waterline, where body oils, sunscreen, and water residue naturally accumulate (making it infinitely easier to wipe clean than porous plaster or pebble finish).
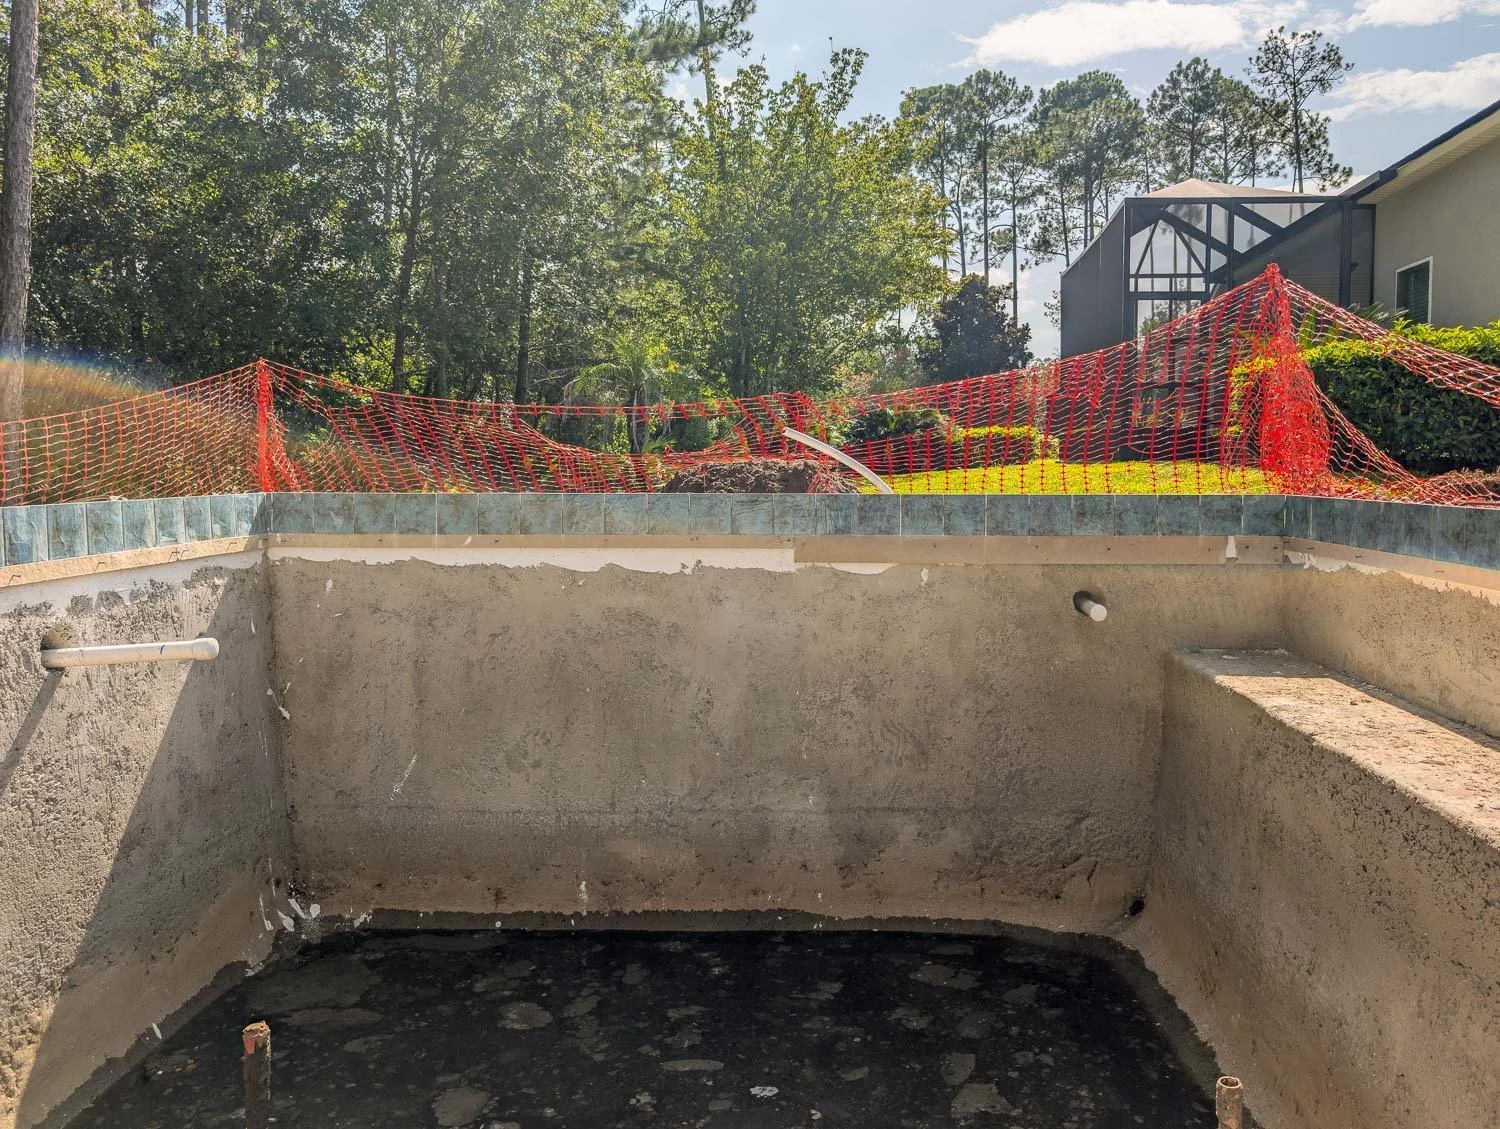
Waterline Tile: Aquabella Stars Gemini 6×6 Tile
Watching the tile go up along the top 6 inches of the pool shell brought immediate personality to the space. It gives us that first glimpse of how the finished water line will tie into our surrounding hardscaping, and seeing that subtle pop of texture against the raw concrete shell made everything feel instantly elevated.
3. Screen Enclosure Footers, Bonding, & Crucial Inspections
Living in Florida, a screen enclosure is an absolute game-changer for enjoying outdoor living year-round without constantly fighting off bugs or skimming leaves every afternoon. However, building a structure that can handle heavy wind loads requires a rock-solid foundation.
Before any concrete could be poured for the screen footers, we had to pass two extremely important safety inspections:
Equipotential Bonding (Grounding): Water and electricity don't mix, so strict building codes require a continuous copper bonding grid to loop around the entire pool deck, rebar structure, and electrical components. This ensures all metal elements share the exact same electrical potential, keeping swimmer safety front and center.
Rebar & Footer Inspection: Heavy-gauge steel rebar gridwork was set along the perimeter where the future enclosure framing will sit. The county inspector signed off on the depth, rebar spacing, and grounding wire before giving us the green light.
Once the inspector signed off, the crew poured the concrete footers, giving our future screen enclosure a completely stable base tied directly into the deck structure.
4. The Main Event: Diana Royal Leathered Marble Pavers
Now for the part I’ve been daydreaming about for months: decking day!
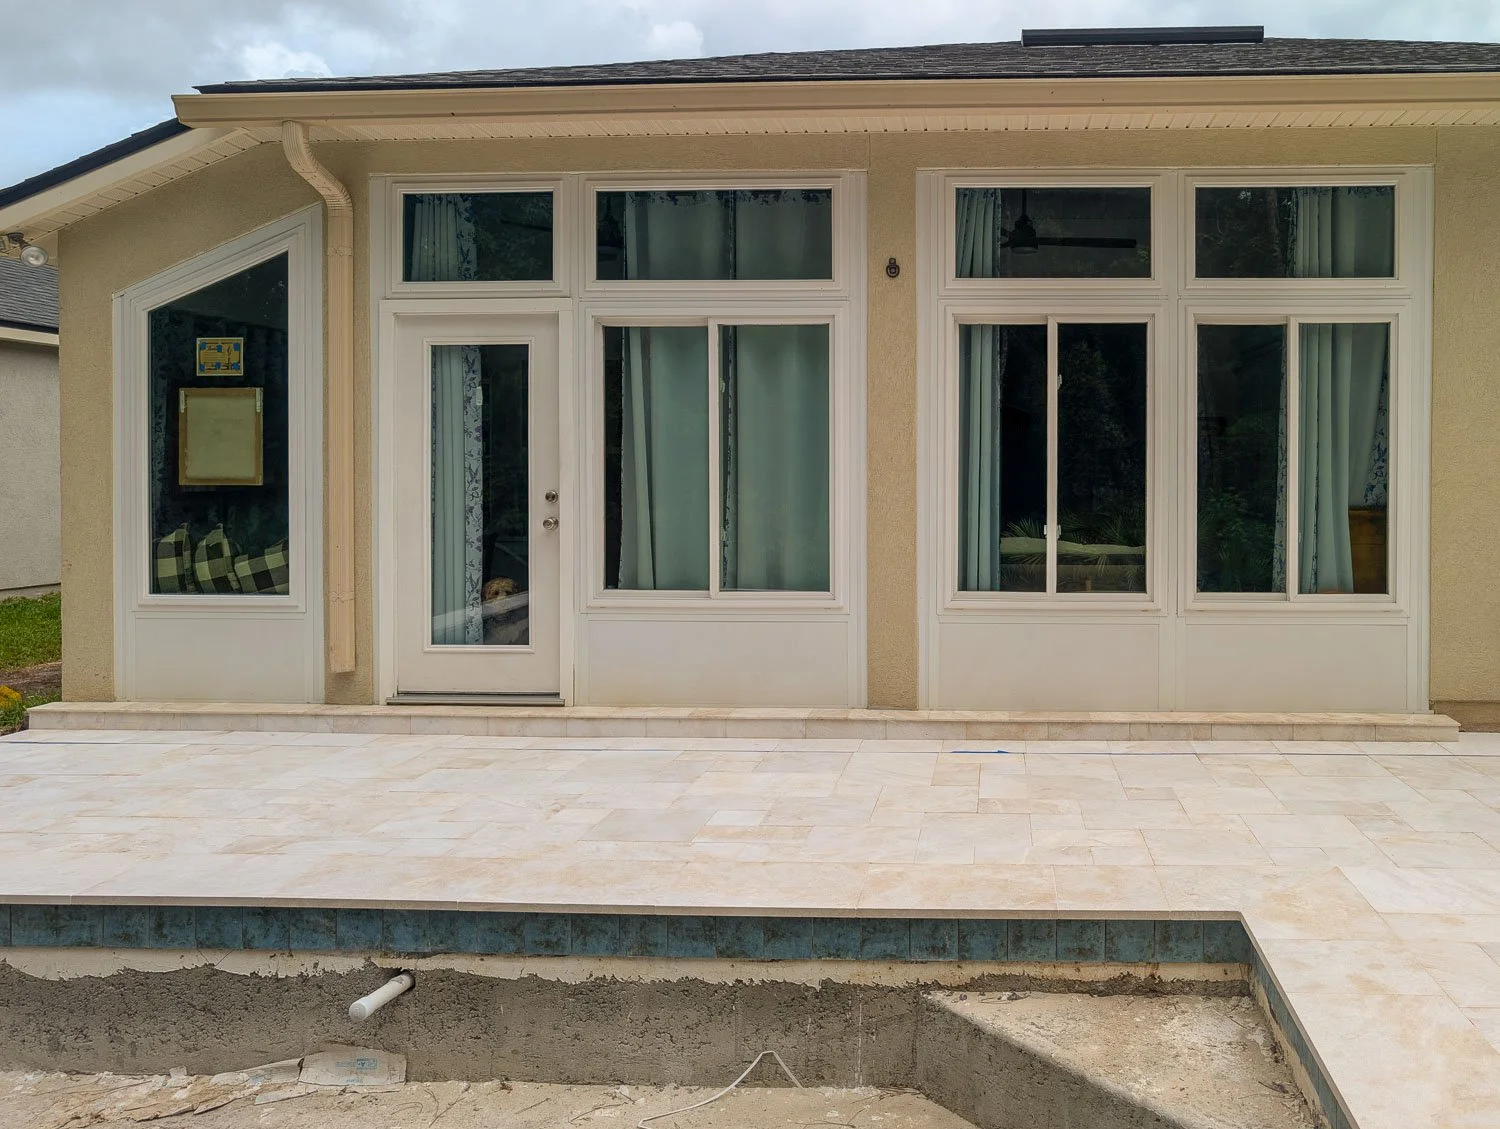
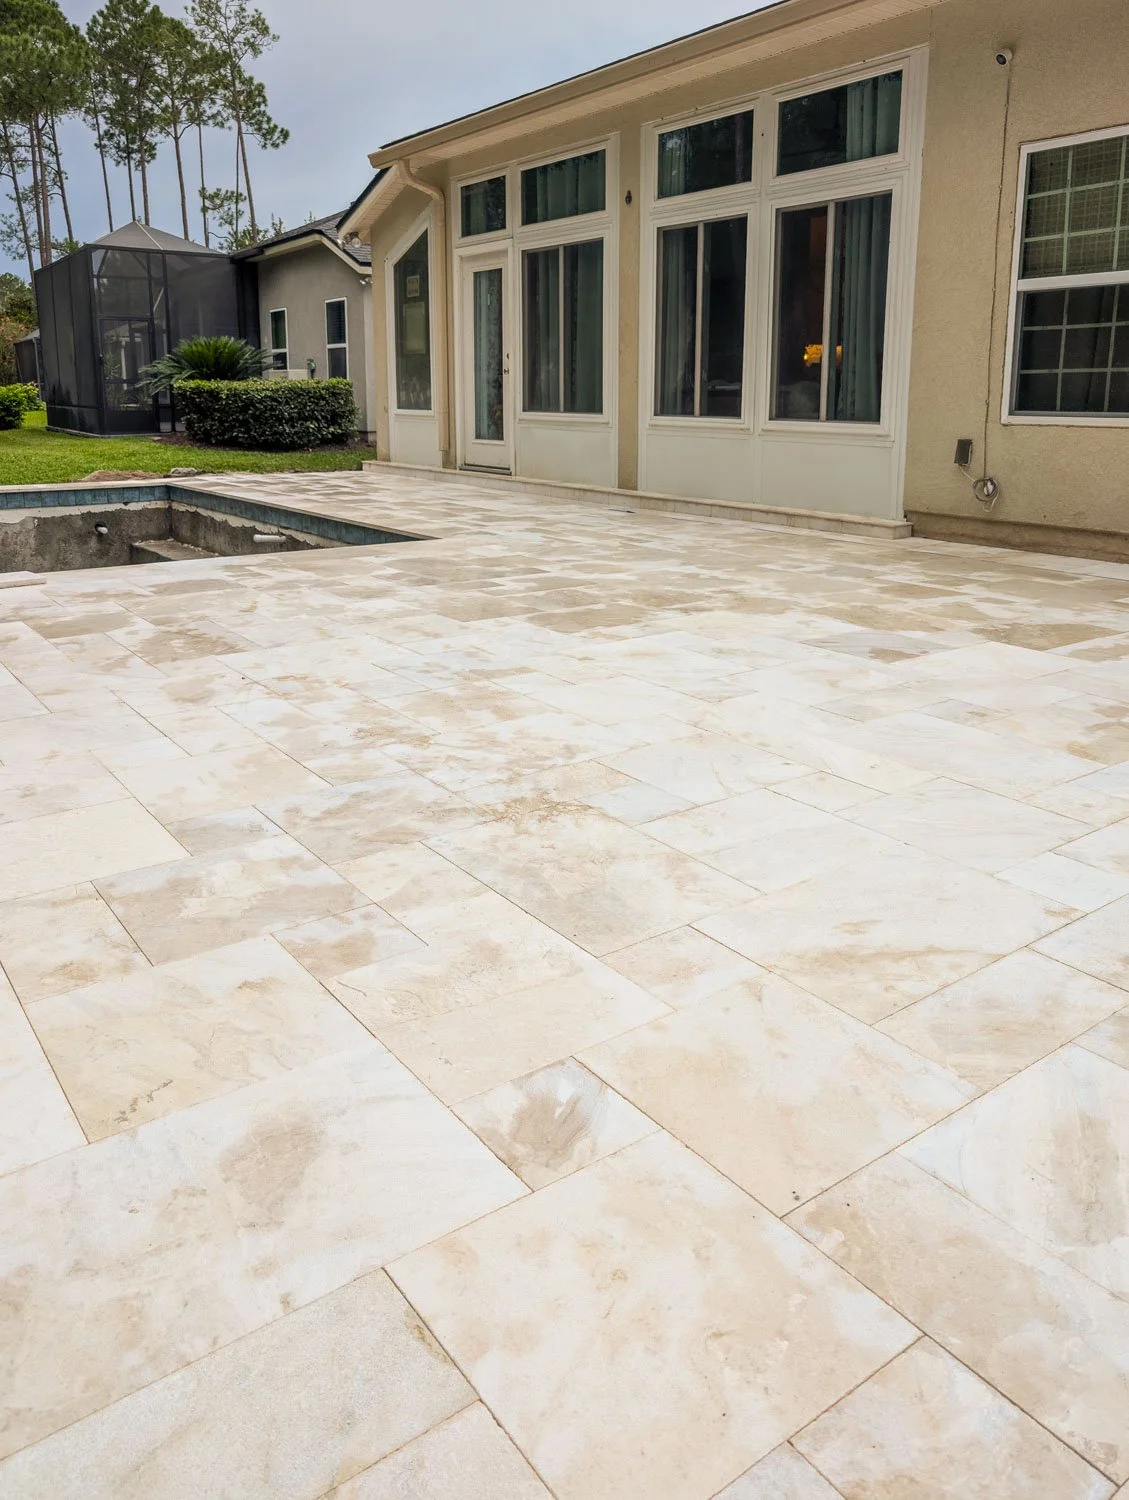
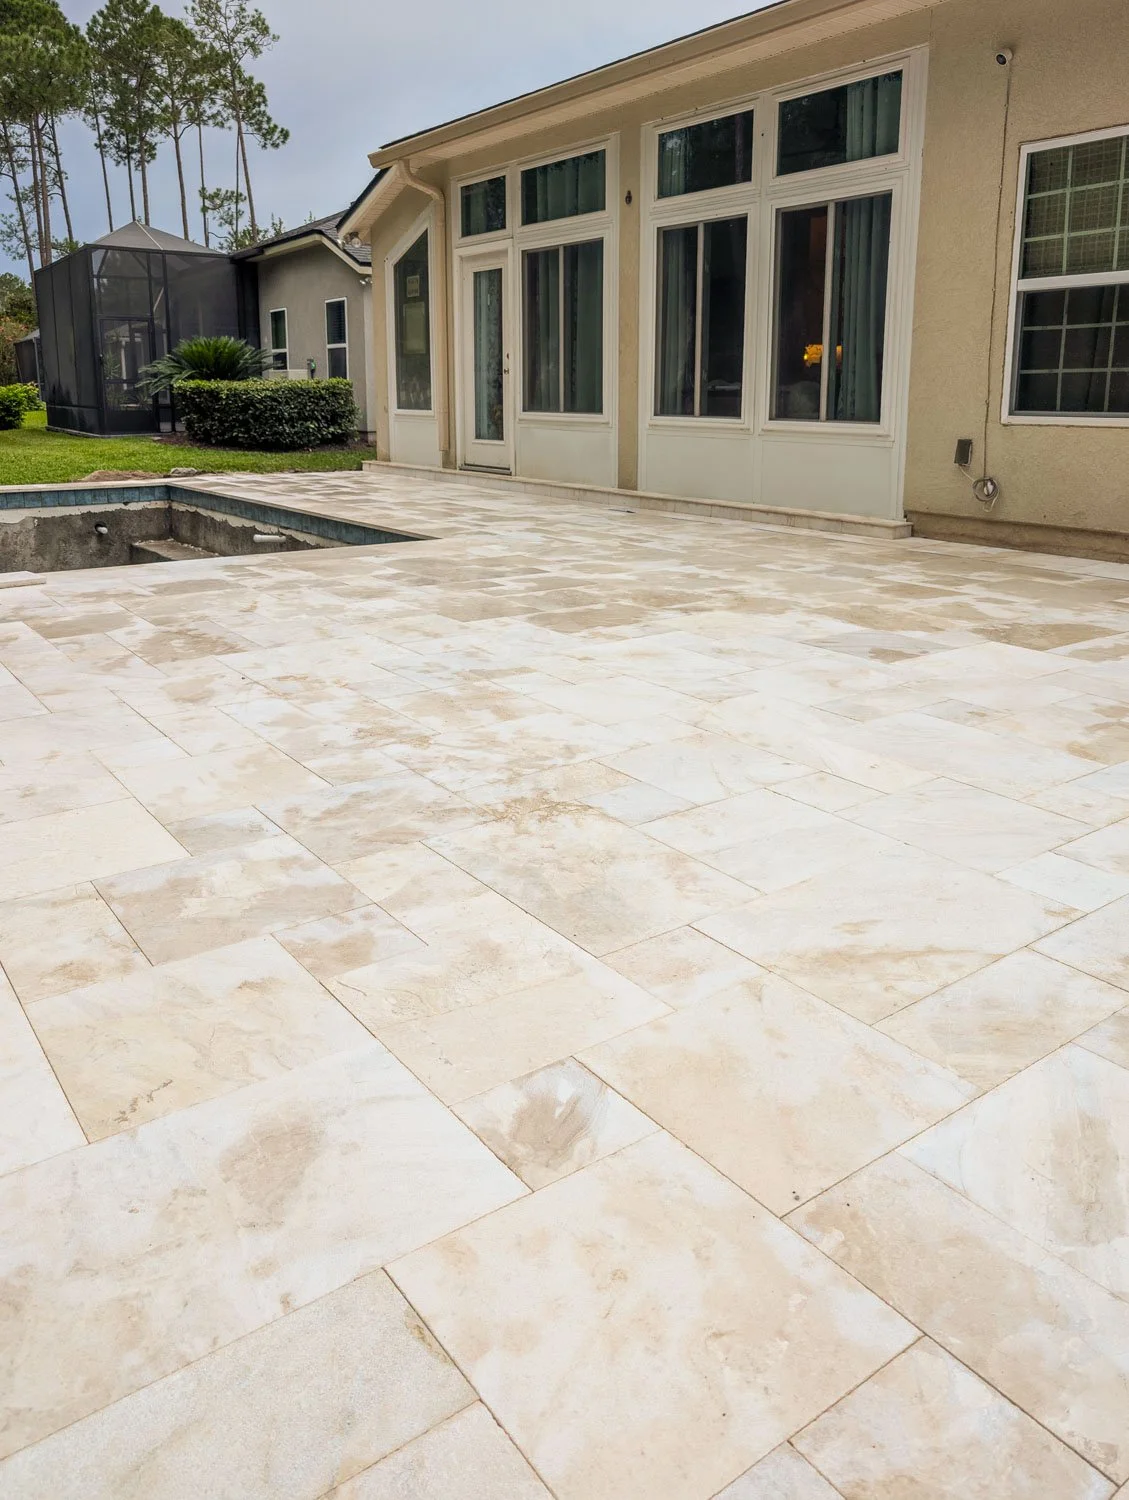
After weeks of looking at dirt trenches and gray concrete, watching the hardscaping go down feels like going from black-and-white to full color. For our deck, coping, and lanai edge facing, we chose Diana Royal leathered marble.
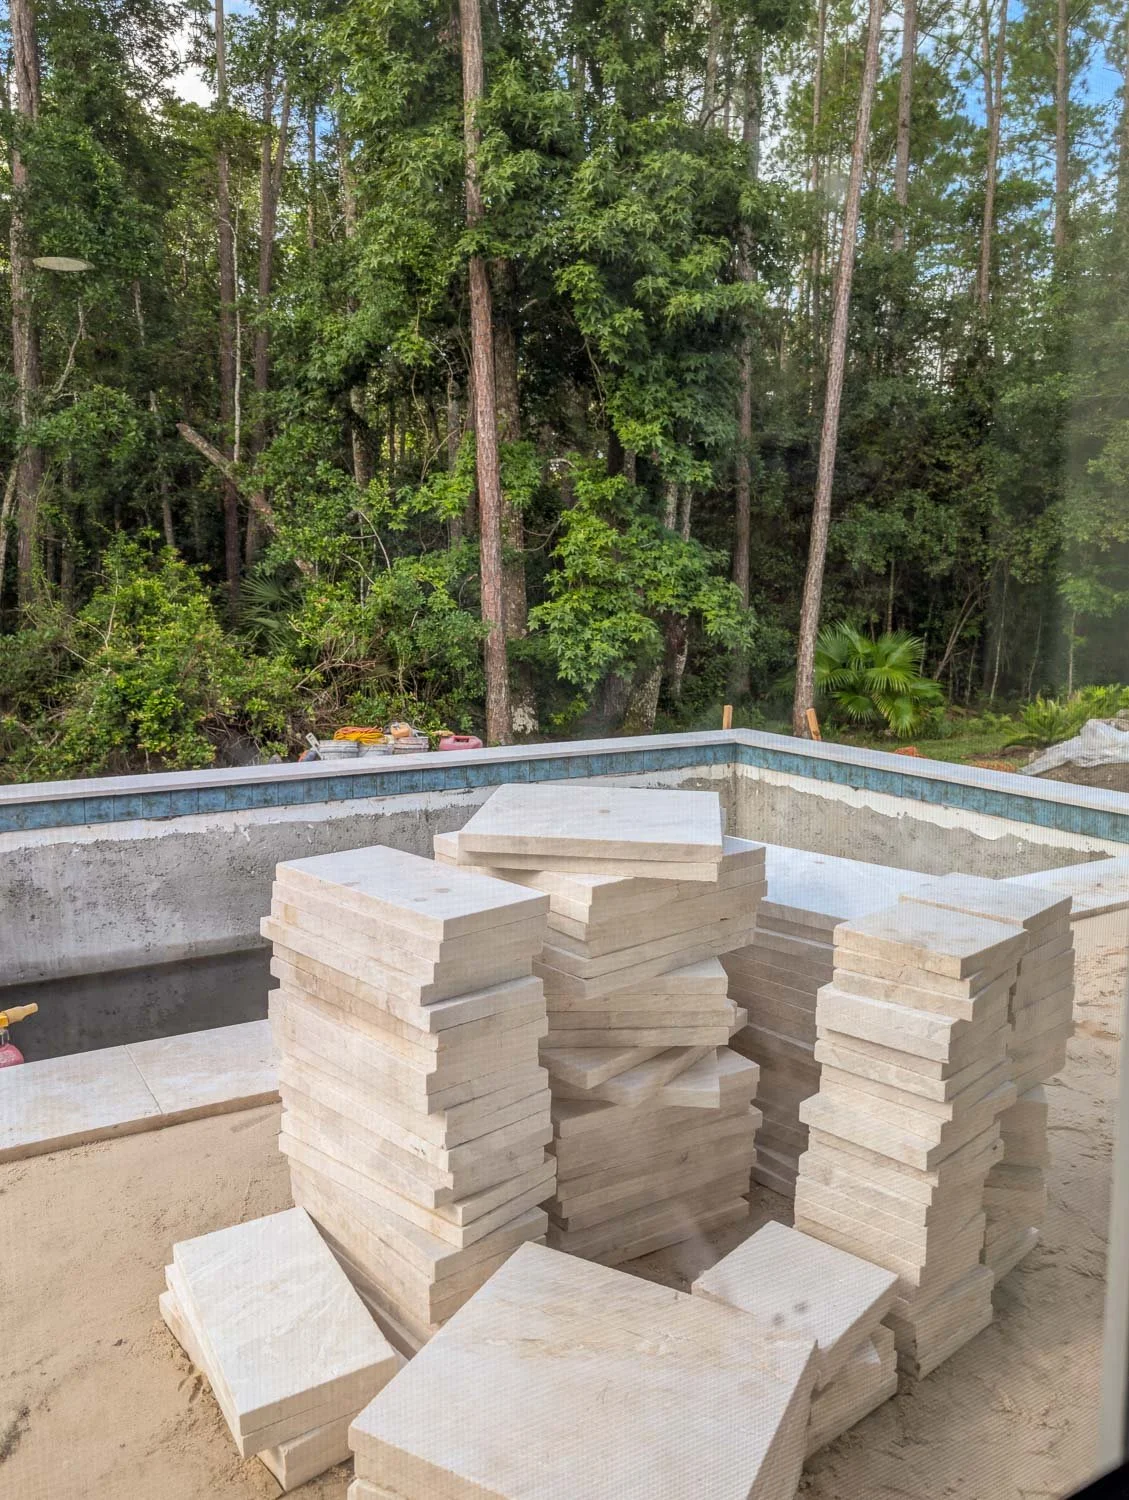
We chose to have the paver laid in a French pattern.
The leathered marble was a non-negotiable for us in this space. Not only does it stay significantly cooler under bare feet during hot summer afternoons compared to standard pavers or stamped concrete, but the natural variation in tone gives it that timeless, elevated texture we love. Diana Royal brings the perfect balance of warm neutrals, creamy creams, and subtle marbling that ties our indoor aesthetic seamlessly into the outdoor living area.
The Decking Process:
Base Preparation: A thick layer of crushed aggregate base was spread, leveled, and compacted to prevent settling over time.
Bullnose Coping: The smooth, Diana Royal leathered marble coping pieces were set and mortared along the top edge of the pool shell.
Laying the Pattern: The masons meticulously hand-set the pavers across the main deck and lanai transition, leveling each piece to ensure proper drainage sloped away from the house and pool edge.
Sand: Once laid, fine sand was swept between the joints to lock every paver into place.
The transformation was instant. The minute those soft neutral stones covered the dirt, our backyard suddenly felt like a true resort-style extension of our home.
What’s Next on the Horizon?
We are officially in the home stretch! Coming up next on our build checklist:
Installing the frame and screening for the enclosure
Interior pool surface (plaster/pebble finish)
Acid wash and the official water fill day!
Final landscaping, outdoor furniture, and styling (yay!)
Thank you so much for following along with our backyard journey! If you’re currently planning a pool build or in the middle of your own renovation, drop your questions in the comments below or come say hi over on Instagram; I’d love to connect!


I’m a mom of two and wife to a seriously supportive hubby, living our best life in our forever house by the preserve! I'm all about helping you create a stylish, Pinterest-worthy home on a budget. Let's obsess over interior design, home decor, DIY, and home improvement projects to help you create your best home. Follow along and say hello! I love hearing from you.
Currently Trending
Join me on Instagram!


The raw, unedited truth about surviving a backyard pool construction project. From heavy machinery destroying your lawn to managing mud, pets, and construction fatigue. Here is what to expect during the messy middle.