
The Deep Cleaning Project I Ignored for 12 Years: How to Clean Air Vents (and Fix Ceiling Streaks!)
*This post contains affiliate links. Please read my full disclosure here. Thank you for supporting my blog.*
I have a confession to make, and honestly, I’m a little embarrassed to type this out loud.
We have lived in our home for twelve years now. In that time, I’ve painted walls, styled shelves, tackled major DIY renovations, and shared countless cleaning tips. But until a few weeks ago, it had never occurred to me to actually remove and deep clean our HVAC air vents.
Like most people, my standard routine involved casually passing the vacuum brush attachment over the grilles every now and then during a Sunday reset, calling it a day, and looking back down at the floors. When you have 10-foot ceilings, things that are high up tend to be a classic case of out of sight, out of mind.
That all changed a couple of weeks ago. I happened to look up at just the right angle and noticed a subtle, fuzzy, grayish streak on the ceiling coming from one of our main registers. When I stepped up to look closer, the reality hit me: our vents weren’t looking so crisp and white anymore. They were caked in a decade's worth of fine, trapped dust, pet dander, and allergens.
Once you see it, you cannot unsee it. It instantly ages a room and breaks the clean lines of a beautifully styled space.
If you are currently staring up at your own ceiling with a sudden sense of dread, don't panic! There is zero judgment here. Today, I’m breaking down exactly how to remove and deep clean air vents, how to get rid of those annoying ceiling dust streaks, and how to refresh your grilles so they look brand new.
Why Do Air Vents Get So Dirty? (And What Are Those Gray Ceiling Streaks?)
Before we grab the screwdriver, let’s talk about why this happens. It's easy to assume that dirty vents mean your house is dirty or that your HVAC system is failing, but that’s rarely the case.
Air vents pull and push thousands of cubic feet of air through your home every single day. As that air moves, it carries microscopic particles, like dust, skin cells, pet dander, and cooking oils. Over time, the metal or plastic slats of your vent covers act like a magnet for these particles due to static electricity and residual moisture in the air.
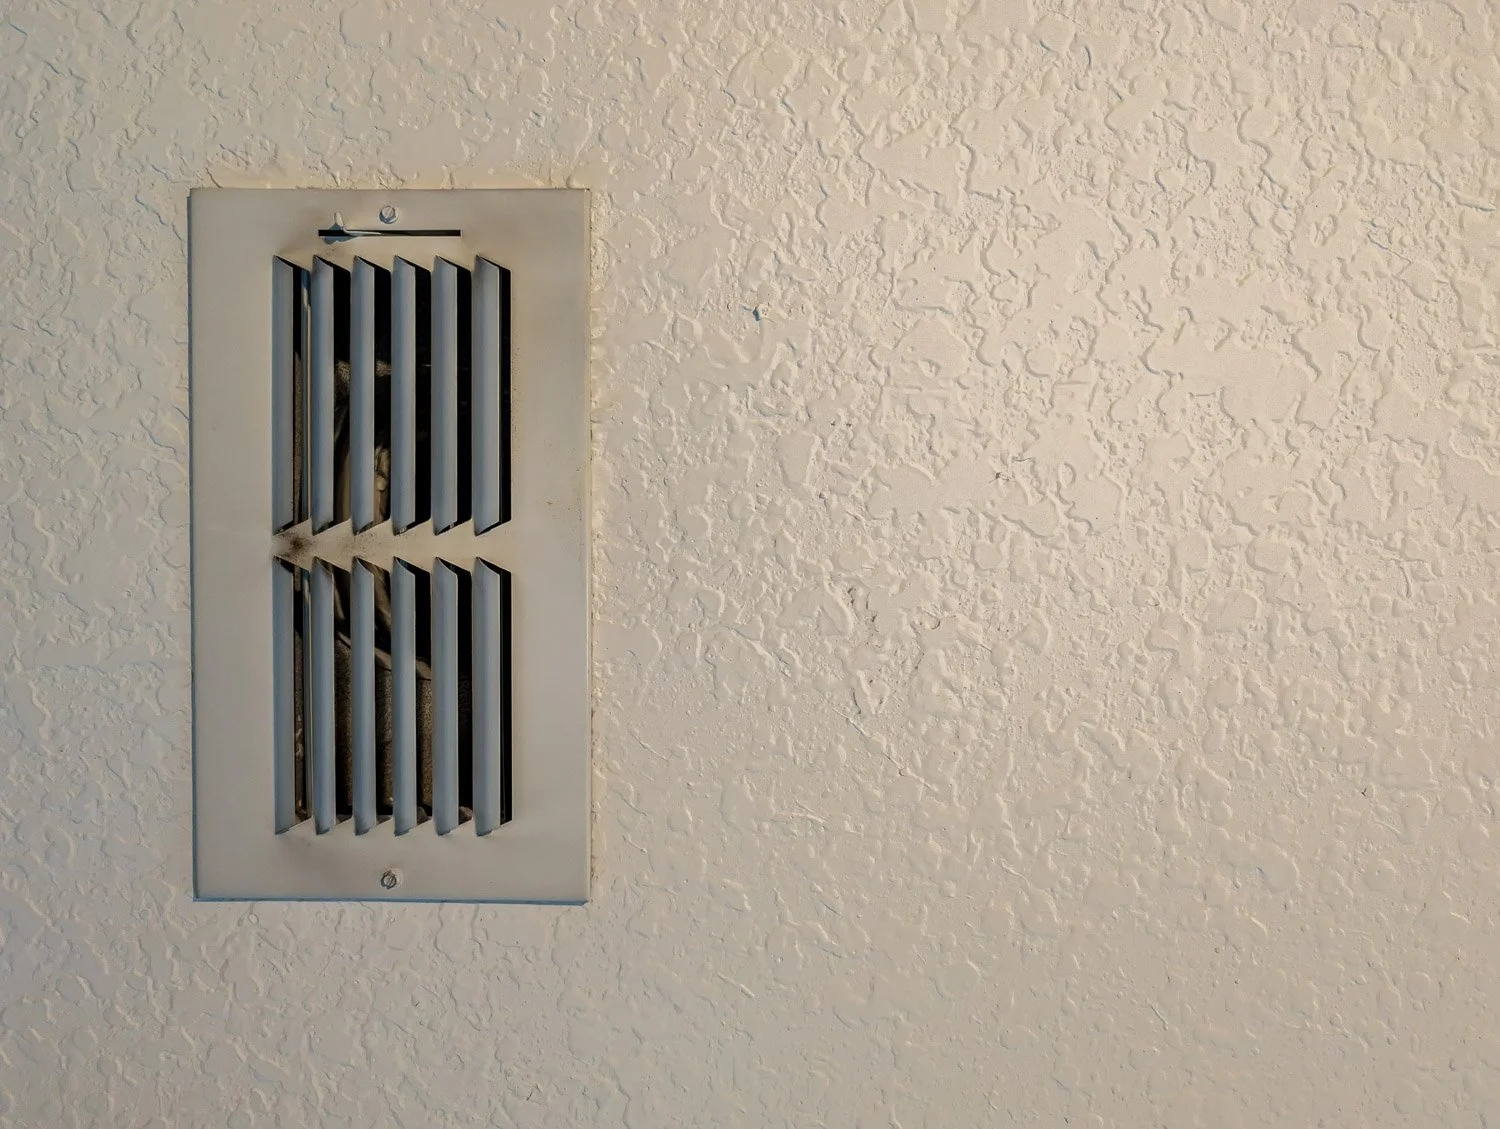
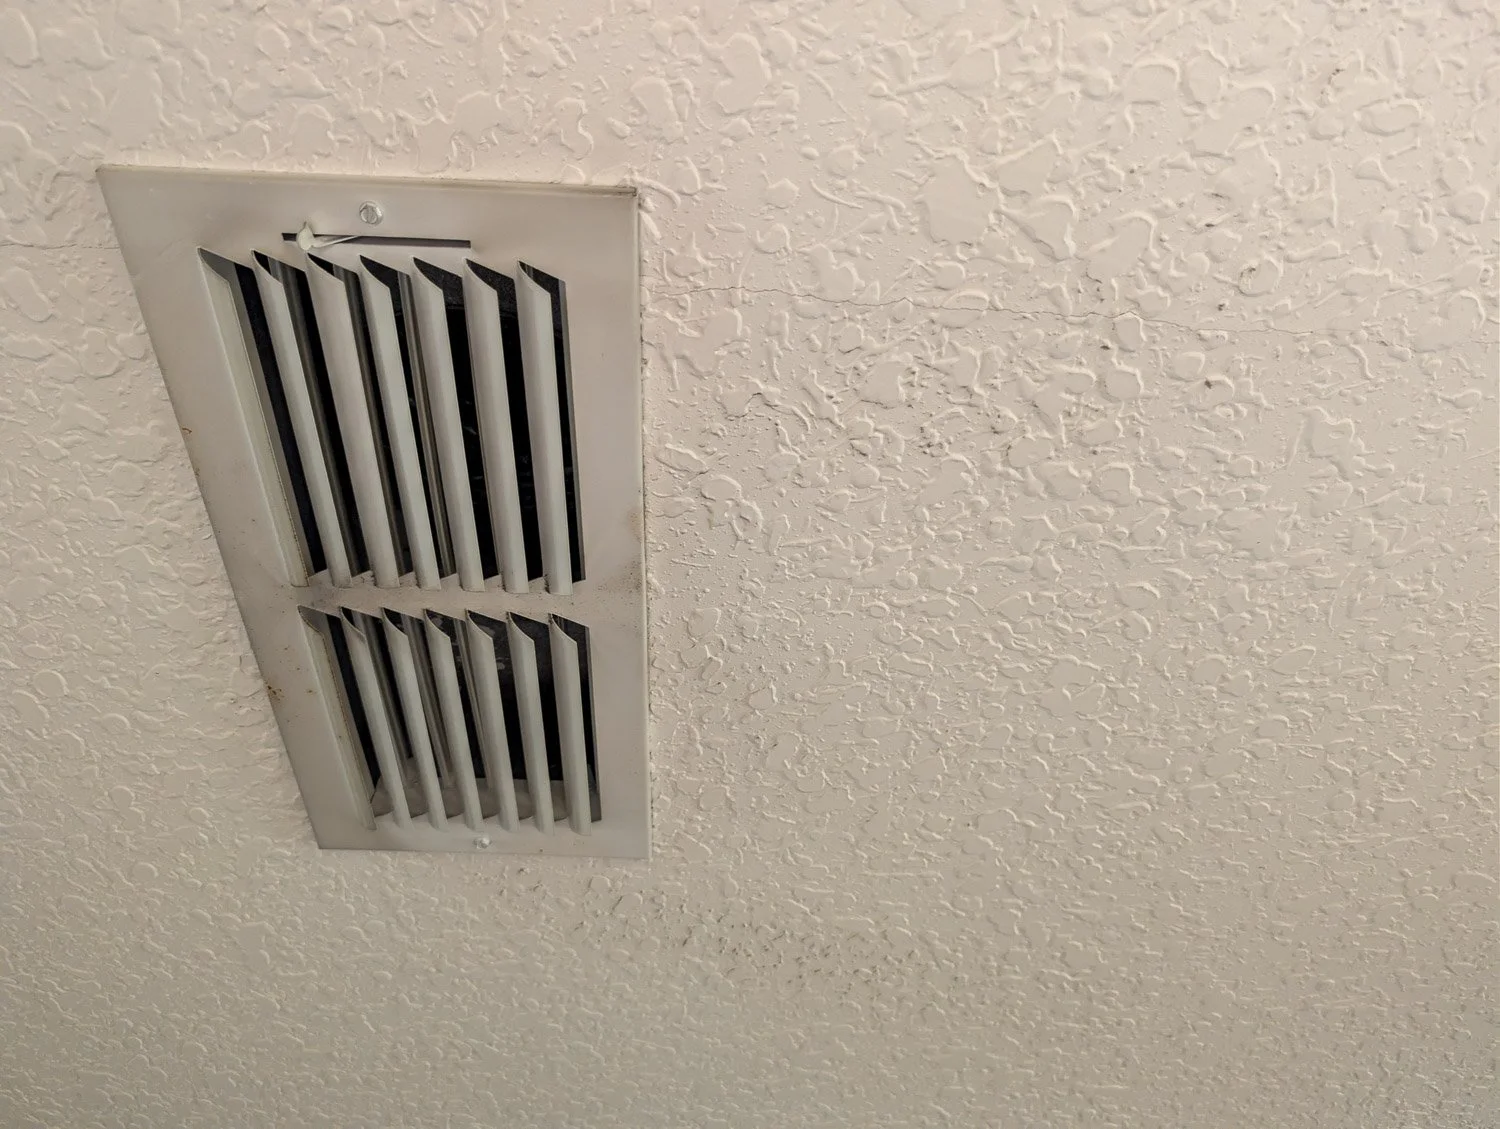
Those grayish streaks on the drywall around the vent are caused by cool air escaping the vent, which hits the warmer ceiling material, creating a tiny bit of condensation. Dust particles passing by stick to that invisible moisture, creating those unsightly gray tracks on your paint.
The Ultimate Air Vent Deep Cleaning Supplies Checklist
To do this right, you want to pull all the vents in a specific zone or floor at the same time so you can batch the process. Here is what you'll need to gather:
A sturdy ladder or step stool: A must-have if you’re dealing with high ceilings.
Screwdriver: Usually a standard Phillips head, though some modern vents use a flathead.
Vacuum with a brush attachment: For capturing loose dust before it falls.
Warm water and liquid dish soap: A grease-cutting soap like Dawn is perfect here.
A large cleaning basin: A bathtub, laundry sink, or a clean outdoor utility tub works best.
Soft-bristled scrub brush: An old toothbrush is your best friend for getting between tight slats.
Microfiber cloths: For wiping down the surrounding ceiling and drying the vents.
Optional - White Spray Paint: (More on this design trick below!)
Step-by-Step: How to Remove and Deep Clean HVAC Registers
Follow these step-by-step instructions to safely clean your grilles without sending a cloud of dust raining down onto your furniture.
1. Turn Off Your HVAC System: Safety First.
Before you touch a single screw, turn your heating and cooling system completely off at the thermostat. You do not want the air kicking on while a vent cover is removed. This prevents loose dust inside the ductwork from blowing out into your living space or drawing debris directly into your system.
2. Vacuum the Exterior Grille: Prevent Dust Showers.
Do not unscrew a dry, dusty vent without preparing first. Climb up your ladder and use your vacuum's soft brush attachment to gently clear away loose, hanging dust bunnies from the exterior face of the vent. This simple step saves your eyes and your floors from a shower of gray soot.
3. Remove the Vent Cover Carefully: Secure the Screws.
Loosen the screws holding the vent to the ceiling or wall. Keep one hand firmly on the center of the grille as you remove the final threads so it doesn’t drop and gouge your drywall.
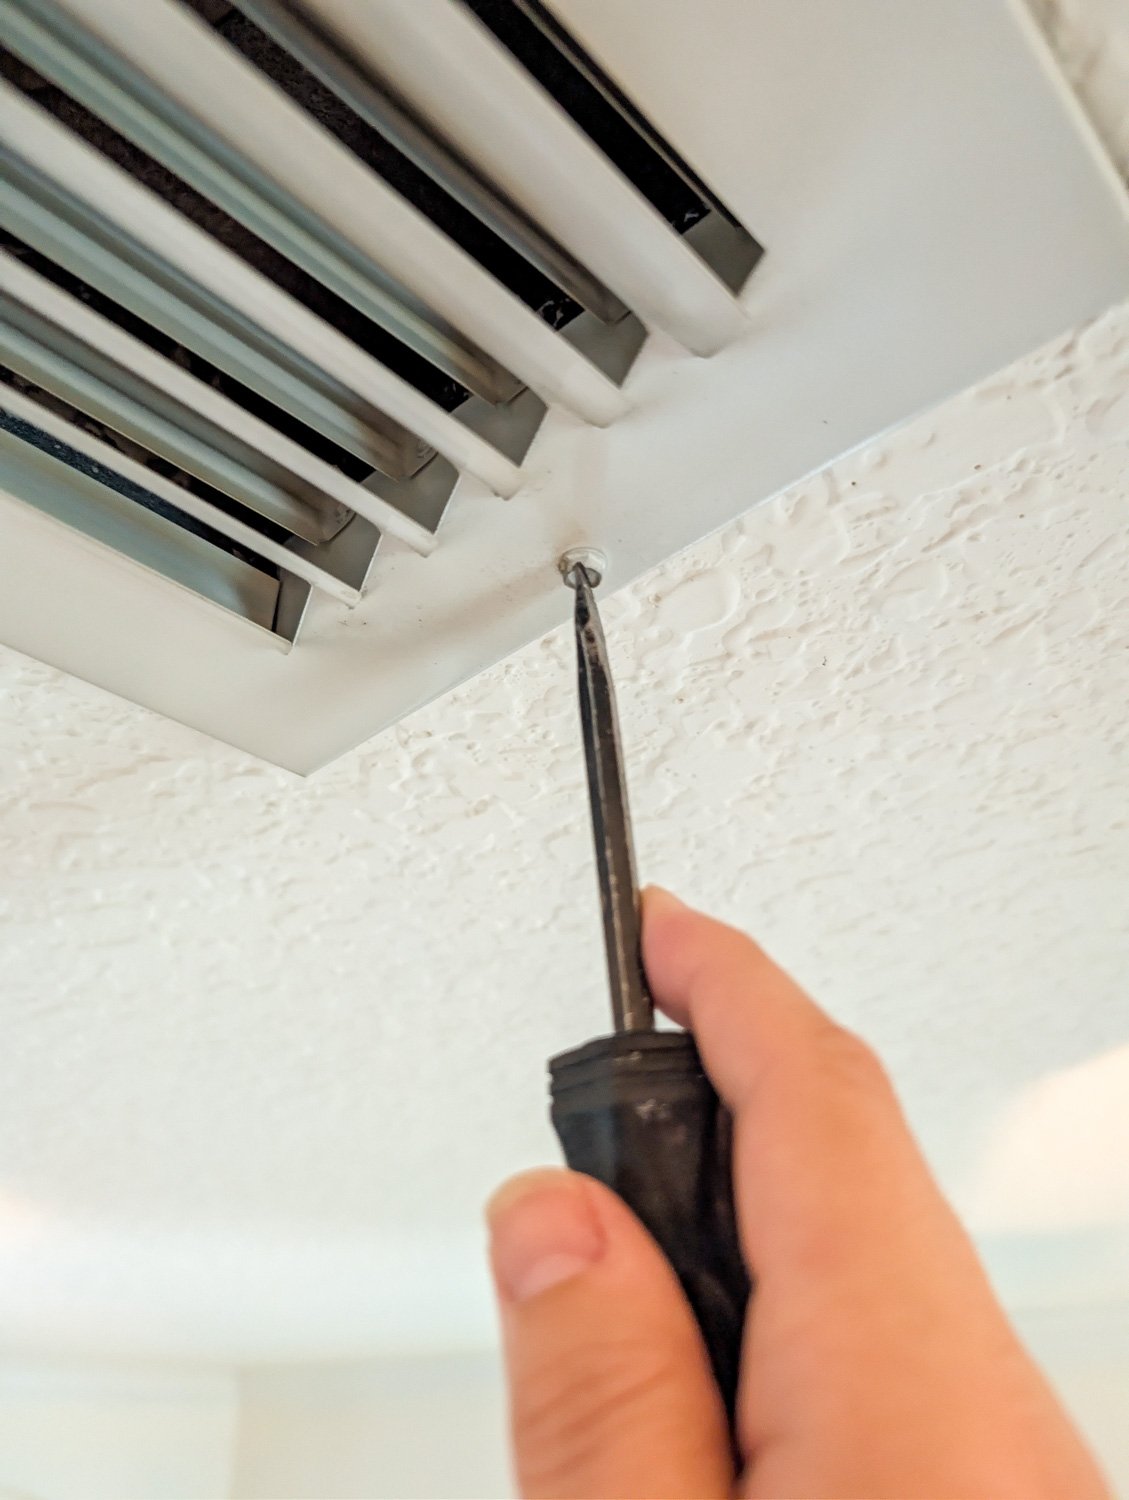
Pro Tip: Drop the screws into a small magnetic tray or bowl immediately. Finding matching white, long-threaded vent screws at the local hardware store is a frustrating errand you want to avoid!
4. Soak in Hot, Soapy Water: 15-Minute Submersion.
Take your accumulated vent covers to the bathtub or laundry tub. Fill it with hot water and a generous squeeze of dish soap. Let them soak for 15 to 20 minutes. This breaks down the stubborn, sticky film of dust and cooking oils (which are especially prominent on vents near kitchens and open-concept living spaces).
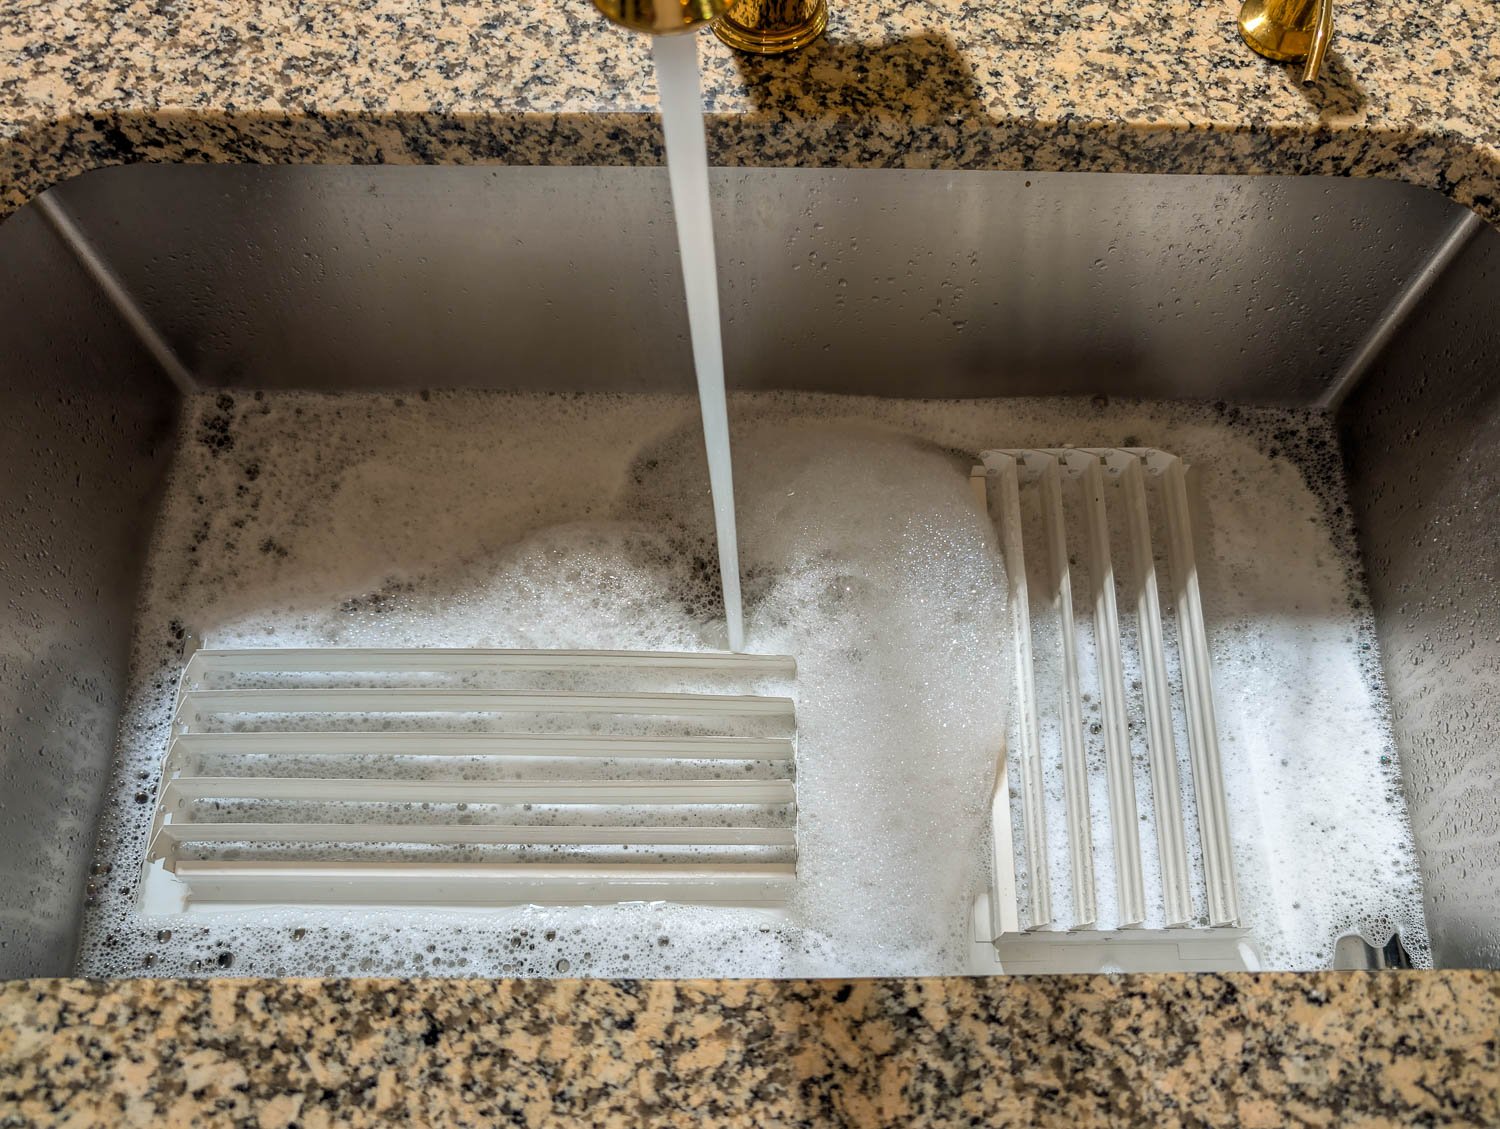
5. Scrub the Slats and Detail: Clear the Corners.
After soaking, use a microfiber cloth to wipe away the loosened grime. For the narrow gaps and mechanical directional levers, use an old toothbrush to detail the corners. Rinse each vent thoroughly with clean, warm water.
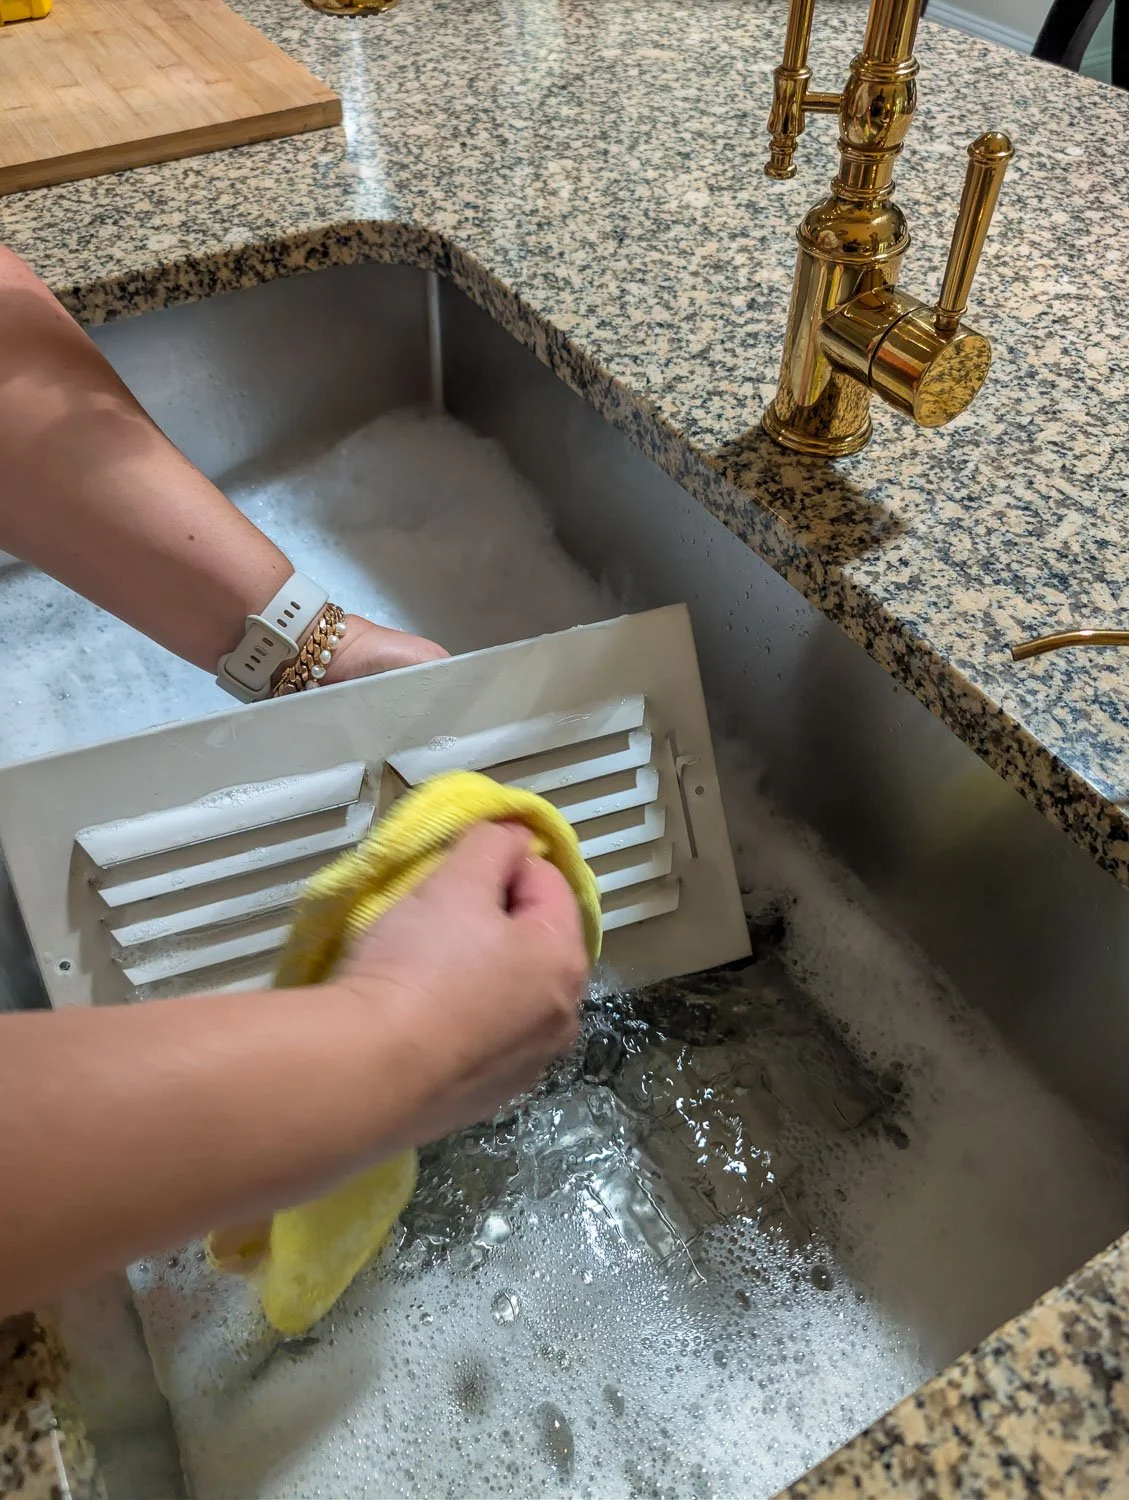
6. Dry Completely Before Reinstalling: Crucial Step.
Lay the vents out on a clean towel to dry completely. Do not rush this. If you reinstall a damp metal vent cover, it will instantly act like a magnet for new dust particles, and the trapped moisture can cause rust or leave unsightly water stains on your ceiling paint.
How to Get Rid of Gray Dust Streaks on the Ceiling
While your vent covers are drying, it’s time to tackle the drywall. Clean, bright vents look completely out of place if they are framed by gray ghosting streaks.
Because ceiling paint is typically a flat finish, it can be delicate to clean without wiping away the paint itself.
Vacuum first: Use your vacuum brush attachment to gently lift away any loose soot on the drywall. Do not scrub with a dry cloth, as this can grind the dark soot deeper into the porous flat paint.
Mix a gentle solution: Mix a few drops of dish soap or a splash of white vinegar into a bucket of warm water.
Wipe with minimal moisture: Dampen a microfiber cloth and wring it out until it is barely wet. Gently wipe the streaks radiating outward from the duct opening. Avoid using Magic Erasers here, as they act like micro-sandpaper and can leave a shiny spot on flat ceiling paint.
Dry the area: Dab the wall dry with a fresh towel.
Design Tip: Give Dingy Vents a Fresh Coat of Paint
Sometimes, even after a thorough scrubbing, older metal vents retain a dingy, yellowed, or rusted appearance that makes them look permanently dirty. If you love an intentional, high-end look, this is the perfect moment for a quick DIY upgrade.
Before putting the clean vents back up, take them outside to a well-ventilated area. Hit them with a light, even coat of a high-quality satin or flat white spray paint (Rust-Oleum's Painter's Touch in Flat or Satin White is an excellent option).
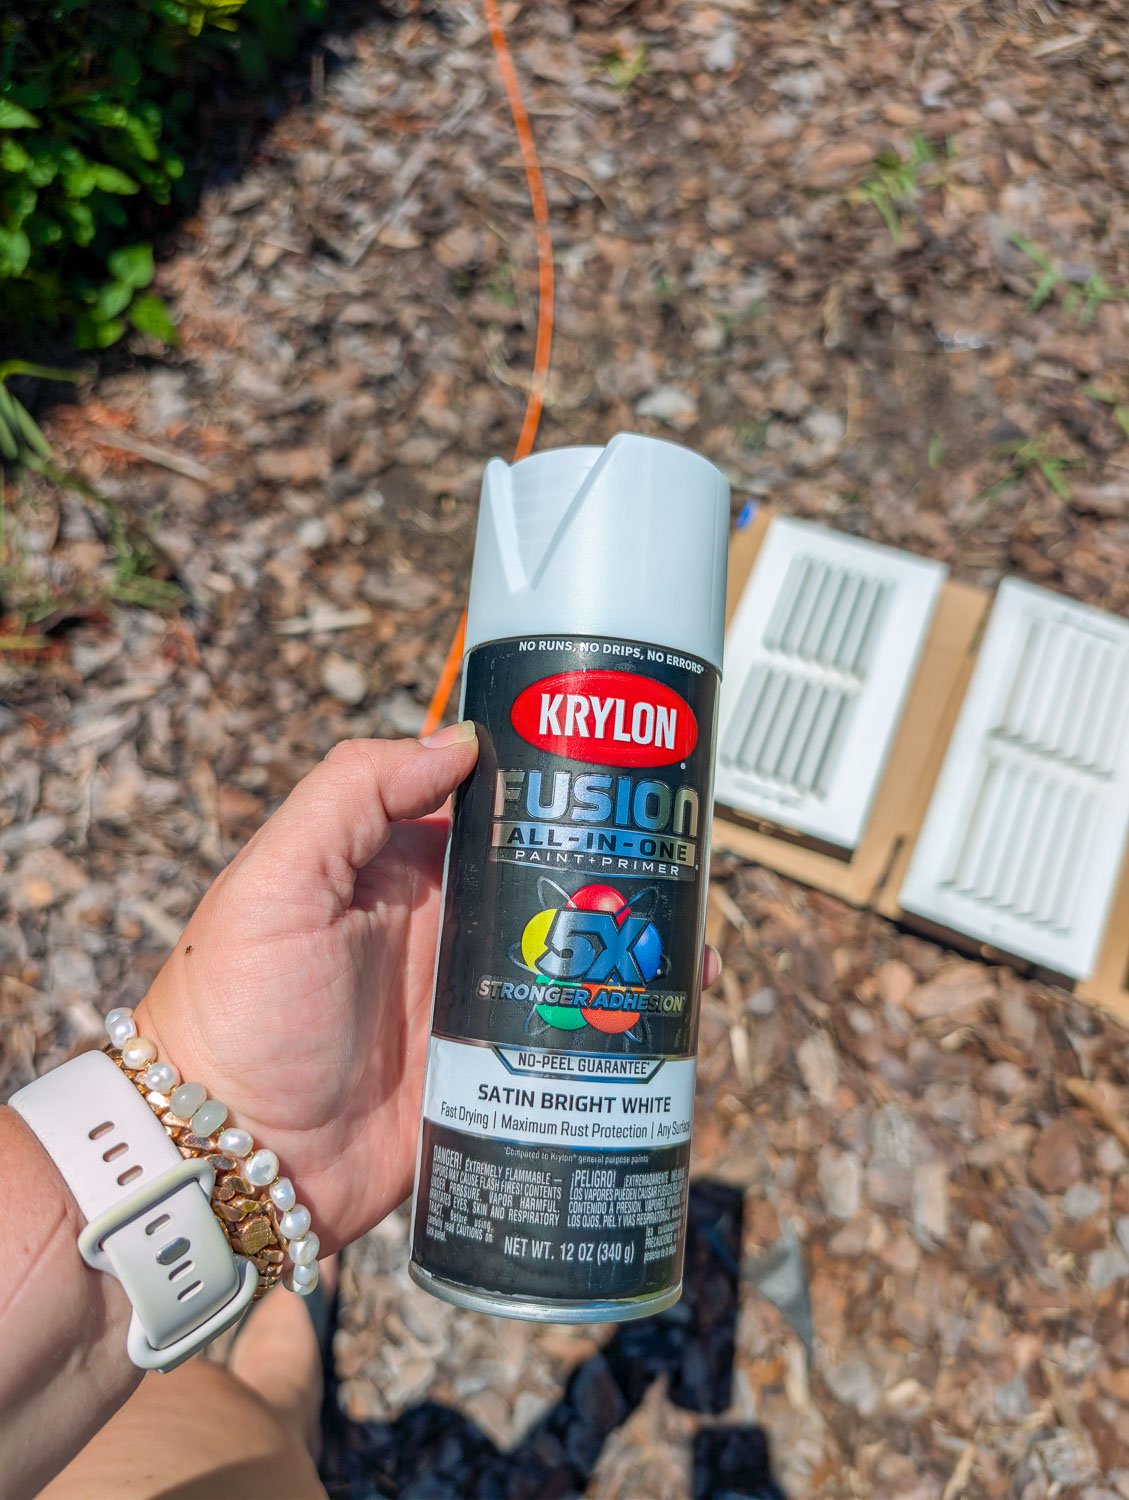
If you have painted your ceilings a specific contrasting shade, you can even spray paint your vents to match your ceiling color perfectly, allowing them to visually disappear into the space rather than standing out.
When should you call a professional? While cleaning the removable vent covers and wiping down the first few inches of the duct opening is an easy DIY task, it doesn't replace professional duct cleaning. If you look into your open ducts with a flashlight and see thick, matted layers of debris extending deep into the system, or if you notice a musty odor whenever the air turns on, it might be time to schedule a professional HVAC duct inspection.
The Verdict: A Quick Project with a Major Impact
It is honestly incredible how much brighter and fresher a room feels just by having clean, crisp, white vents framing the ceiling again. It took a little bit of time on a ladder, but the peace of mind that comes with knowing our air is flowing through clean registers is completely worth the weekend effort.
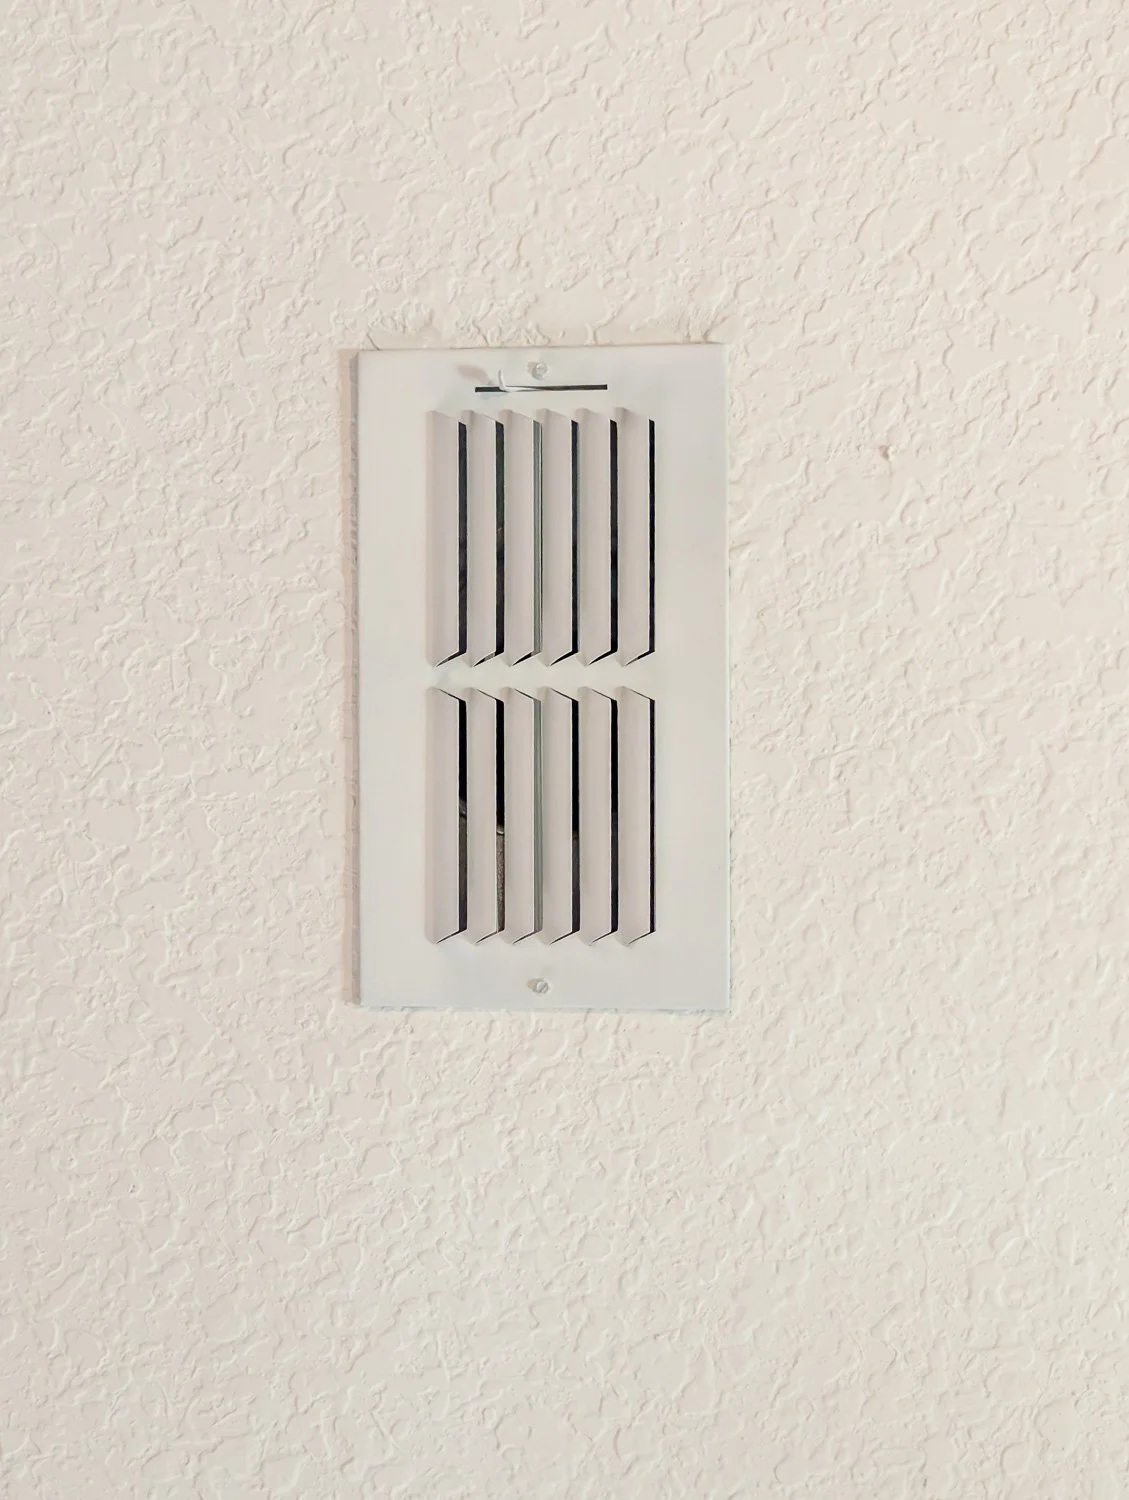
Just like new!
When was the last time you actually looked up and checked your ceiling vents? If it’s been a minute (or, like me, over a decade!), take this as your official sign to grab your screwdriver and a bucket of soapy water. Your home and your indoor air quality will thank you!


I’m a mom of two and wife to a seriously supportive hubby, living our best life in our forever house by the preserve! I'm all about helping you create a stylish, Pinterest-worthy home on a budget. Let's obsess over interior design, home decor, DIY, and home improvement projects to help you create your best home. Follow along and say hello! I love hearing from you.
Currently Trending
Join me on Instagram!



The raw, unedited truth about surviving a backyard pool construction project. From heavy machinery destroying your lawn to managing mud, pets, and construction fatigue. Here is what to expect during the messy middle.