5 Things to Know BEFORE Painting your Kitchen Cabinets
If you've been following me for a while, then you know that I contemplated painting my kitchen cabinets for well over 5 years before I finally worked up the nerve to actually do it. I researched for months and months and read what felt like every single blog tutorial and magazine article about painting cabinets. In 2019, I finally made a plan and purchased my materials.
Read about all the kitchen makeover details here.
I was craving a change but I really didn’t want this project to look like a DIY job gone bad. After 2 years of living with my painted cabinets, I can confirm it was worth it to paint them. They look just like new and have very minimal upkeep.
Even though I am happy with the results, I do wish that there were certain tricks that I would have loved to have known about back then. Lucky for you, I'm spilling all the details today!

Caulk is your Best Friend
Seriously, I'm not kidding. Caulk will be your best friend in this project. Before you start priming, be sure to caulk all your seams - where two cabinets meet or where the crown molding hits the cabinet. Caulking before painting will give you a flawless finish without any gaps.

Liquid Sandpaper
I spent months and months trying to research how to paint my cabinets because I was convinced that I couldn't sand them. I was scared of sanding them and scratching the surface and cause them to look scratched over the paint. Then I discovered liquid sandpaper and it’s a game changer! You simply rub it on and it dulls the surface allowing your paint to adhere nicely. You don't even have to clean it off after you use it, just put some on and rub it around the surface and you are ready for paint!
Choose the right Paint and Primer
I used an oil-based primer and found it really difficult to apply. If I did several coats, I had to make sure to sand in between and it left high points on the surface that I wasn't able to see until I was already painting. Midway through my project, I switched to a water-based primer and it was so much easier to use.
I also did a lot of research on the type of paint to use. I wanted to make sure my cabinets looked professional and wanted that semi-gloss cabinet finish. Speaking with an employee at the paint counter, I told him about my project and the finish I was after and he recommended Valspar Cabinet Paint. I'm so glad that I did because the finish is not only beautiful but it's also durable. Another plus is that a top coat isn't needed!
Lightly Sand after Priming and Double Check for Defects Before Painting
Seriously, don't skip this step. It's crucial in getting that flawless finish. I skipped this step and I can sometimes see the old holes that I covered up when I updated my hardware. Wish I had been able to see this before I painted the doors.
Back roll Paint
When applying your paint with a brush or a foam roller, you may sometimes see paint lines. I found that the easiest way to avoid them is by very lightly running your roam roller over the surface that you just applied the paint to and the leave it ALONE. Seriously, don't touch it. I found that the more I pushed the paint around, the more paint lines I started to see. I quickly got in the habit of applying the paint to the door and then giving the entire door one last roll - with very light pressure and then letting it be. I would not touch it again until I was time for a second coat.

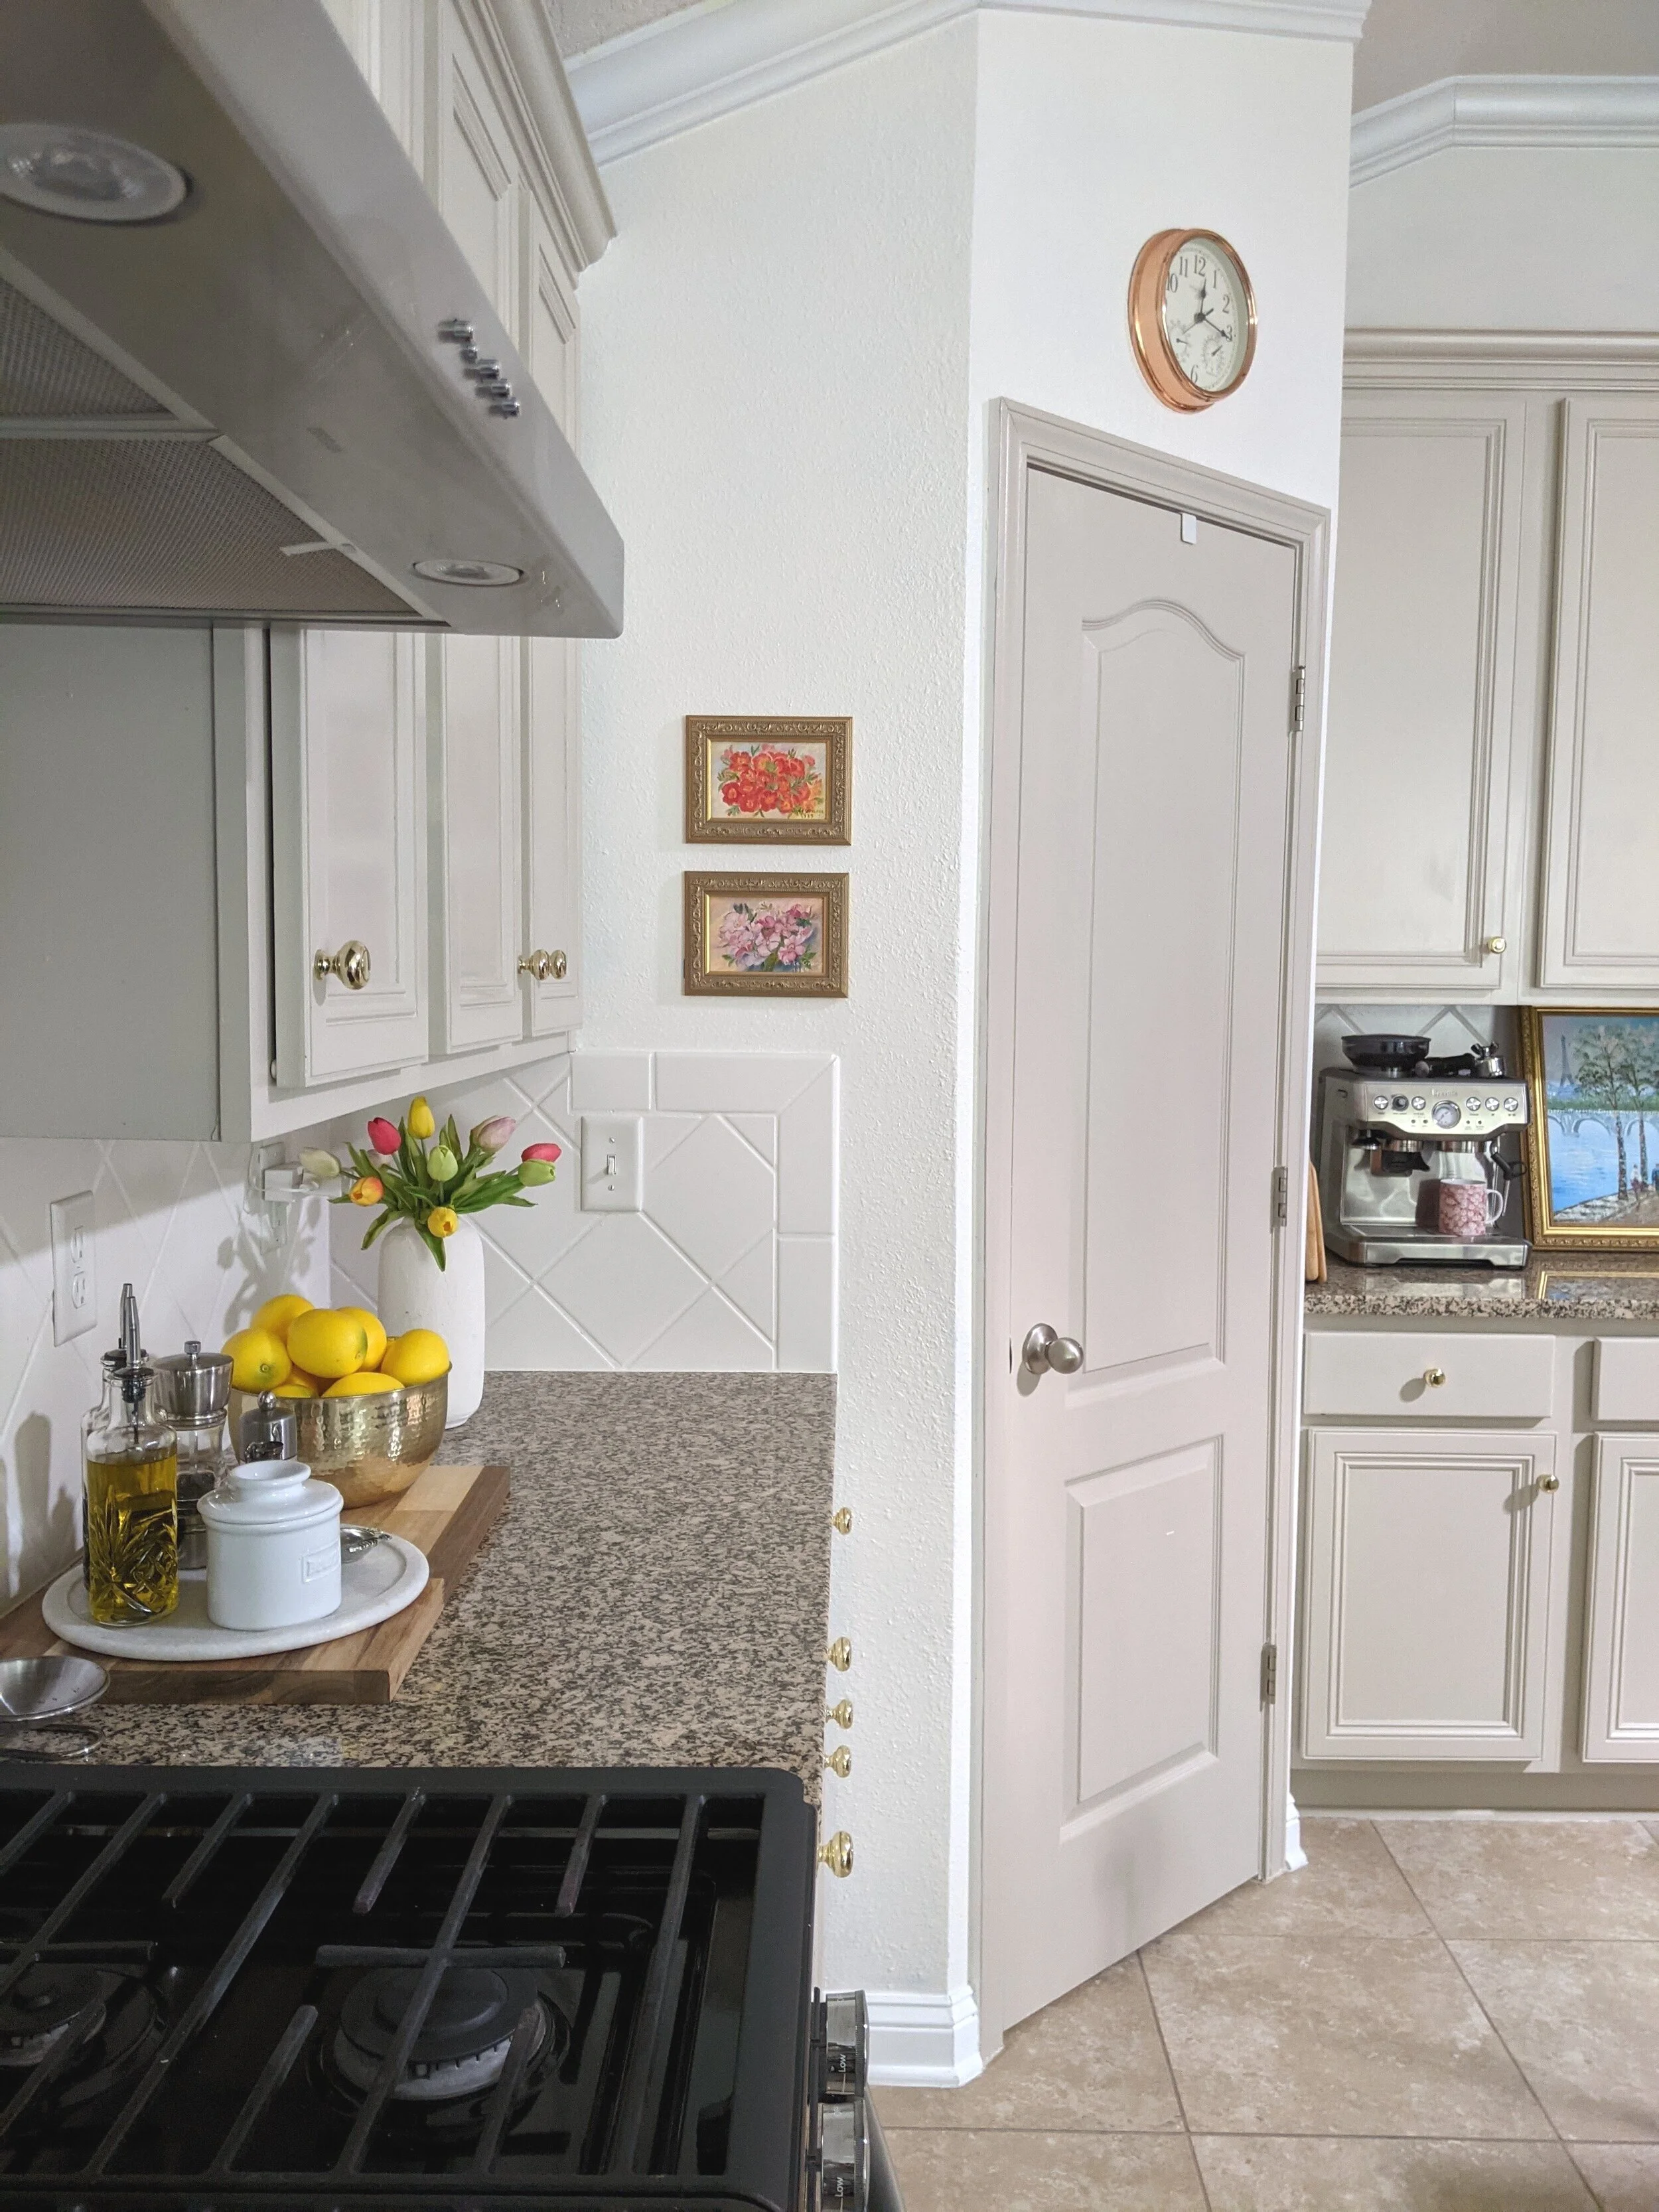
Even after these few years of having our kitchen cabinets painted and learning these tricks that I wish I would have known before I painted our cabinets, I’m still SO happy I finally worked up the nerve to paint them. It helped make our home brighter and feel more current. You can’t beat being able to touch up your cabinets whenever you need it! !00% would do this project again.
I hope this post helps those who are on the fence on getting started in your own home and gives you the confidence to tackle your own kitchen.


I’m a mom of two and wife to a seriously supportive hubby, living our best life in our forever house by the preserve! I'm all about helping you create a stylish, Pinterest-worthy home on a budget. Let's obsess over interior design, home decor, DIY, and home improvement projects to help you create your best home. Follow along and say hello! I love hearing from you.
Join me on Instagram!
Looking for something?