
Game Room/Playroom Updates
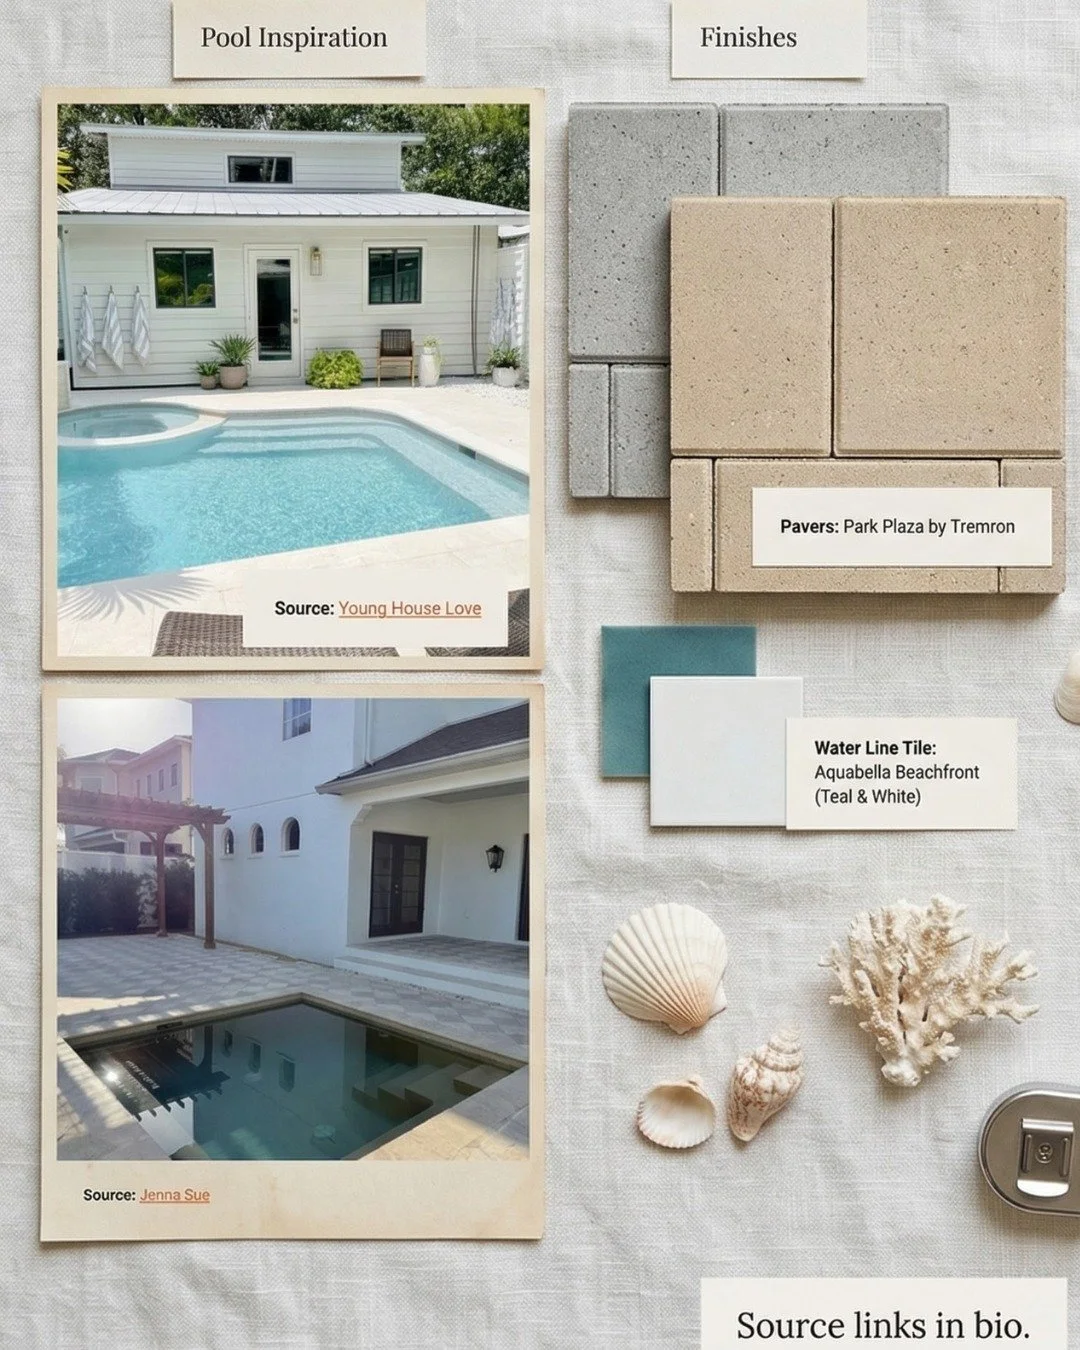
One of the biggest updates that we’ve made to our home since moving in is adding 250 square feet of indoor living space by enclosing our lanai area. We have future plans to build a pool and an outdoor area so losing this space didn’t feel like a loss.

It’s a big project for us that requires a lot of money so we’ve been tackling it a few projects at a time.
The first step was the actual enclosure. I was 8 months pregnant with our daughter when this room was finally finished so getting it in a working state before the baby arrived was our first priority.

See the first reveal of this space!
Since this room was going to be the new playroom, I wanted to be sure we had comfortable flooring for our little ones to crawl around in. At this time, we had just spent a pretty penny on the windows and labor to enclose the space so with a limited budget, I purchased the best carpet pads our budget would allow with the cheapest rugs that I could find.
I’m itching for the day to arrive to update this flooring but for now, this is working really well for us.
One of the biggest updates we’ve made is with furniture. My mom gifted me this TV unit that I repurposed into toy storage. I knew that it would be instantly updated with just a little paint. I used Behr chalk paint called Gingham.
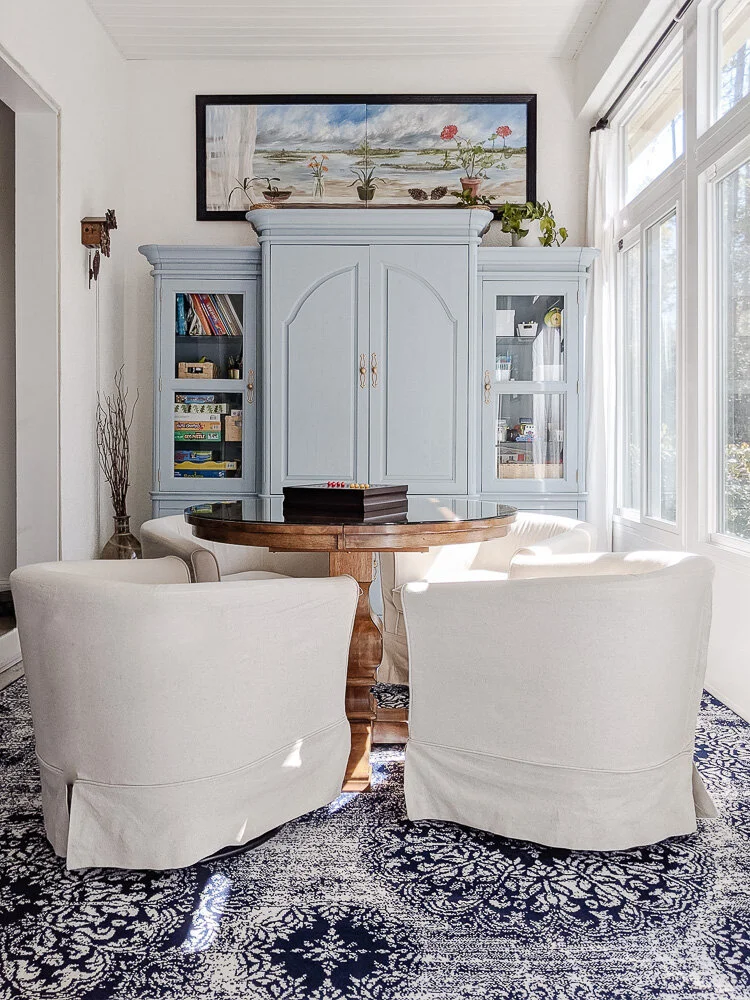
I ran into this round table on Facebook Marketplace and knew it was the perfect piece to create the game room side. I wanted comfortable chairs in here so that we could play games for hours without getting a back ache. I found these beautiful, affordable swivel chairs from Amazon. They really helped complete this side of the room. They are small enough to fit nicely in the space but not so small that they become uncomfortable.

Next, we installed bookcases on the other side of the room for even more additional toy storage! I used Dollar Tree baskets to corral all of the toys that get played with the most. I used Dollar Tree baskets to help keep like toys together.

My son recently started getting into playing with Legos and he was constantly moving them all over the place in order to play with them. I DIY’d this table with scrap wood that I had in our garage and set up this spot so that he could create and destroy his Lego city.


FUTURE PLANS
My vision for this space has come together but we aren’t fully done yet. We painted the walls “Palais White” by Behr to match the interior. This room gets a ton of natural light, so I’d like to bring in some color and drama with velvet curtains. The heavy curtains will help add some weight to the space.

One of the biggest projects that we still have to tackle is the floors. I would love to do a black and white flooring like the below but I worry that it will look out of place with the rest of the house. My photoshop skills aren’t the best, but here is a mood board that I created to help me visualize how the room would look.
I also would love to bring in some color with curtains. I would love to add a very deep, dark color. Like these red curtains from IKEA. I love that they are velvet and help bring in some weight to the otherwise neutral room.
I also plan on tackling the toy storage area. I like the open shelving because it lets the kids see and be able to grab all their toys but it does make it a little hard to organize. I’m going to be trying to find some tools to make my life easier during clean up time.
Be on the lookout for future posts regarding this space! I can’t believe how far it has come and can’t wait to share with you as it evolves.


I’m a mom of two and wife to a seriously supportive hubby, living our best life in our forever house by the preserve! I'm all about helping you create a stylish, Pinterest-worthy home on a budget. Let's obsess over interior design, home decor, DIY, and home improvement projects to help you create your best home. Follow along and say hello! I love hearing from you.
Join me on Instagram!
Looking for something?

Follow me on
Currently Trending


