
DIY Lumbar Pillow
You guys! I completely stepped out of my comfort zone for this DIY. For a while now, I’ve been lusting over long lumbar pillows to help me pull my bedroom together. In case you missed it, check out this post if you want to see how I recently gave my bedroom a small, yet impactful makeover.
Let me tell you, lumbar pillows are expensive! At least all of the ones that I liked, lol. There are some REALLY pretty options out there but they didn’t quite fit my budget. I just couldn’t bring myself to spend $200+ on a pillow. So, I decided to make my own!
My Inspiration
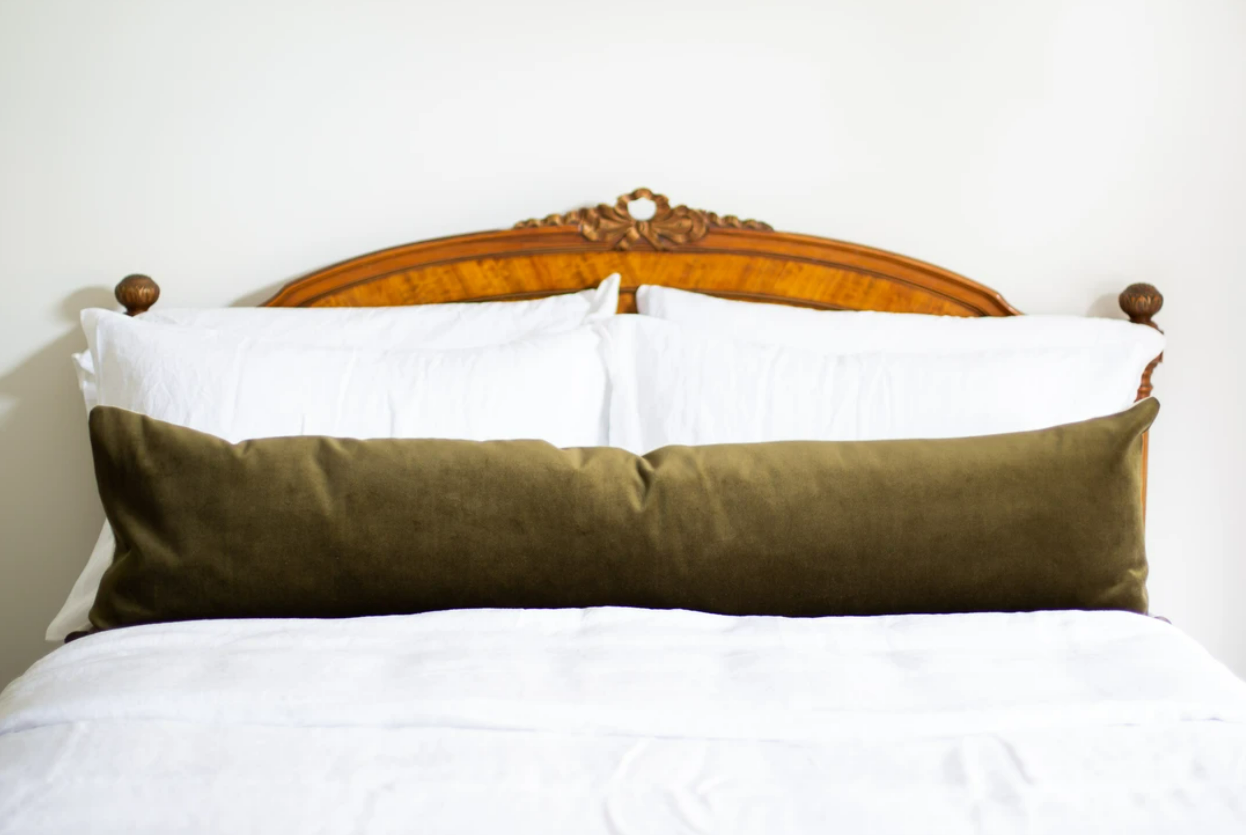
Beautiful right?! I’ve been scheming for a while now in to how I can affordably make one without sacrificing too much on style.
Have I ever sewn a pillow cover before? No. Am I a skilled seamstress? No. But I did take Home Economics class back in high school and they taught me how to use a sewing machine! It’s been well over 20 years so let’s see how much I remember!
If you aren’t interested in sewing, you can use sewing tape. Just make sure that the fabric you choose won’t get damaged if you use an iron on it (you’ll need the iron to activate the sewing tape glue). I chose a beautiful velvet fabric that I was scared would get ruined if I used an iron on it.
*This post contains affiliate links, please read my full disclosure here. Thank you for supporting my blog.*
Materials
Body Pillow - for the insert, I used a $9.99 body pillow from Target.
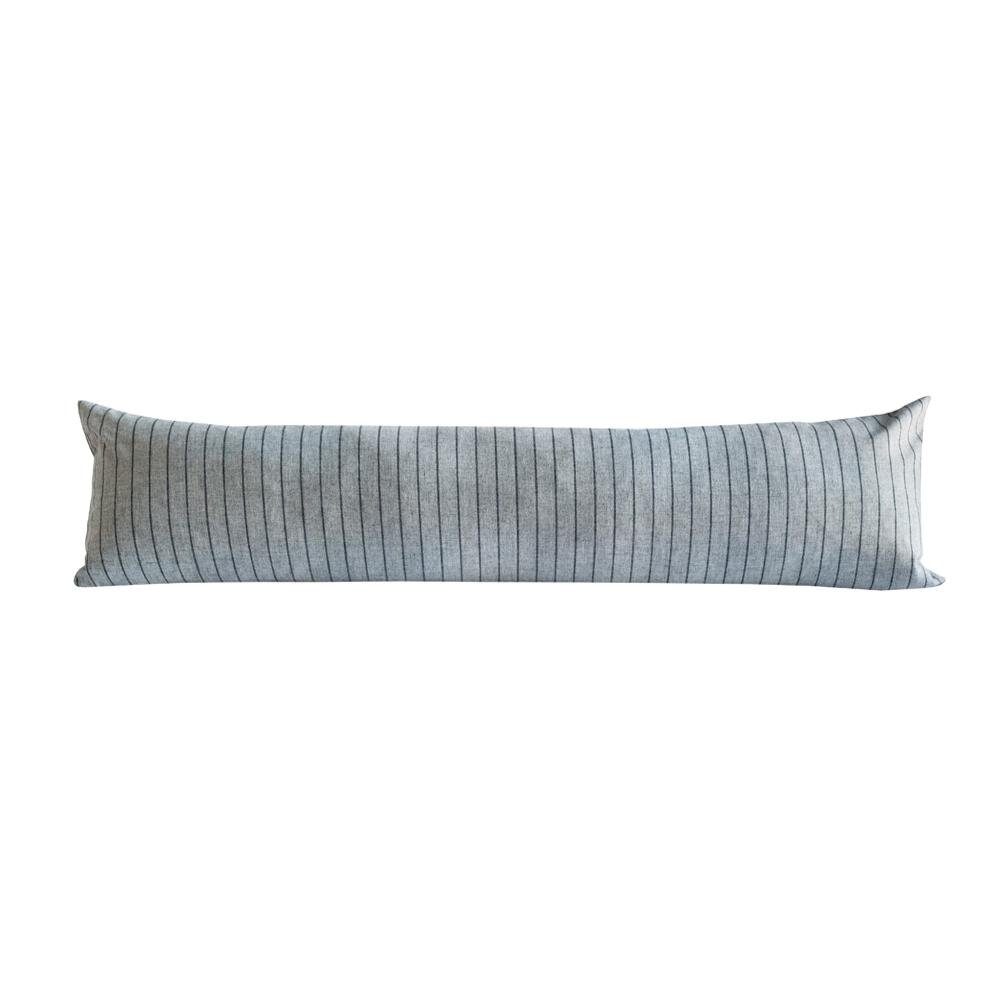
Fabric (60 inches wide) - I used this one and couldn’t be more pleased with the quality.
Sewing machine or sewing tape
Iron (only if using sewing tape
Thread to match your fabric
Steps
1: Set up your Cuts
The measurements for the lumbar pillow that I’m going to be making is 14 X 50 inches. I’m keeping things simple with this pillow cover and making an envelope style pillow.
I laid out my fabric right side down so that I could mark my measurements on the back of the fabric. I used a fabric marker because I wanted to make sure that the ink wouldn’t seep through the front of the fabric.
Using a tape measure, I made a small mark every 5-8 inches at 15 inches wide. I added an inch to my measurement to allow 1/2 inch on either side of my seams.

I wanted the width of my pillow to be 14 inches so I added 1/2 inch to account for my seams.

On the back side of the fabric, I used a fabric marker to mark the width. Then, using a carpenter’s square I drew a line to make sure my cuts were straight.
Using a carpenter’s square, I connected all my dots to draw a straight line. You don’t need to use a carpenter’s square; this is just what I had on hand. A long, straight edge will work just fine.
Repeat this step for the length of the pillow at 51 inches. Adding 1/2 inch to allow for the seams of the pillow.

Measure twice cut once!
Last cut to set up is the one to create the envelope style pillow on the back. This will allow you to remove the cover from the pillow should you ever need to wash it or want to switch it out.

I cut one side of my fabric at 30 inches and the other at 20 inches to create an envelope style pillow.
I made one side longer than the other so that I could overlap one side over the other.
2. Cut
I only purchased enough fabric for just one pillow. I had NO room for mistakes, making me super paranoid about my measurements. Measure twice, cut once!
Cut your fabric.

Lumbar pillow in the making!
3. Sew (or Tape)
I started by sewing the sides of my envelope. I didn’t have thread that matched my pillow so i used what I had. I didn’t mind it that much because this side won’t be seen. You can see my sewing skills need a little work but practice makes perfect, right?!
Now we are ready to close up the pillow. I started by laying out my fabric correctly. The long side (the side that will face the front) should be facing down and your envelope side should be facing up. I learner this the hard way and had to remove my thread and start over! I make the mistakes so you don’t have to!

These was my first time using the sewing machine in over 20 years! Not my best work but, I wasn’t too concerned because this side would rarely be seen.
Sew your pieces together making sure to overlap the envelope pieces a little to create the cover.

One side of the envelope done!

Now attaching the other side and making sure I overlap the fabric a little to create an envelope.

Sewing is done! Now turn it right side out and insert your body pillow.
So simple and so pretty, right?!


I’m in love! I absolutely love the fabric, it’s incredibly soft and perfect for a pillow on our bed. It’s the perfect addition to pop some color in our bedding.
What do you guys think, would you try this DIY? Let me know in the comments below.


I’m a mom of two and wife to a seriously supportive hubby, living our best life in our forever house by the preserve! I'm all about helping you create a stylish, Pinterest-worthy home on a budget. Let's obsess over interior design, home decor, DIY, and home improvement projects to help you create your best home. Follow along and say hello! I love hearing from you.
Join me on Instagram!
Looking for something?

Follow me on
Currently Trending


