
How to DIY a Faux Tree
When I couldn't find an affordable large faux tree for a corner of our living room that gets no natural light, I decided DIY one! It all started a couple of weeks ago as we were in the midst of completely decluttering and organizing our garage, I found a large planter that was in great shape but the color and texture were no longer my style. Since I already had the pot, I decided to try my hand at giving it a makeover and see if I could make it into something I could use in our living room.

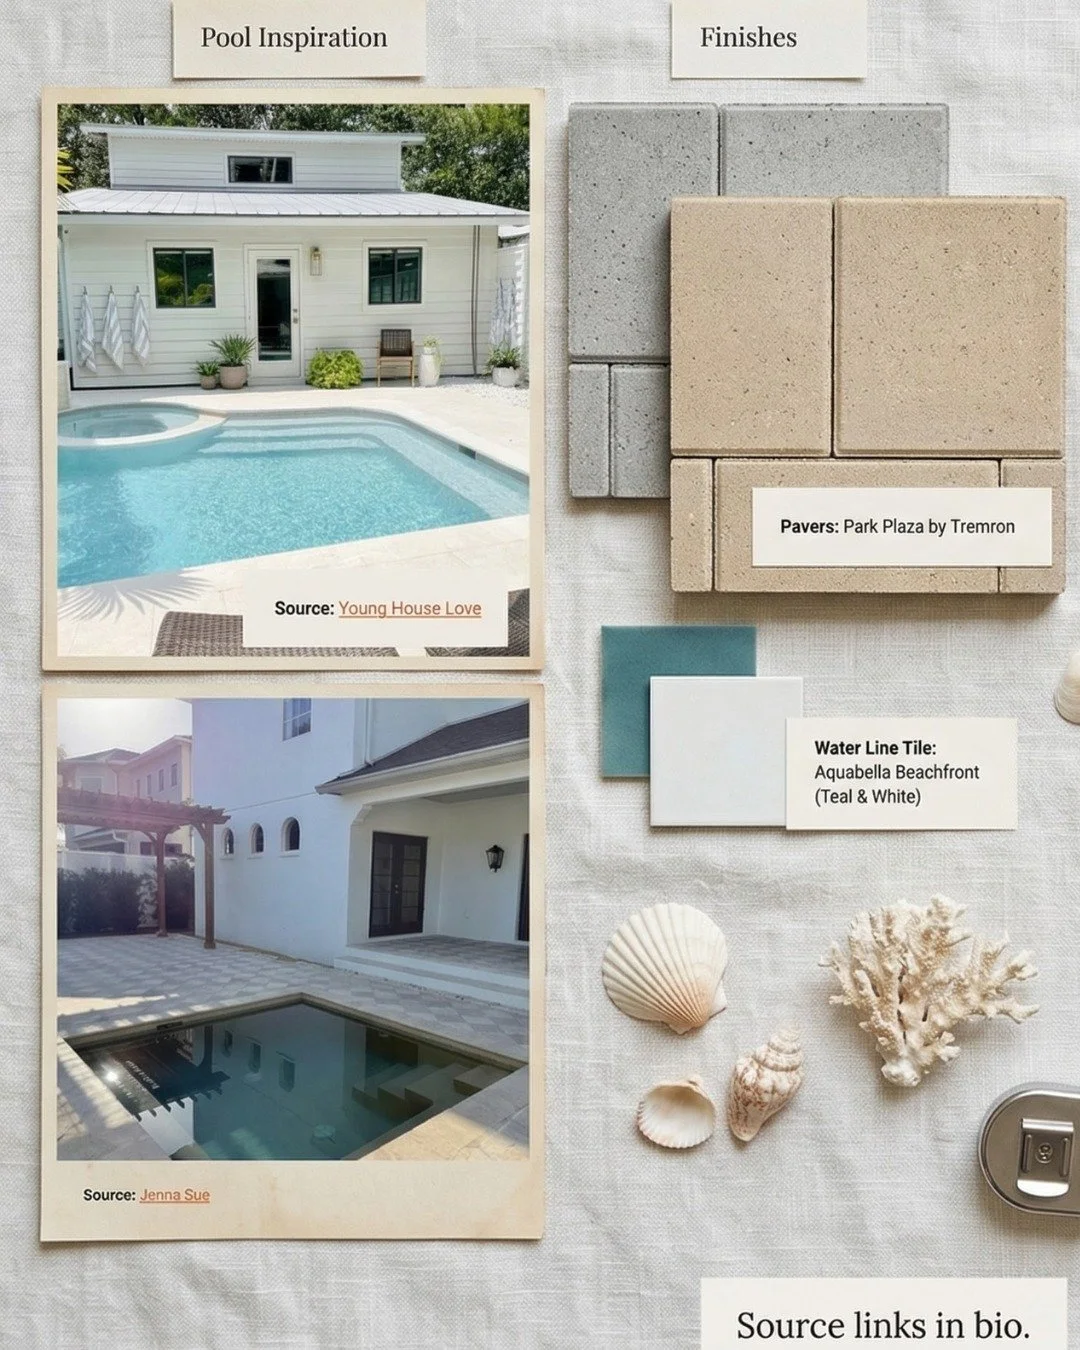
My inspiration:

After giving the pot a good cleaning, I gave it a couple of coats of primer. I made sure to paint a couple of inches below the inside rim in case anything should show once I got the artificial tree in there.
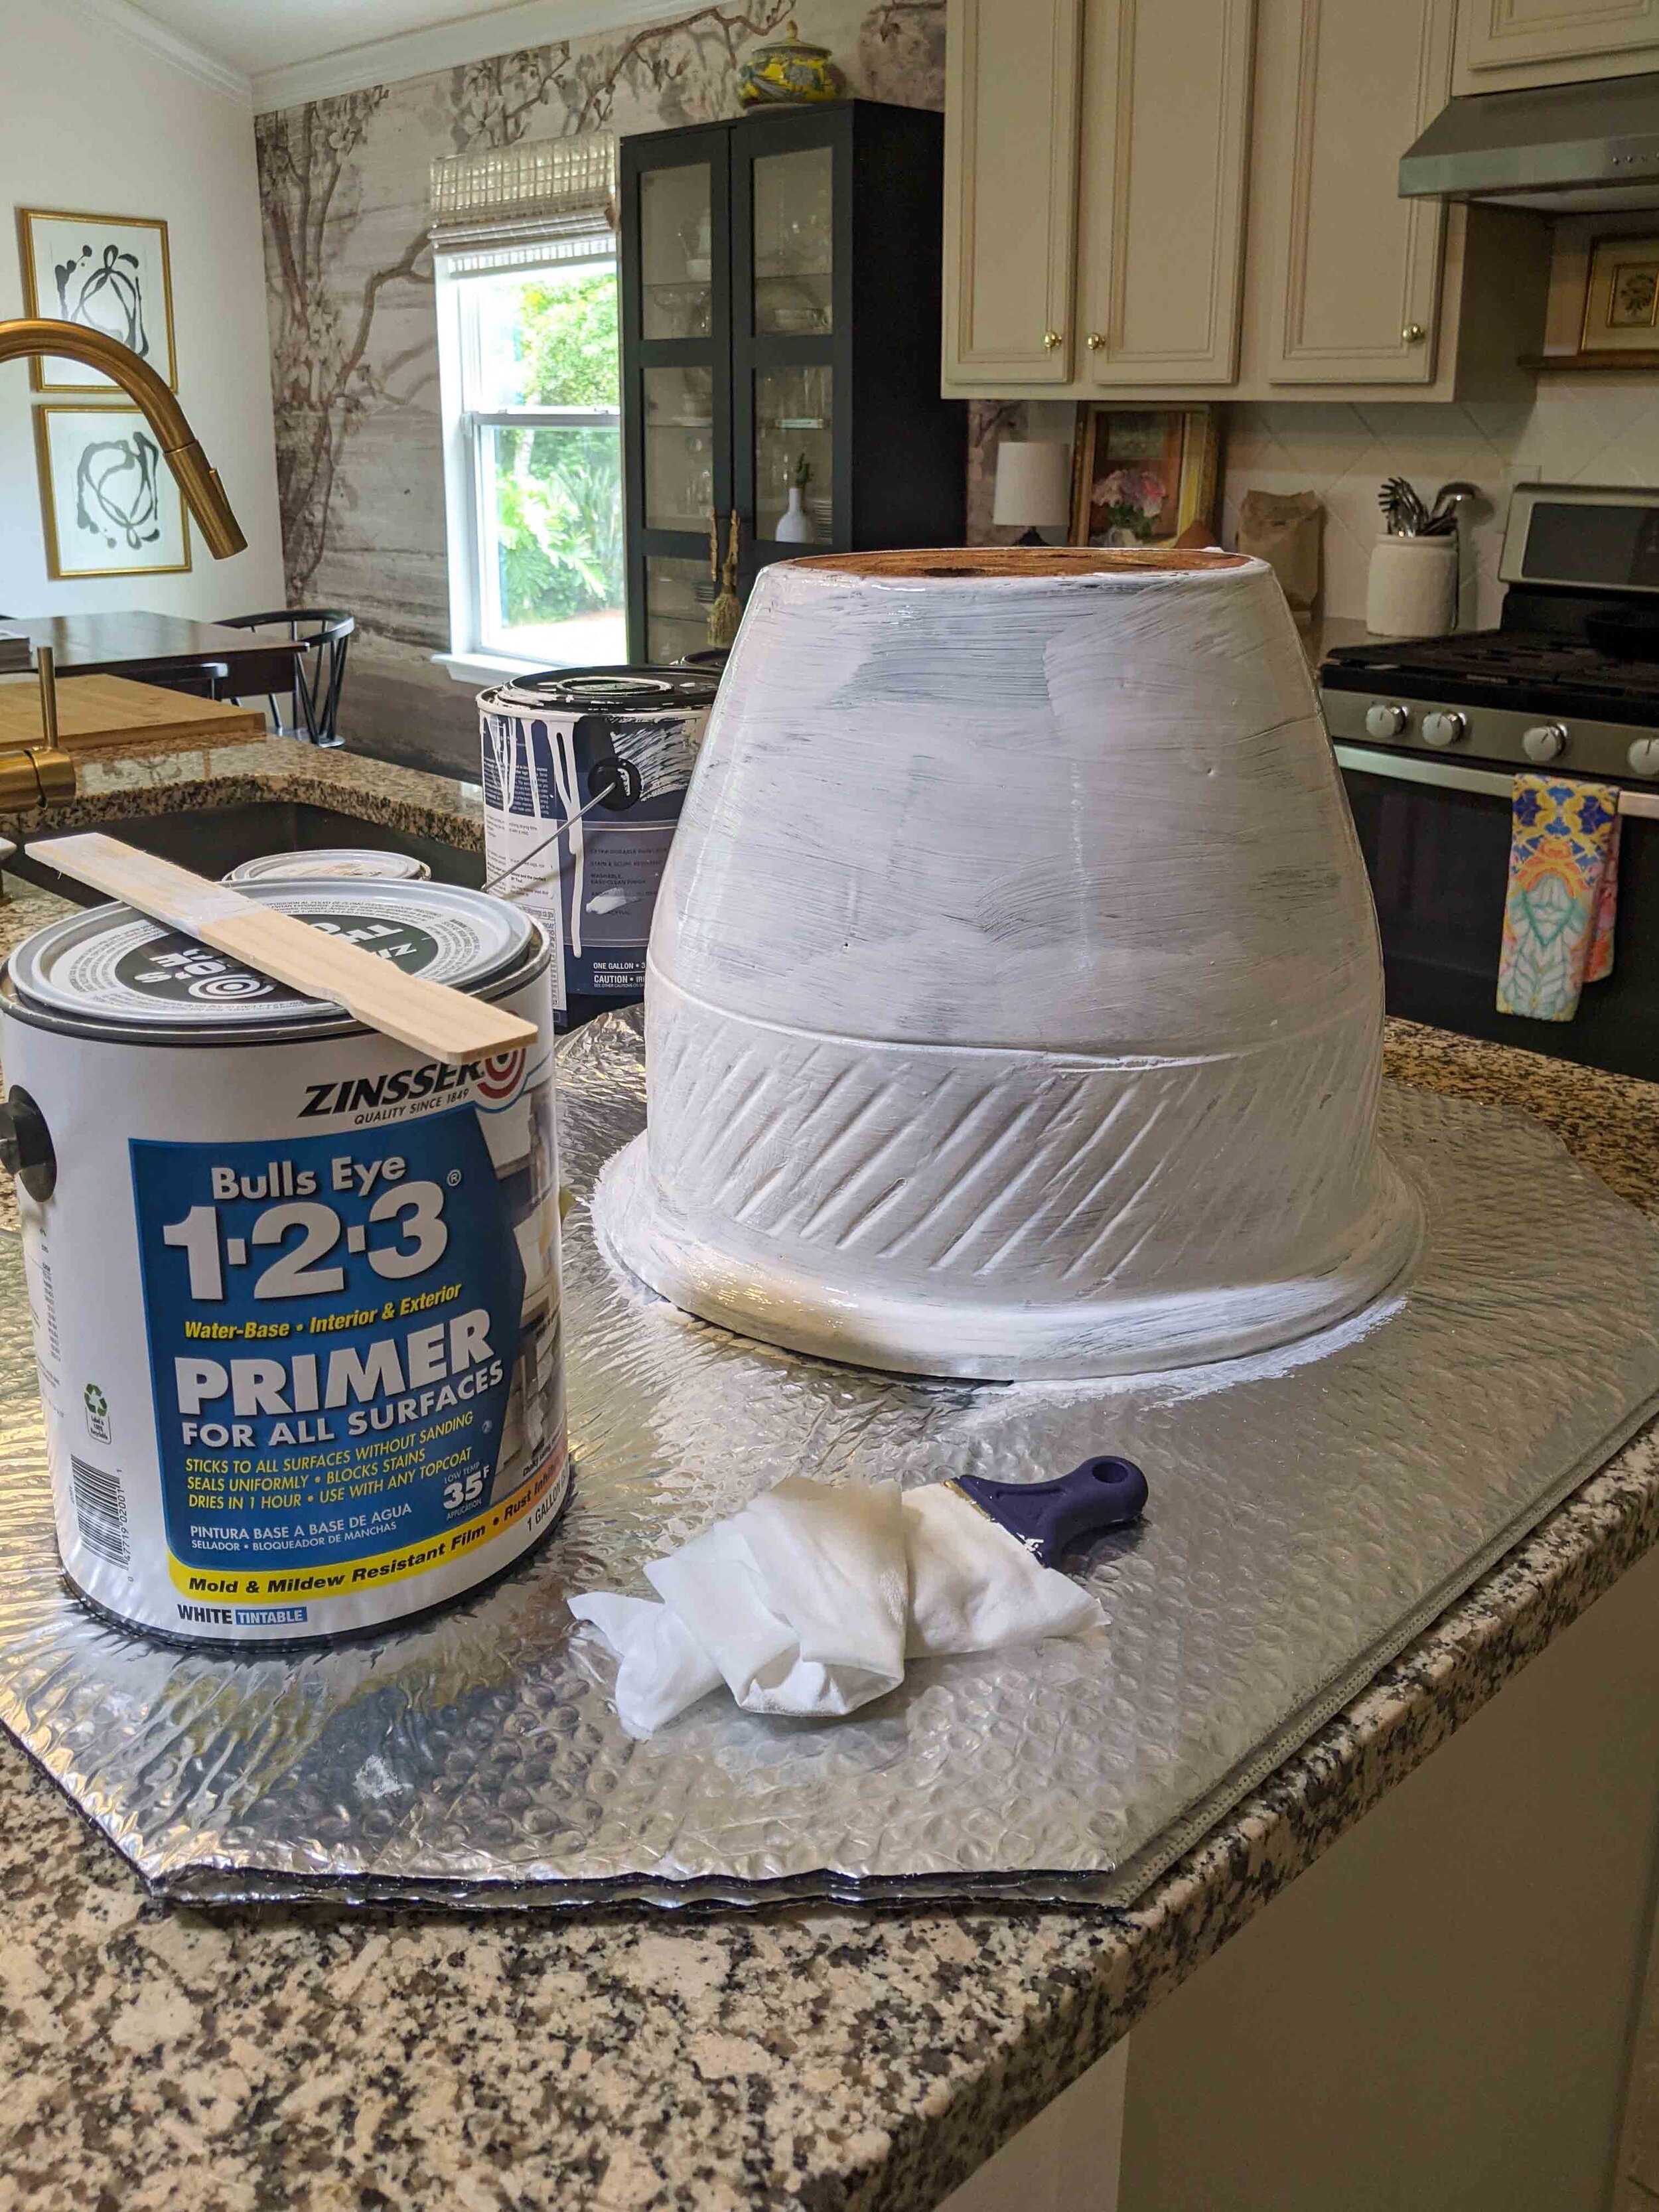
First coat

Second coat
The next step is where I started to have some fun. Using paint that I already had on hand, I started mixing paint colors. I wanted the pot to be on the lighter side but didn't want it to be stark white. I mixed white and taupe until I got a color that I was happy with. I gave the pot a coat and let it dry for 30-45 minutes.

Once dry, I gave the pot a second coat and only let the paint dry for 15 minutes. Using some of my kids sandbox sand mixed with a little water and while the paint was still a little wet, I rubbed the sand all over the pot. I did this a couple of times letting the sand dry on the paint for a few minutes in between. If a spot that I wanted to fill with sand was dry. I simply put a little paint on the area, let it dry for 15 min and then rubbed the sand in. I kept repeating these steps until I was satisfied with the texture and color.

Whatever it is, the way you tell your story online can make all the difference.

First coat of sand

Second coat of sand
Let it dry overnight and done!
Now it's time to build your tree. I purchased this faux Ficus tree off Facebook Marketplace for $25. In its current state, it's not really my style but the bones of it are really good so I decided to go for it.

First step was slowly taking it apart to see where it stands. Taking some of the "bulk" off, I removed the smaller branch. I also removed the branch that twisted around the entire trunk. Now it was starting to look like something I would like. But what really made the most difference was when I removed the basket and put it in my newly made over pot.

The last few steps were all about making the tree look a little more real. I added brown moss from Dollar Tree to fill in the bottom. Then, using wire cutters, I removed some stems to make the tree look more realistic and less overfilled with leaves.

Not bad, right? All in all, this entire makeover cost me $25 for just the price of the faux tree. All the other materials I already had on hand.


I’m a mom of two and wife to a seriously supportive hubby, living our best life in our forever house by the preserve! I'm all about helping you create a stylish, Pinterest-worthy home on a budget. Let's obsess over interior design, home decor, DIY, and home improvement projects to help you create your best home. Follow along and say hello! I love hearing from you.
Join me on Instagram!
Looking for something?

Follow me on
Currently Trending


