How to Paint Laminate Ikea Furniture...The EASY way!
**This post may contain affiliate links, please read my full disclosure here.**
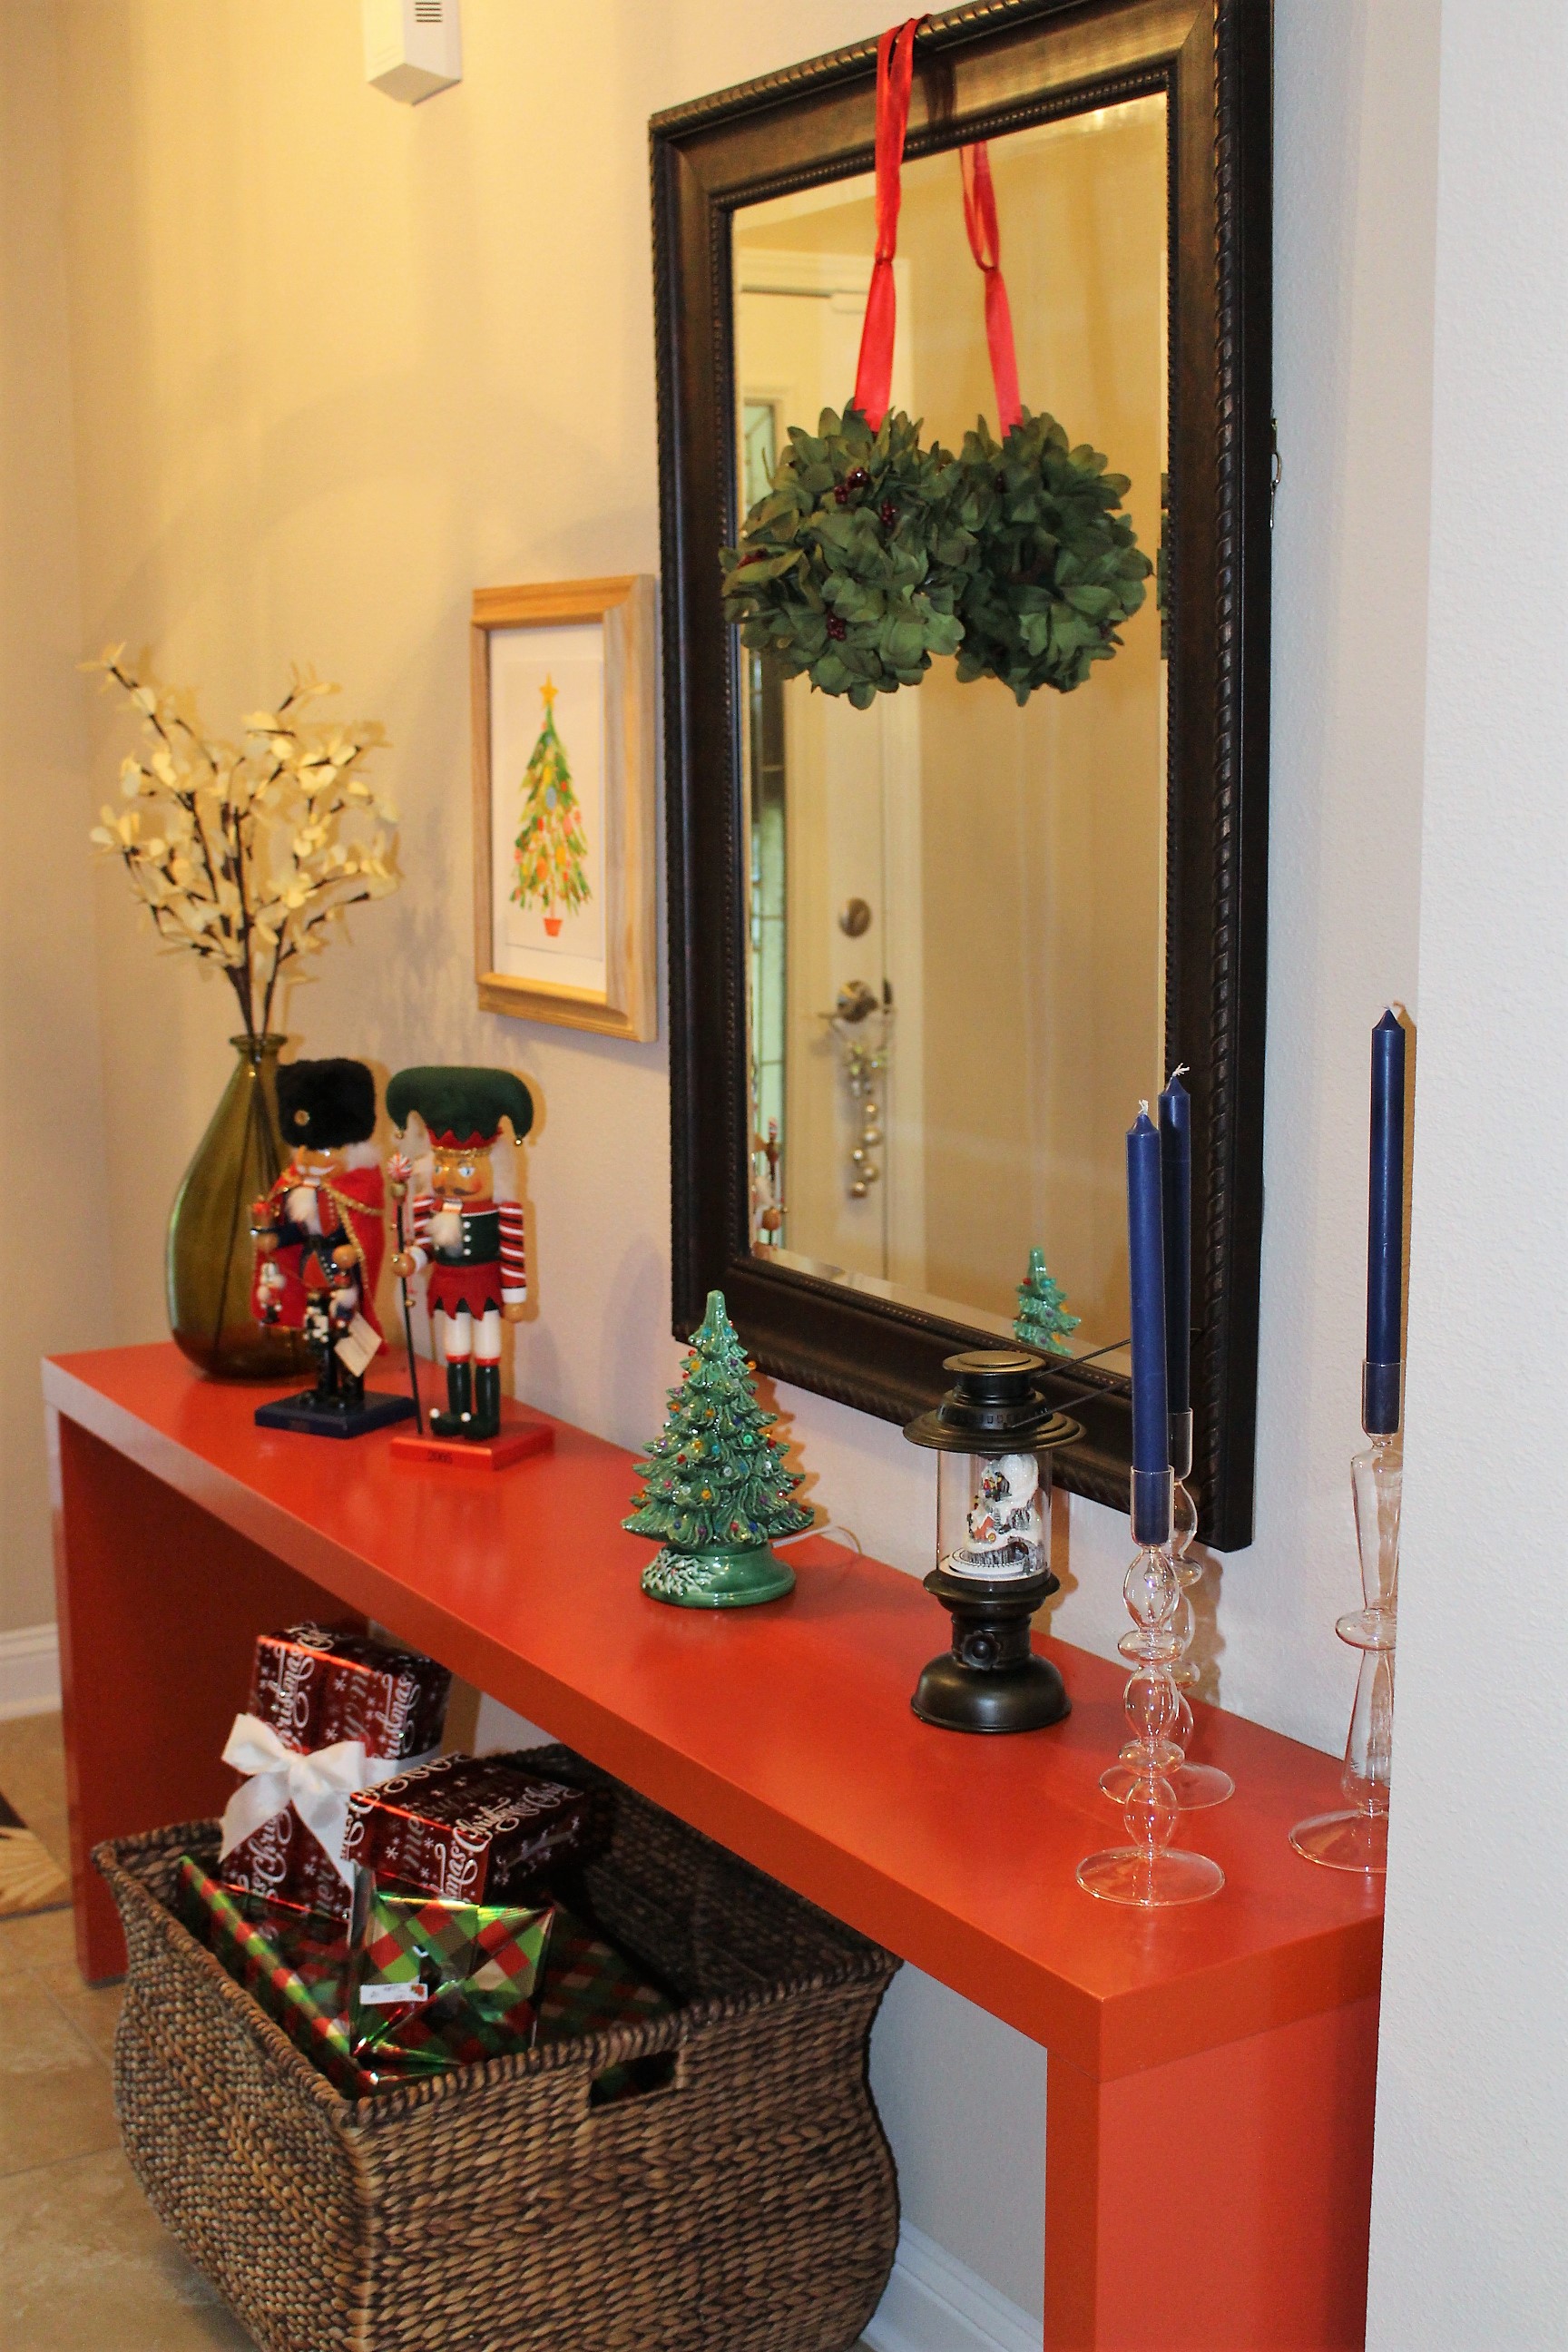
Have you ever had that piece of furniture that you move from room to room trying to make it work with your current decor? I purchased an Ikea table years ago in an orange color and have been moving it around my home in hopes that I could make it work with my decor but nothing seemed to work.
As I debated about what to do with the table, I contemplated trying to sell it, but I just couldn't make myself do it. I desperately wanted to make this table work in my home. So, I racked my brain as to what the table needed in order to make it work in my space. The answer was simple, paint! I decided the best thing that I could do for this table was to paint it a color that I love, navy blue!
Take a look at what the table used to look like before:
As you can see, this table has made it's way to just about every room in our house. It's super versatile and I love that I can make it work in just about anywhere. But it was time for a change and blue seemed to be the best choice for our home.
Now came the difficult part, how the heck do I paint laminate Ikea furniture? Well, after A LOT of research and trial and error, I've finally found the way to paint laminate furniture and you know what? It's easy!
Materials:
- Zinsser B-I-N Shellac Base Primer - This is the most important material for this project and must not be skipped! The shellac base primer will allow for your paint to adhere to the laminate.
- Color paint of your choice - I used Very Navy by Behr in an eggshell finish, mostly because this is paint that I already had on hand.
- Paint Brush
- Foam Roller
- Polyurethane (optional)
Steps:
Clean, clean, clean!
Make sure the furniture piece that you are going to paint is free of dust, dirt, or any grime. The cleaner the piece, the better the primer will adhere.
Prime
Prime your entire piece with either a foam roller or a paint brush (I used a paint brush for this step). Give one light coat, don't worry if you still see some of the old color as you will need to give the table two coats of primer. The key is that the primer dries fast, so you also have to work fast. Making sure you don't go over the same spot a lot because as the primer dries it will begin to "pull" from the furniture piece. Working fast is key. Let your first coat dry for 30 minutes before you begin your second coat. If you happen to see the primer pooling together and creating a spot after it's dried, simply sand it down with super fine grit sandpaper. Give it a second coat and let dry fully.
Paint
I like to use a foam roller for this step because I find that the paint goes on smoother and you don't see all the brush marks as you would when painting with a brush. I first gave the table a very light coat and let it dry for 30 minutes. Making sure that the paint was dry before I started the second coat, I finished the painting process with just two coats. So easy!
Protect
I wanted to make sure that I protected the surface since I'm going to be using this table in our dining room, so I decided to also give it a coat of polyurethane. This step is optional but I felt it was necessary for where I was going to use my table. I started this process after letting the paint fully dry for a full 48 hours. I used another foam roller to apply the first coat of poly and let dry for 2 hours. I very lightly sanded and wiped off any dust before I started on my second, final coat.
Wait
Next we wait. Wait a total of 72 hours to let the poly fully dry before I set anything on the table. You don't want to skip this step, if you start putting stuff on your table before the poly has had time to dry, it will leave marks on your table. You don't want that after all the hard work you've done!
Do a Happy Dance!
ENJOY! Check out how I've styled my new table in my dining room:


I’ll be honest: I thought a fresh coat of paint was all this sterile transition zone needed, but after painting the ceiling Benjamin Moore's Antique Jade and the walls Behr's Palais White, the result was… well, boring. I knew it needed soul, but with two kids and a dog, I was terrified of choosing something that wouldn't last.
Click through to see how we used custom, water-activated wallpaper from Love vs. Design to finally give this high-traffic hallway the personality it deserved (and why I’ll never look at a sterile hallway the same way again!).