How to Hang Shelves by Yourself like a Pro
**This post may contain affiliate links, please read my full disclosure here.**
Have you ever wished you had four arms? That's how I used to feel every time I had to hang shelves by myself. I'm always super grateful when my hubby is around so that he can lend a hand. There have been many a time where I've been stuck in a weird angle trying to reach for a screw driver while I'm trying to hold the shelf perfectly level with the other. Something inevitably always happens and I feel the shelf move slightly forcing me to start my process all over again.
That is, until now. I tend to be a very impatient person, so when I get the urge to start moving decor around our home, I start immediately trying things out. There's no waiting for my husband to be home so that he can help me hang the shelves. I want to hang them that very moment so that I can create the picture I'm seeing in my mind. After many of such scenarios, I can confidently say that I've become an expert at hanging shelves by myself.
There's nothing more satisfying than stepping back to check out your handy work and seeing a perfectly level shelf staring right back at you. Don't worry, I'll show you all my tricks that I've learned throughout my impulsive decorating days.
Here is what you will need:
Painter's Tape - trust me, you will use this often!
Level - Absolutely a life saver, I have this exact one and love using it!
Anchors (if necessary) & Screws - These are my favorite for using in drywall. You may need different ones (or none at all) depending on the material of your walls.
Screw Driver - electric or manual, the choice is yours
Step One: Plan
1. Add painters tape to shelf
This is the absolute most important step. Take the time to measure and plan exactly where you want your shelves. The easiest way that I've found to do this by yourself is by using your trusty painters tape. Place it on the edge of the shelf and cut the edges at the exact length of the shelf. We will be basically using the painter's tape to represent the shelf.
Step Two: Mark Where the Holes Should Go
For this particular shelf, I was using shelf brackets to support the shelf on the wall. Once I decided where on the shelf I wanted them to be (by placing them evenly throughout the length of the shelf), I then transferred my mark on the tape.
2. Mark where the holes should go on the painter's tape.
If you are using a floating shelf kit, you can simply place the shelf brace on top of the tape and mark your holes.
Step Three: Place Painters Tape on Wall
Once you've marked your holes, you're ready to place the tape on the wall. By placing the tape on the wall, it allows you to step back and see how the shelves will look. That's something you wouldn't be able to do if you're by yourself.
I like to level the piece of tape as I'm placing it on the wall to ensure that everything is nice and straight.
Place the painter's tape on the wall to represent the shelf that you plan on hanging.
When hanging more than one shelf, remember to not only level the tape but also the hole marks on multiple shelves. This ensure your brackets like up with the shelf above and below it.
Now that you have your tape nice and straight, take a moment and check everything out. Is this the location that you want your shelf? Would it be better higher or lower? This is the time to play around and find the right layout for you. Is the tape in the wrong location? No harm done, simply remove it and replace it wherever your little heart desires. Best part, no damage done to wall!
Step Four: Install
Remember how you marked where the holes should go on the tape in step two? Well that step is about to become very handy because you know exactly where to place those anchors on the wall. (Keep in mind, that depending on the material of your walls and if you're hanging on a stud, you may not need to use anchors).
Once your anchors are installed, you can use the screws to attach the shelf bracket to the wall. I've found that the best way to ensure all your brackets are level with each other is to use your level regularly, checking vertically and horizontally that the bracket is level.
When you have the first bracket hung, things become a little bit easier because you can level your next bracket off your first one, ensuring everything is nice and straight!
Step Five: Hang your Shelf
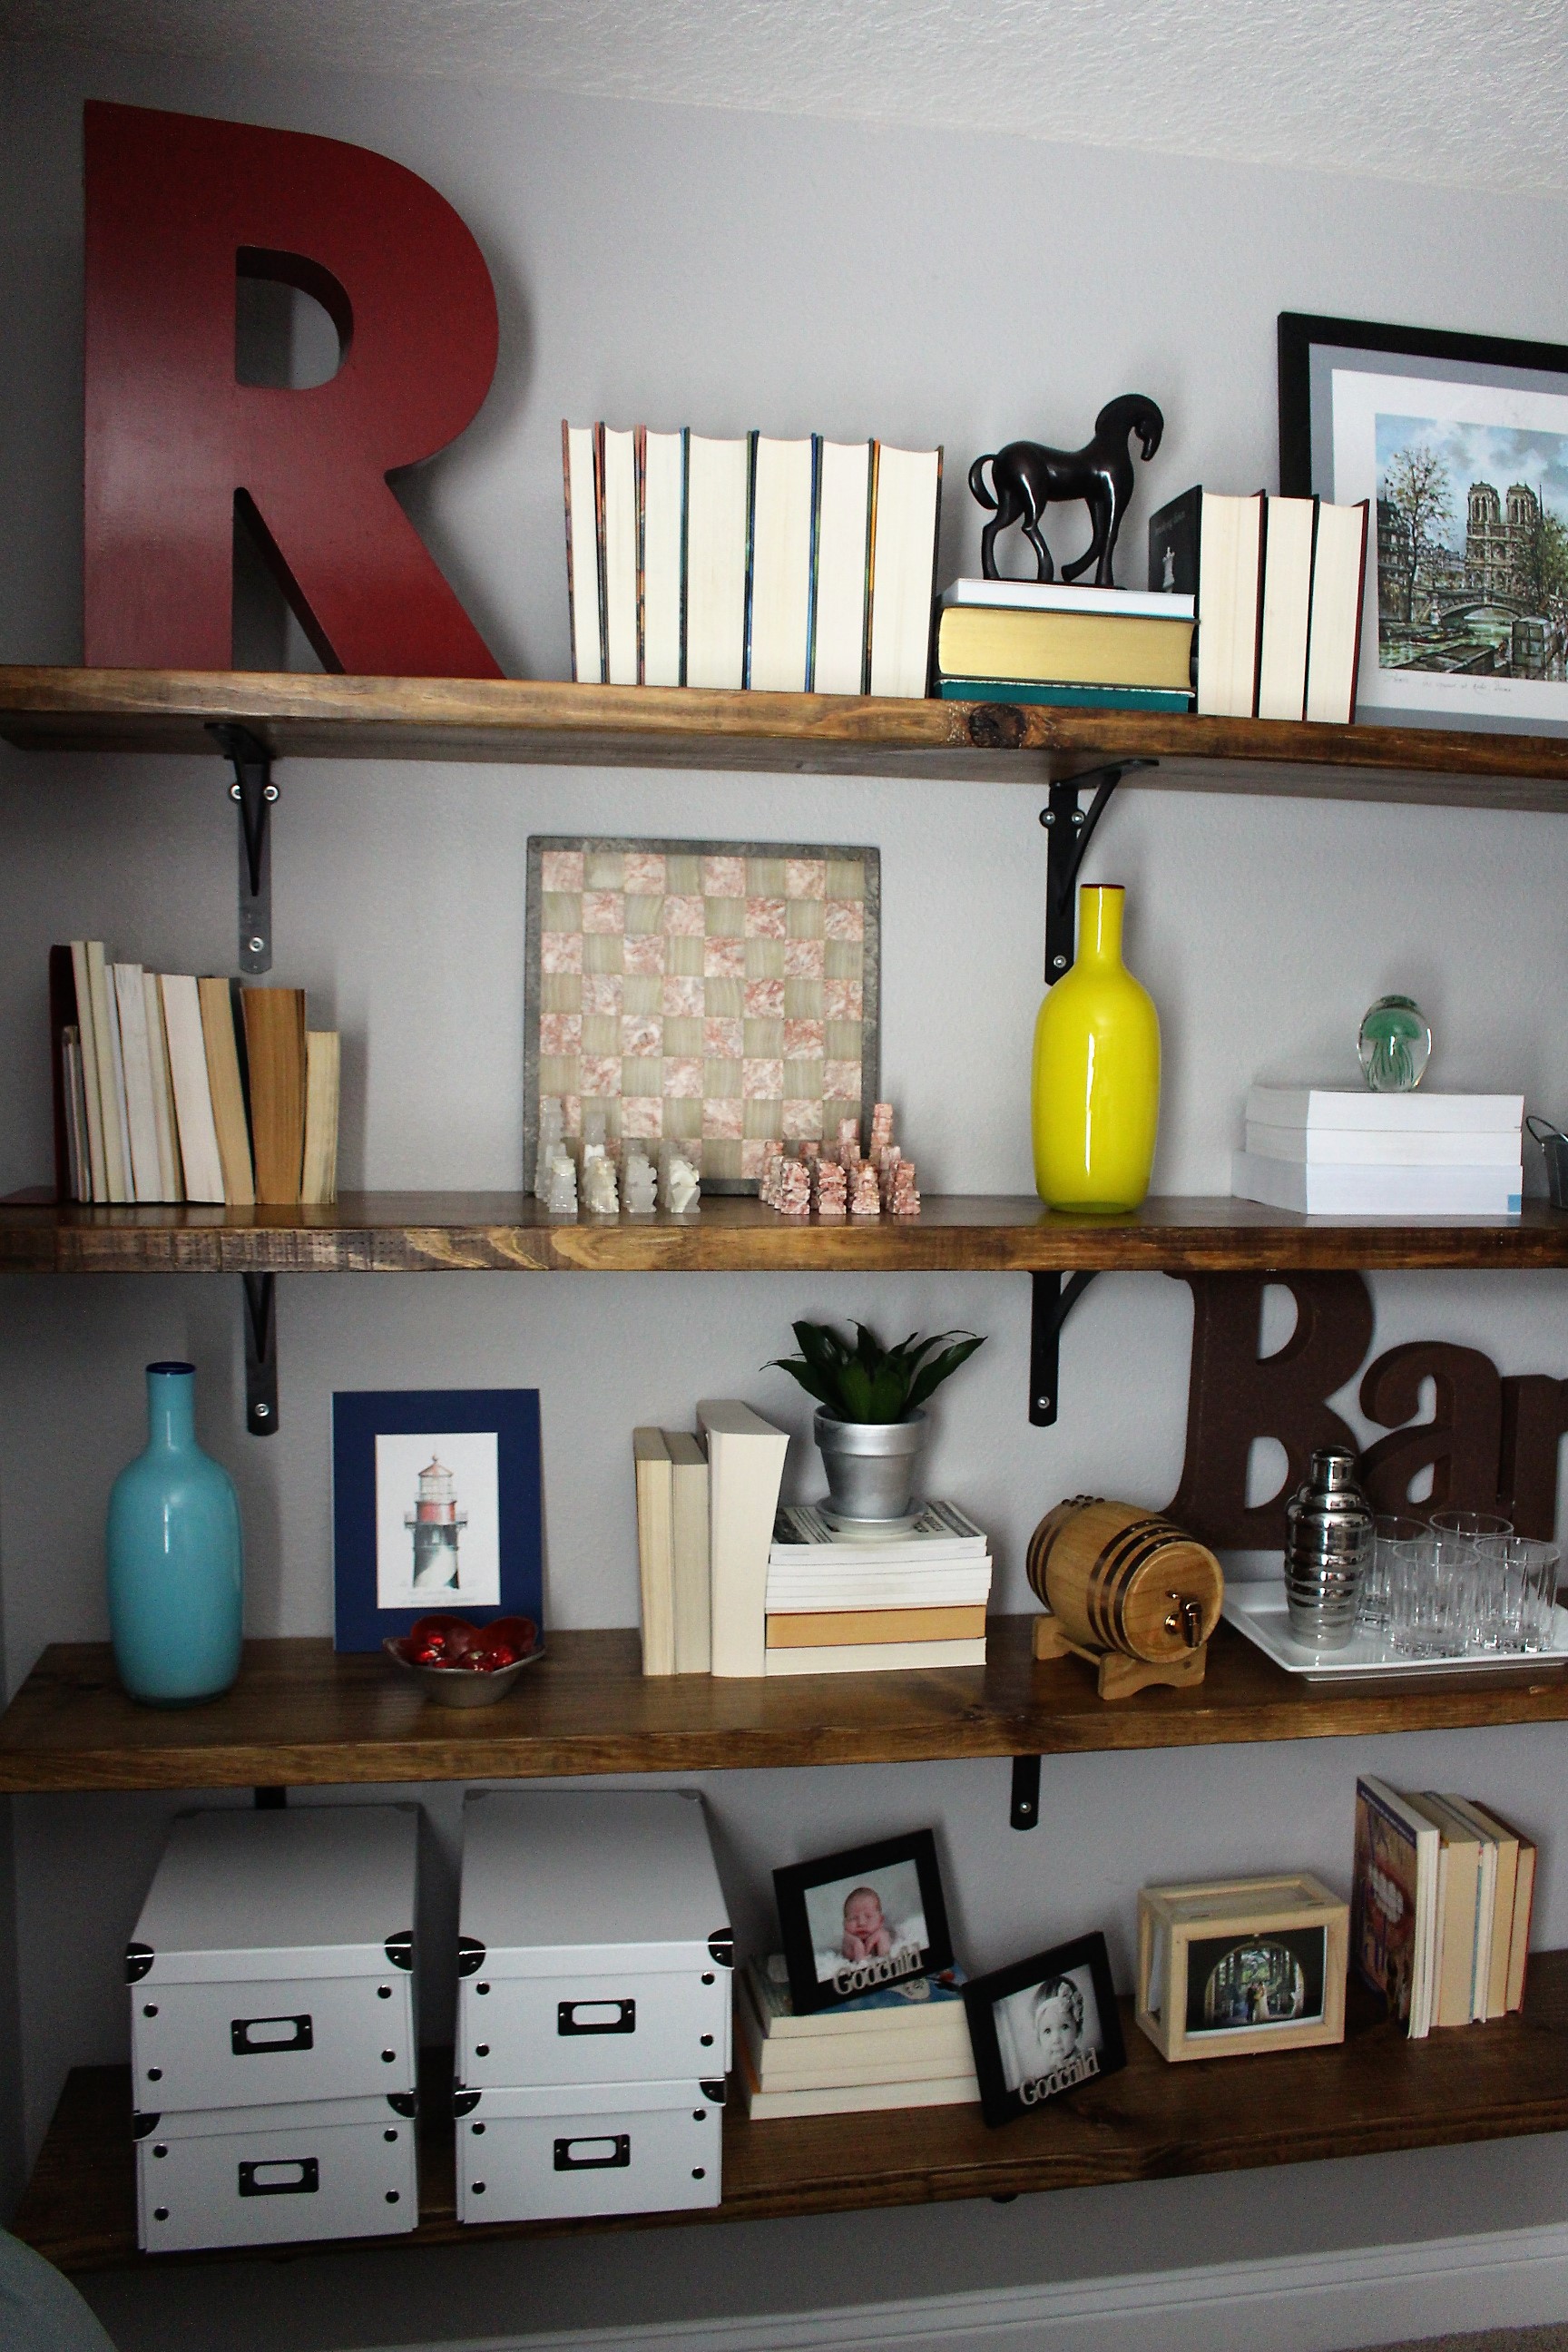
Once you have your brackets installed, hang your shelves and step back and enjoy the view of a perfectly level shelf!
Check out some of my DIY shelving projects:


I hope you guys found this post useful. Leave me a comment below and tell me your best tip for hanging shelves?